Lamborghini Gallardo Page 7
Superleggera LP 570-4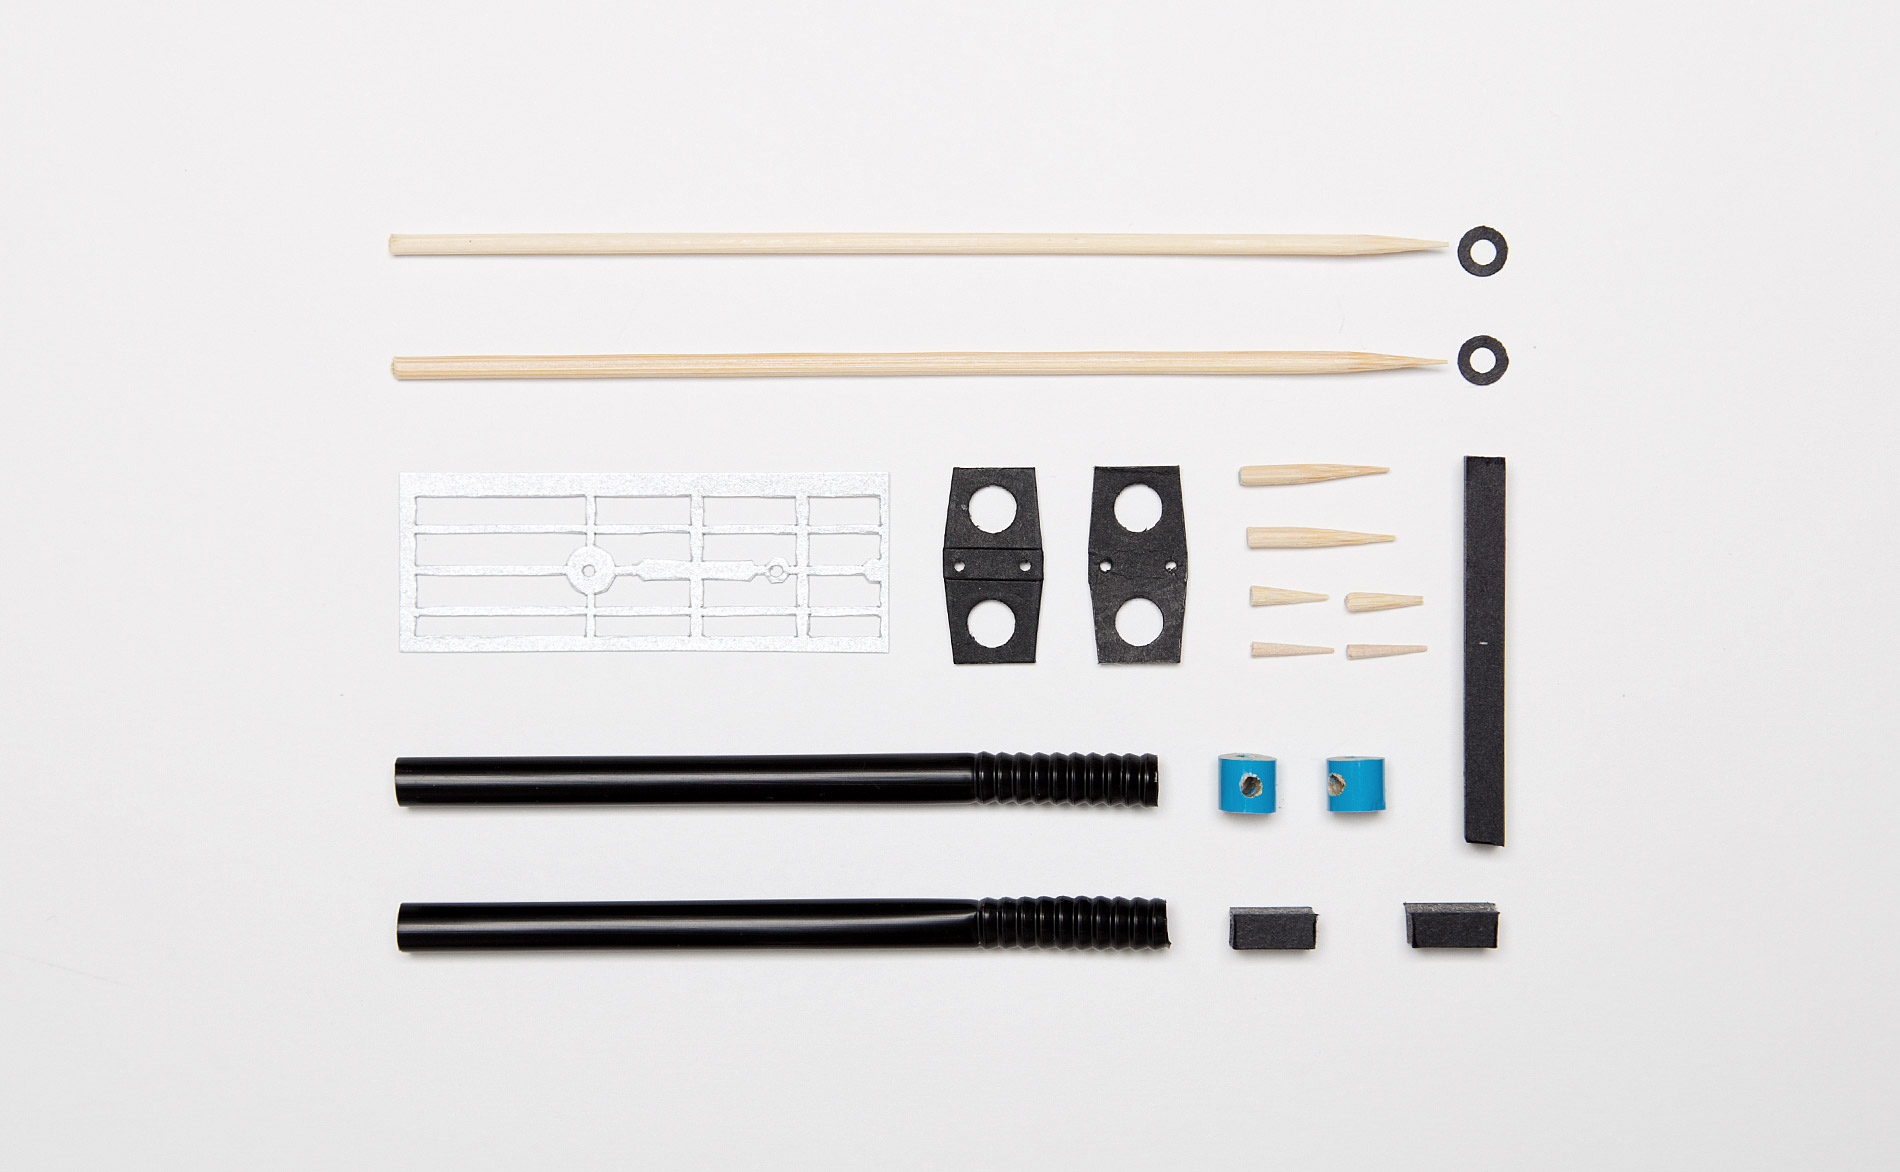
- ‣ All the individual pieces that make up the steering rack.
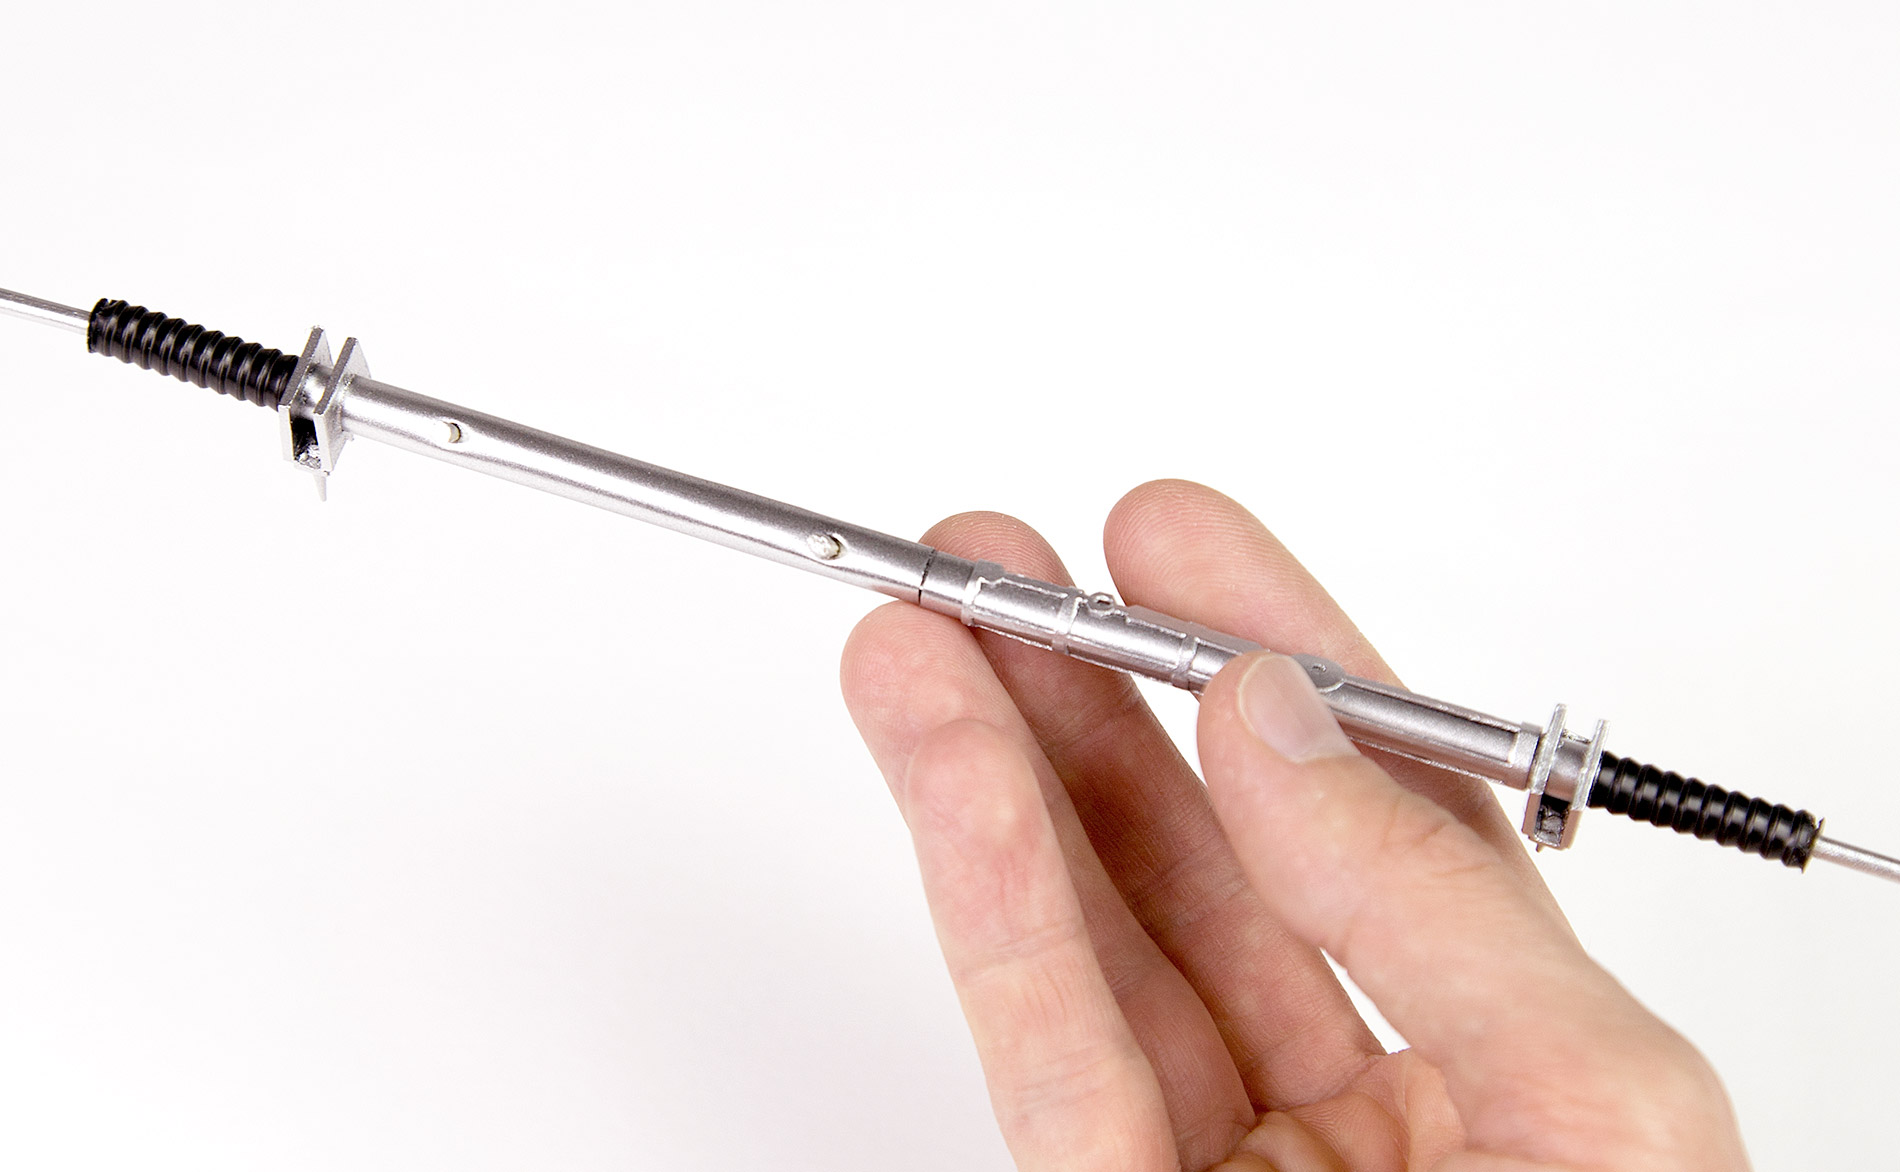
- ‣ Completed steering rack– ready to be fitted to the Gallardo.

- ‣ Windscreen wipers fitted to the model. I don’t plan on taking it out in the rain though!
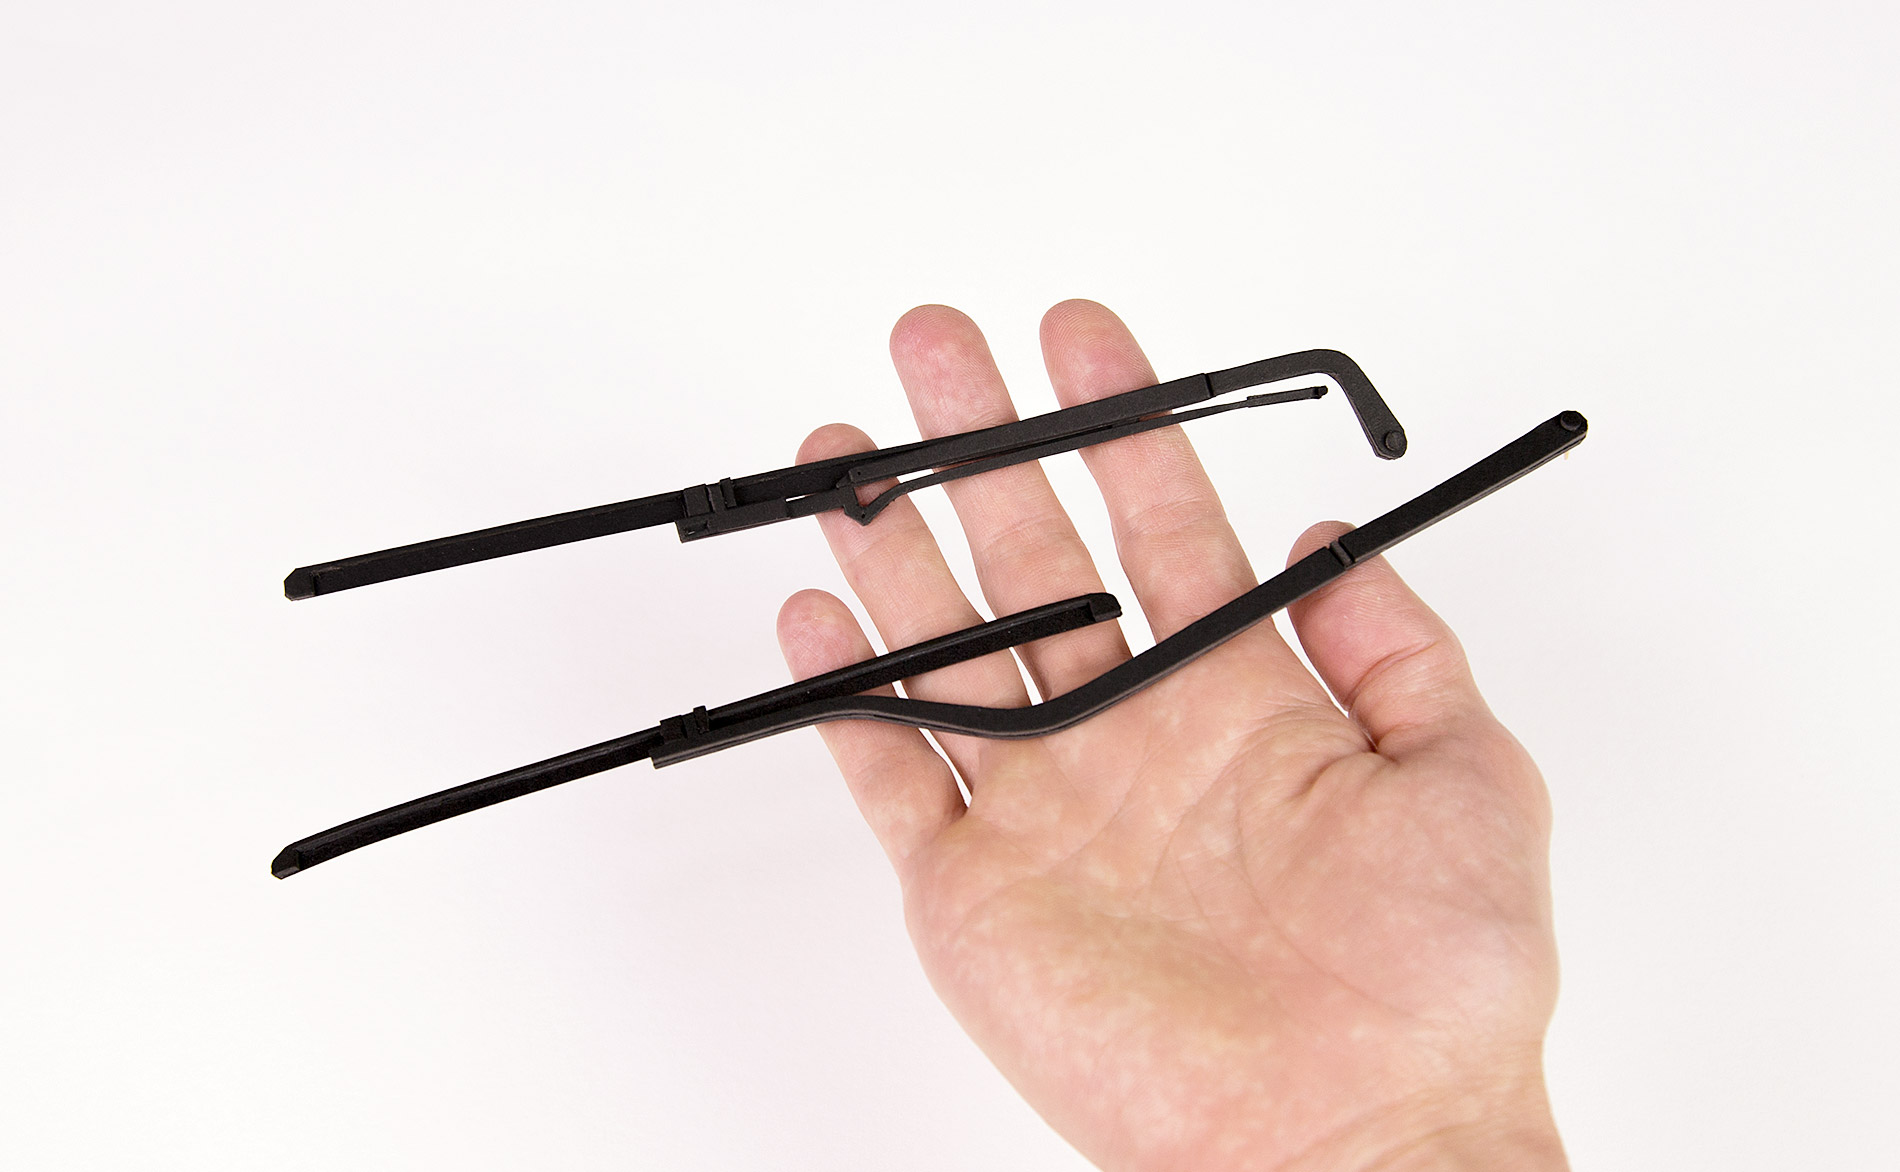
- ‣ Both windscreen wipers, ready to be fitted. Hand cut from cardboard and paper.
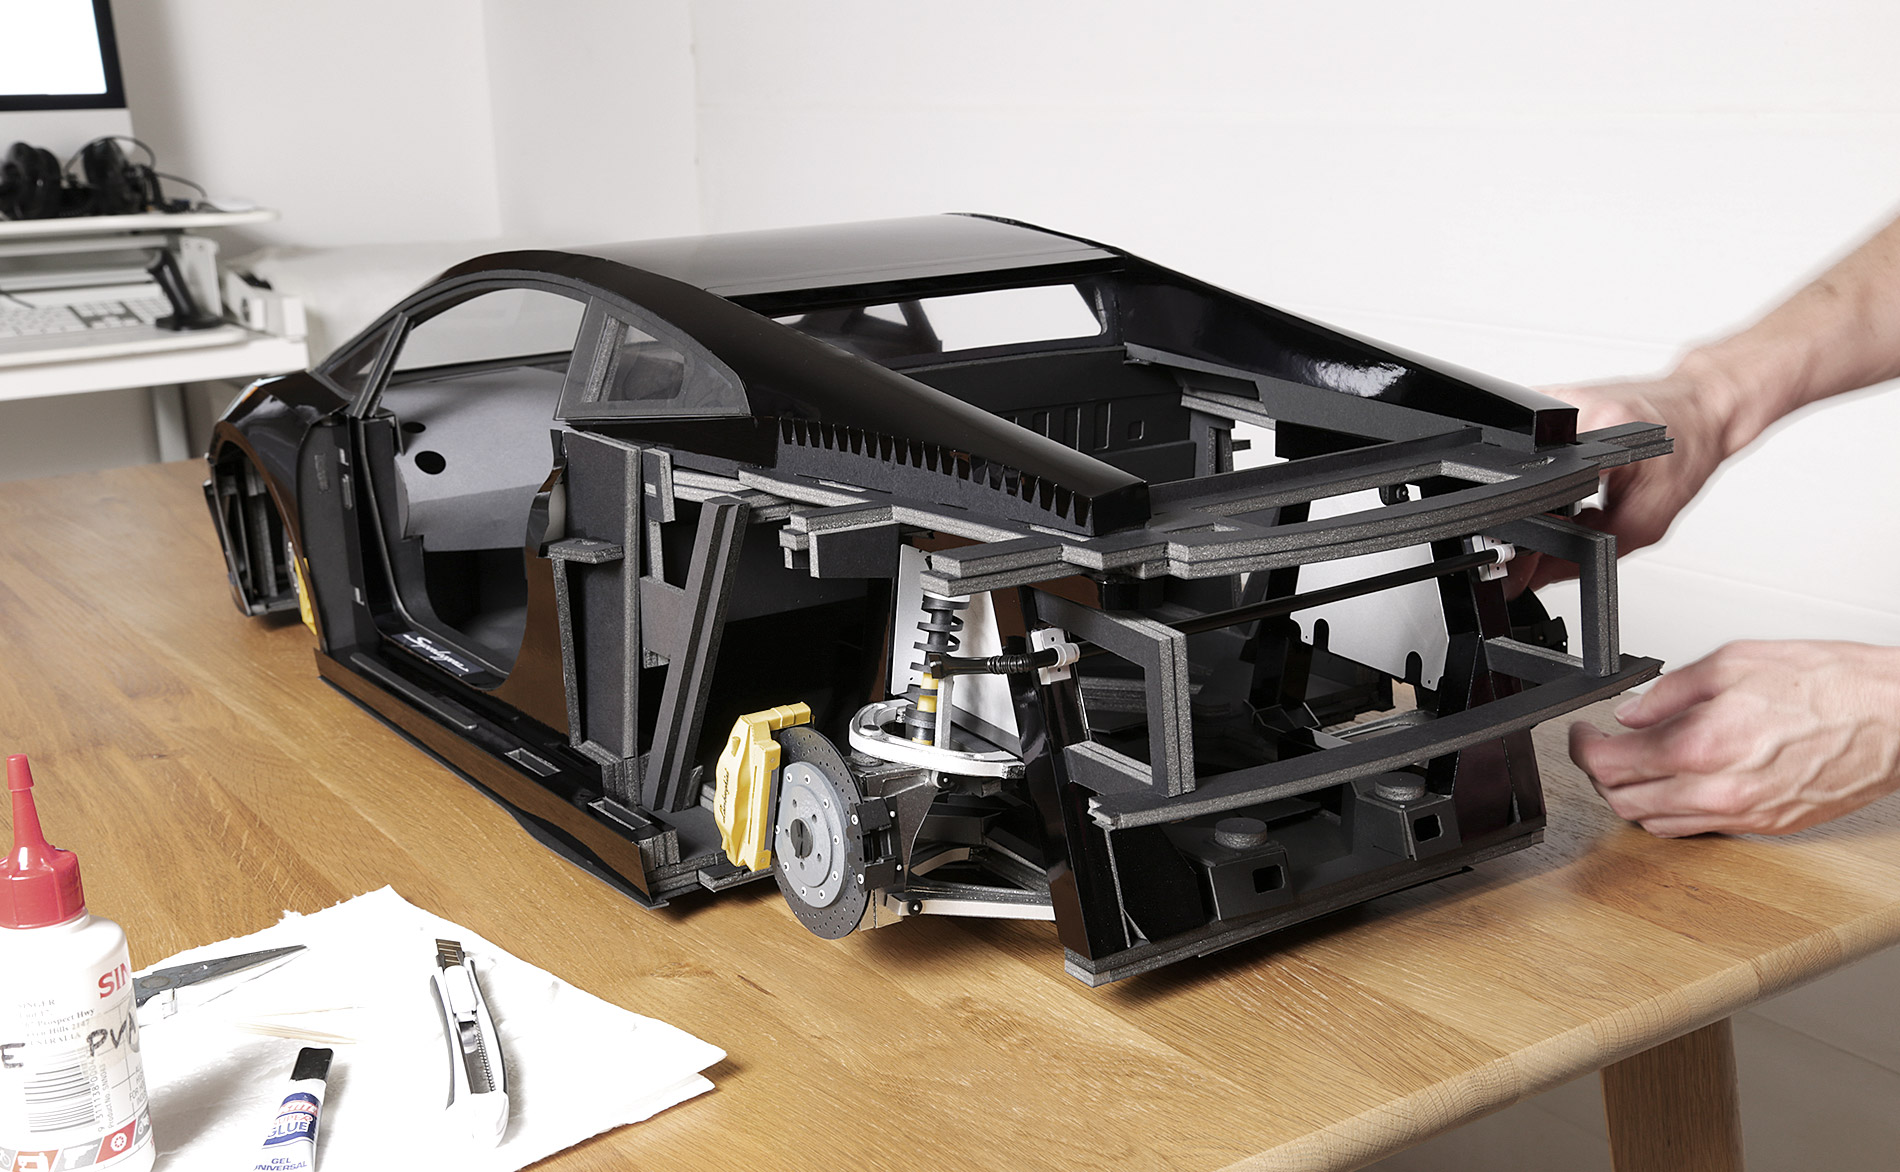
- ‣ Installation of the rear suspension on both sides now complete. Turned out pretty nice!
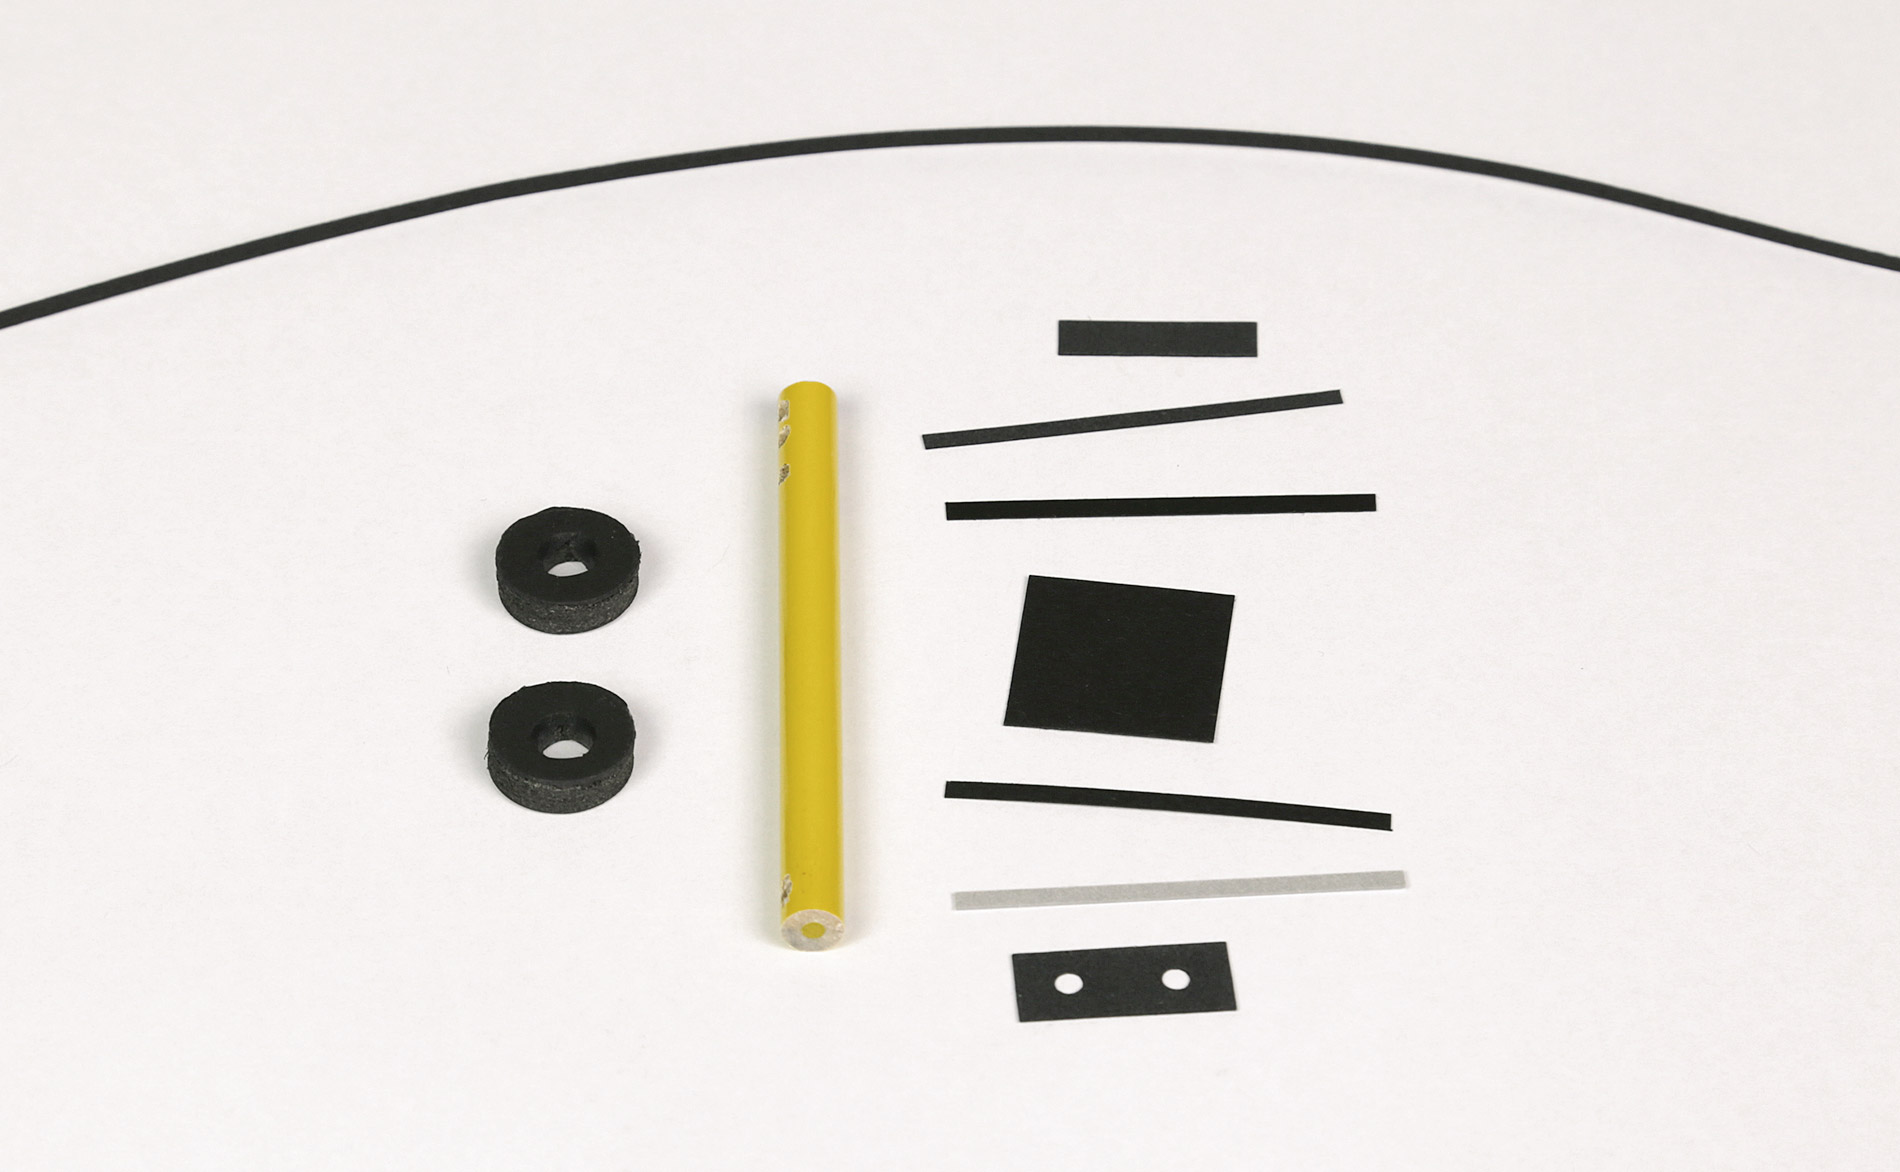
- ‣ All the separate pieces that make a up a shock absorber.
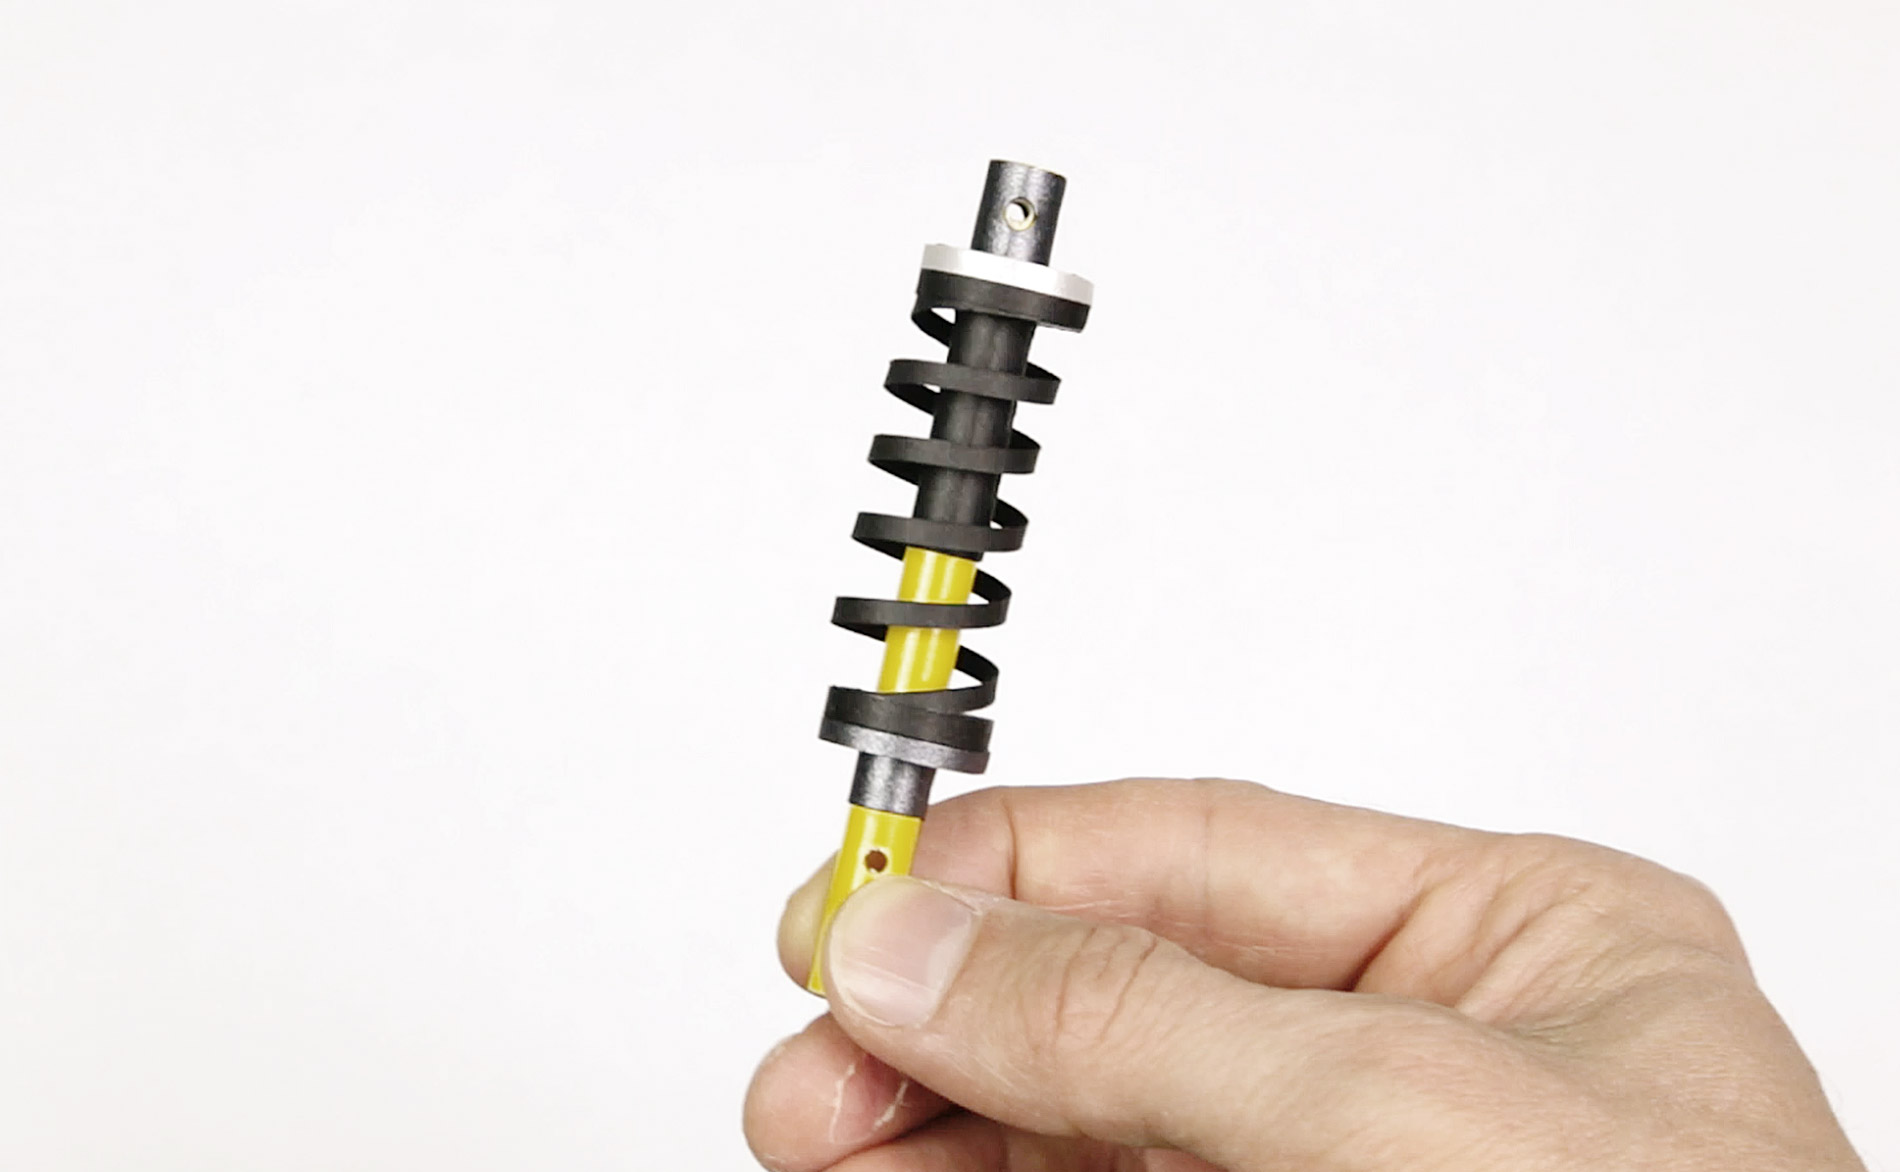
- ‣ Rear shock absorber. Made from a mix of paper, foam board, and a length of coloured pencil.
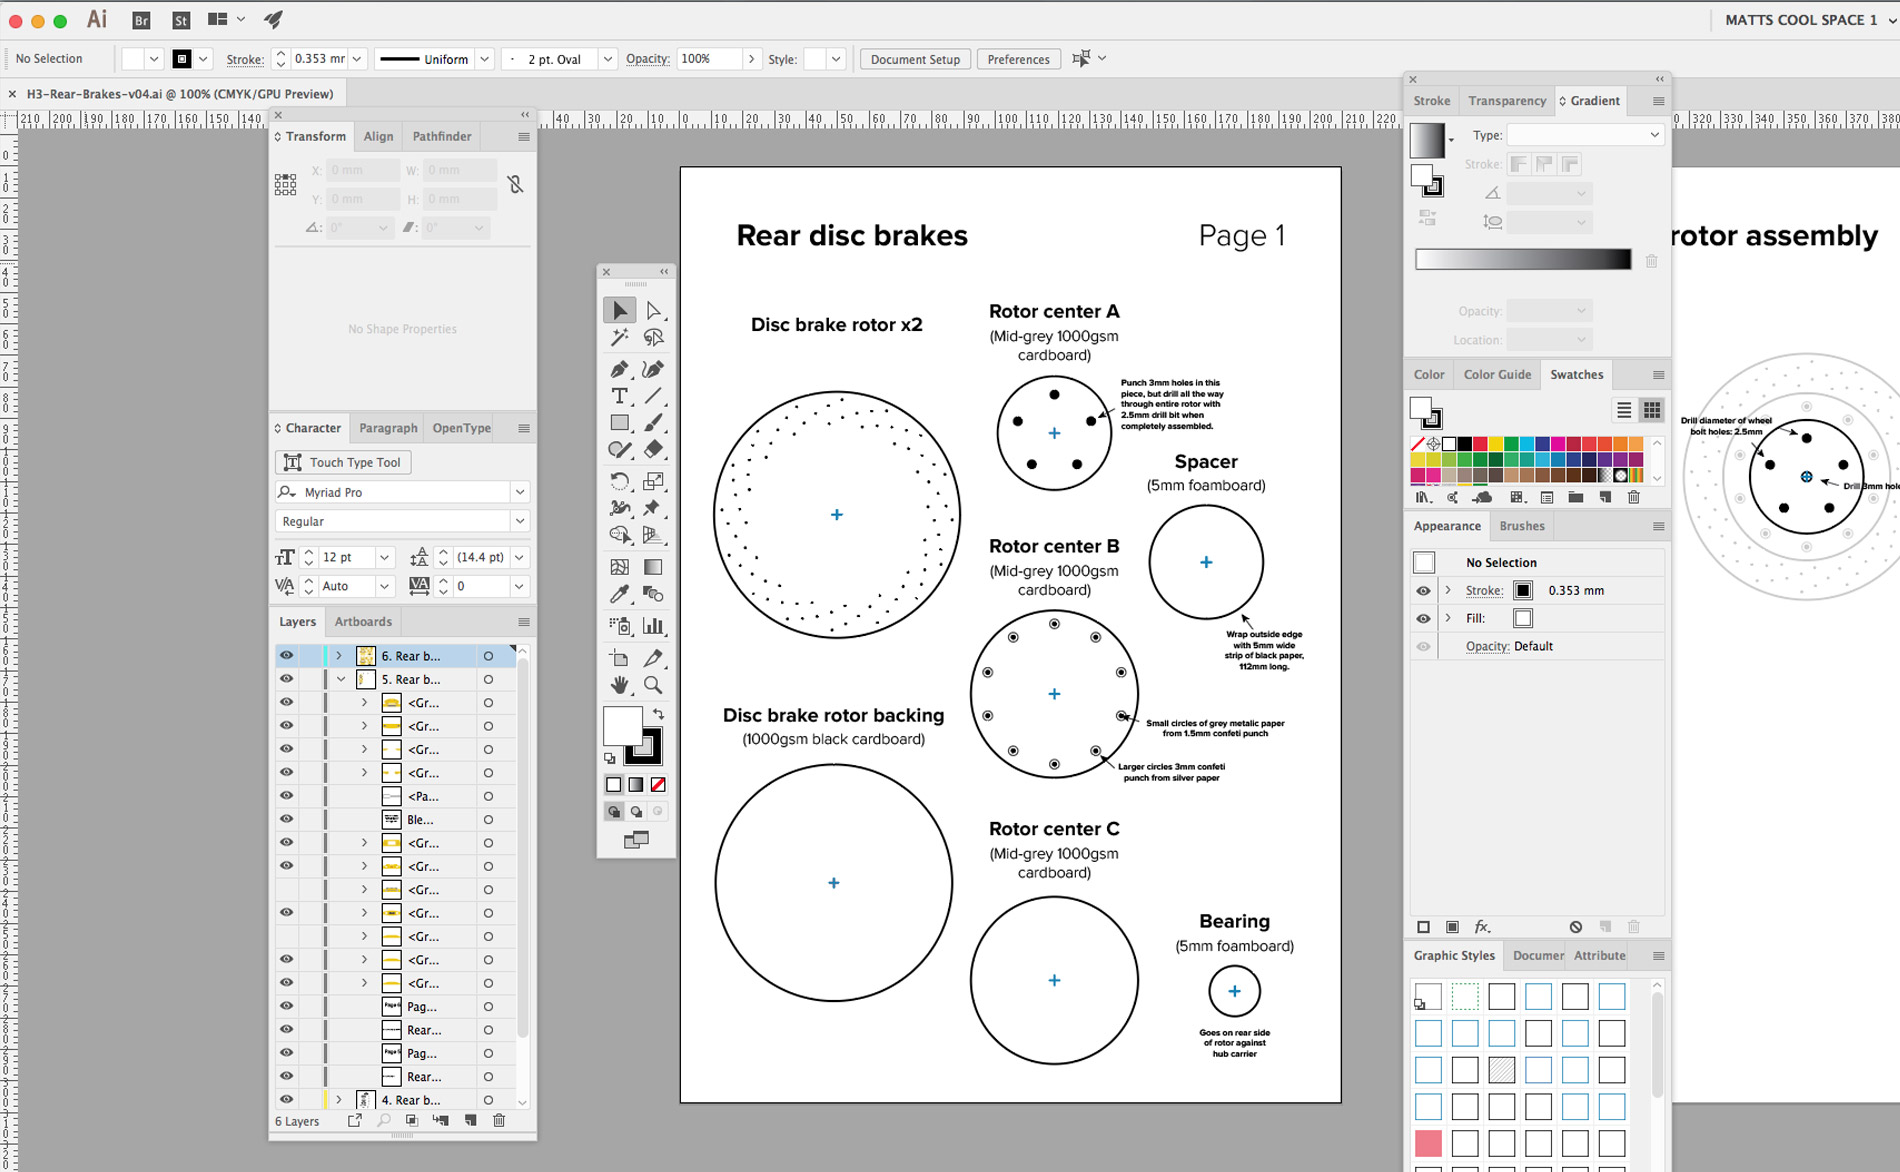
- ‣ Plans for each disk brake rotor created in Adobe Illustrator.

- ‣ Rear carbon ceramic disk brake rotor cut from craft card and board.
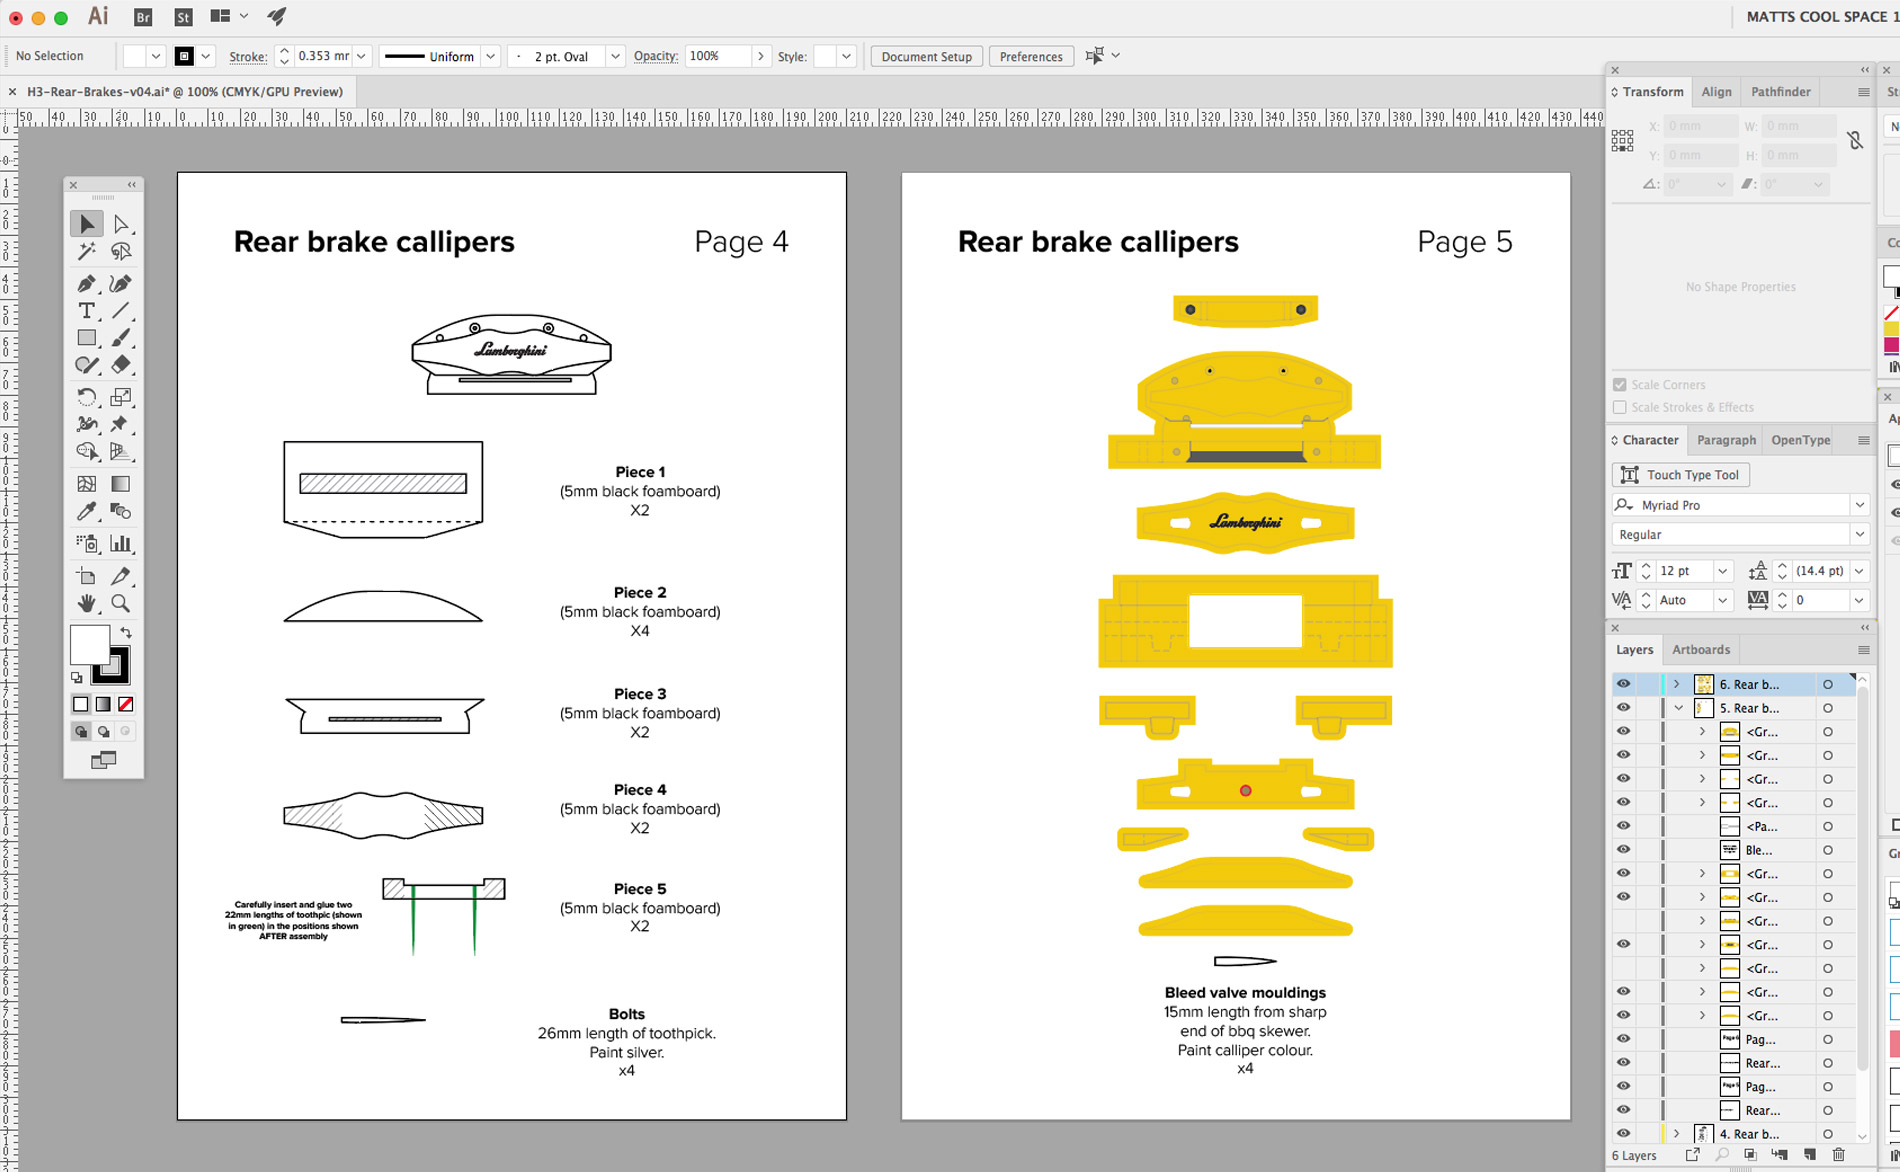
- ‣ Plans for each brake calliper part created in Adobe Illustrator.
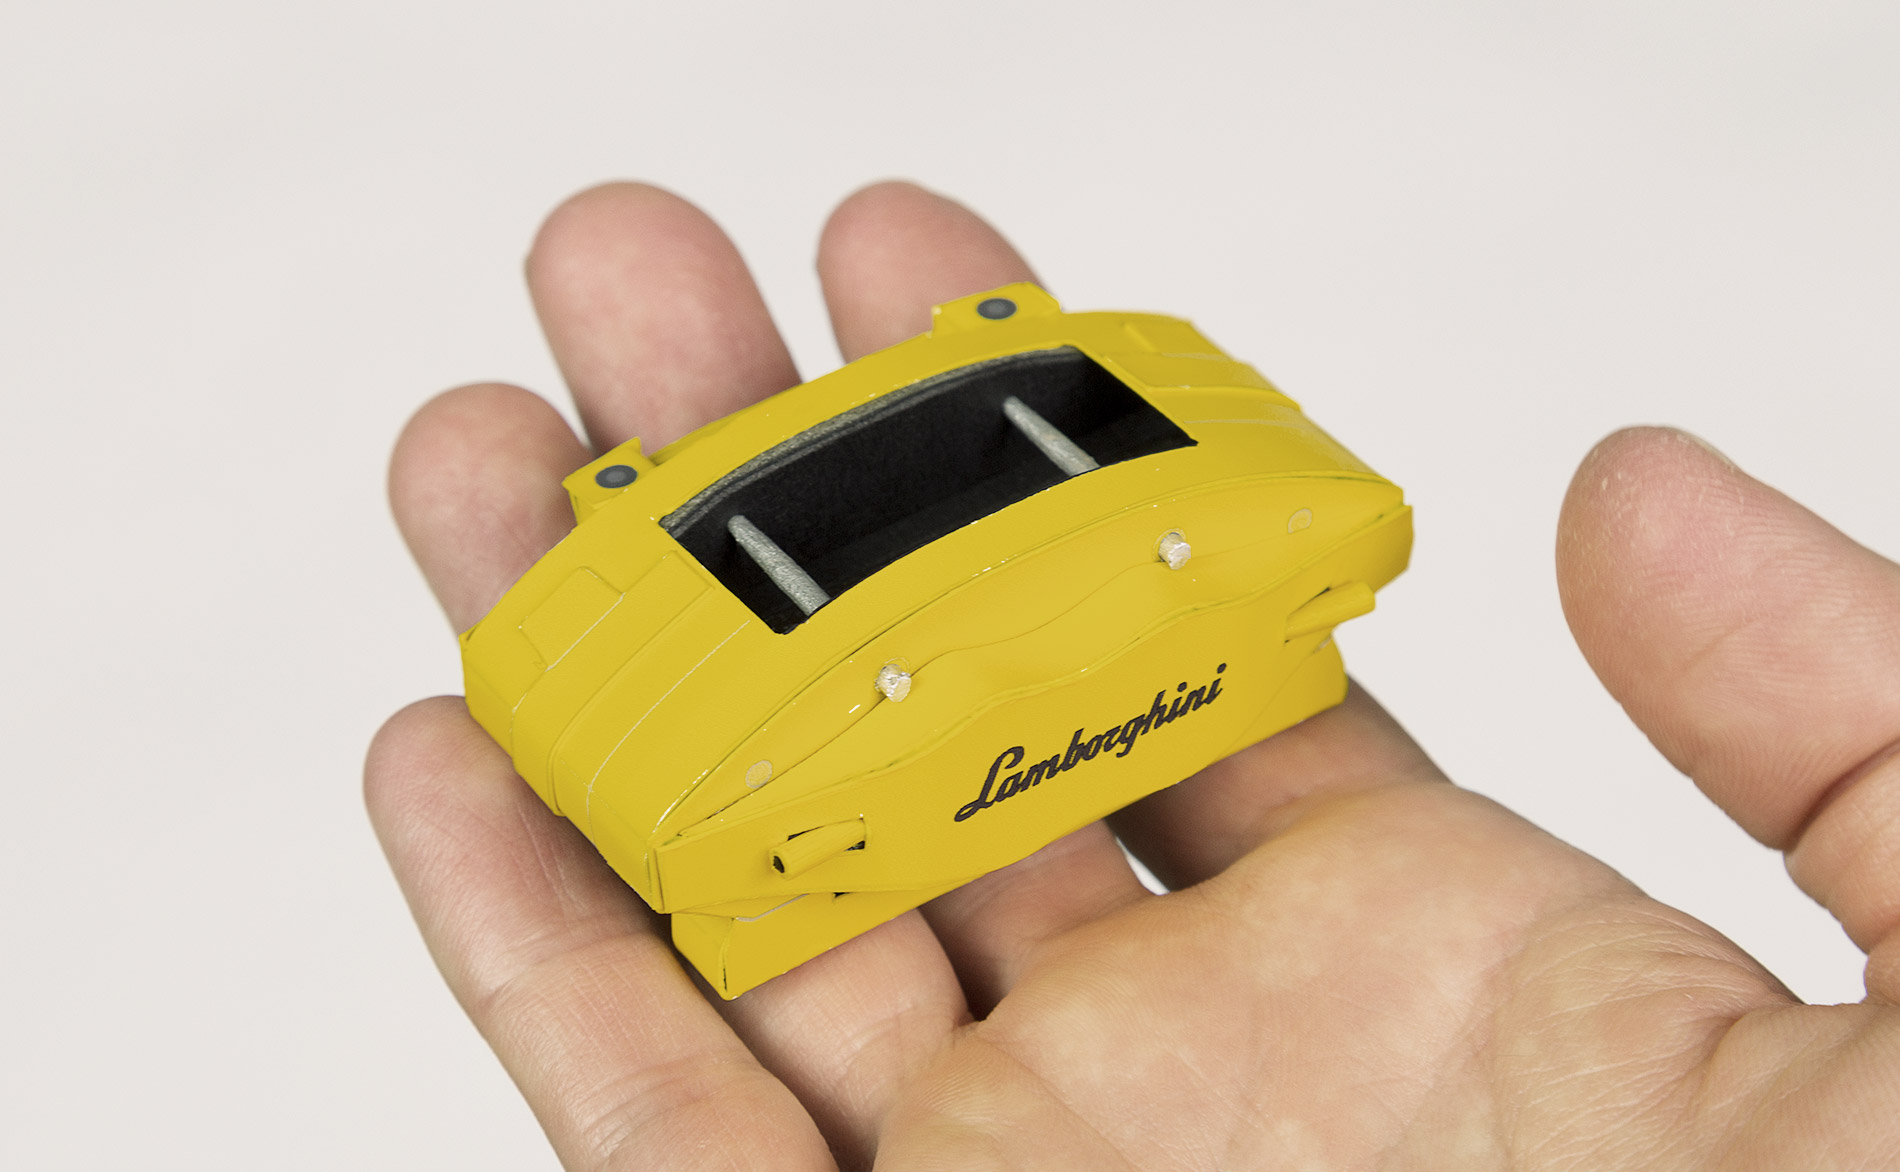
- ‣ Complete rear brake calliper.
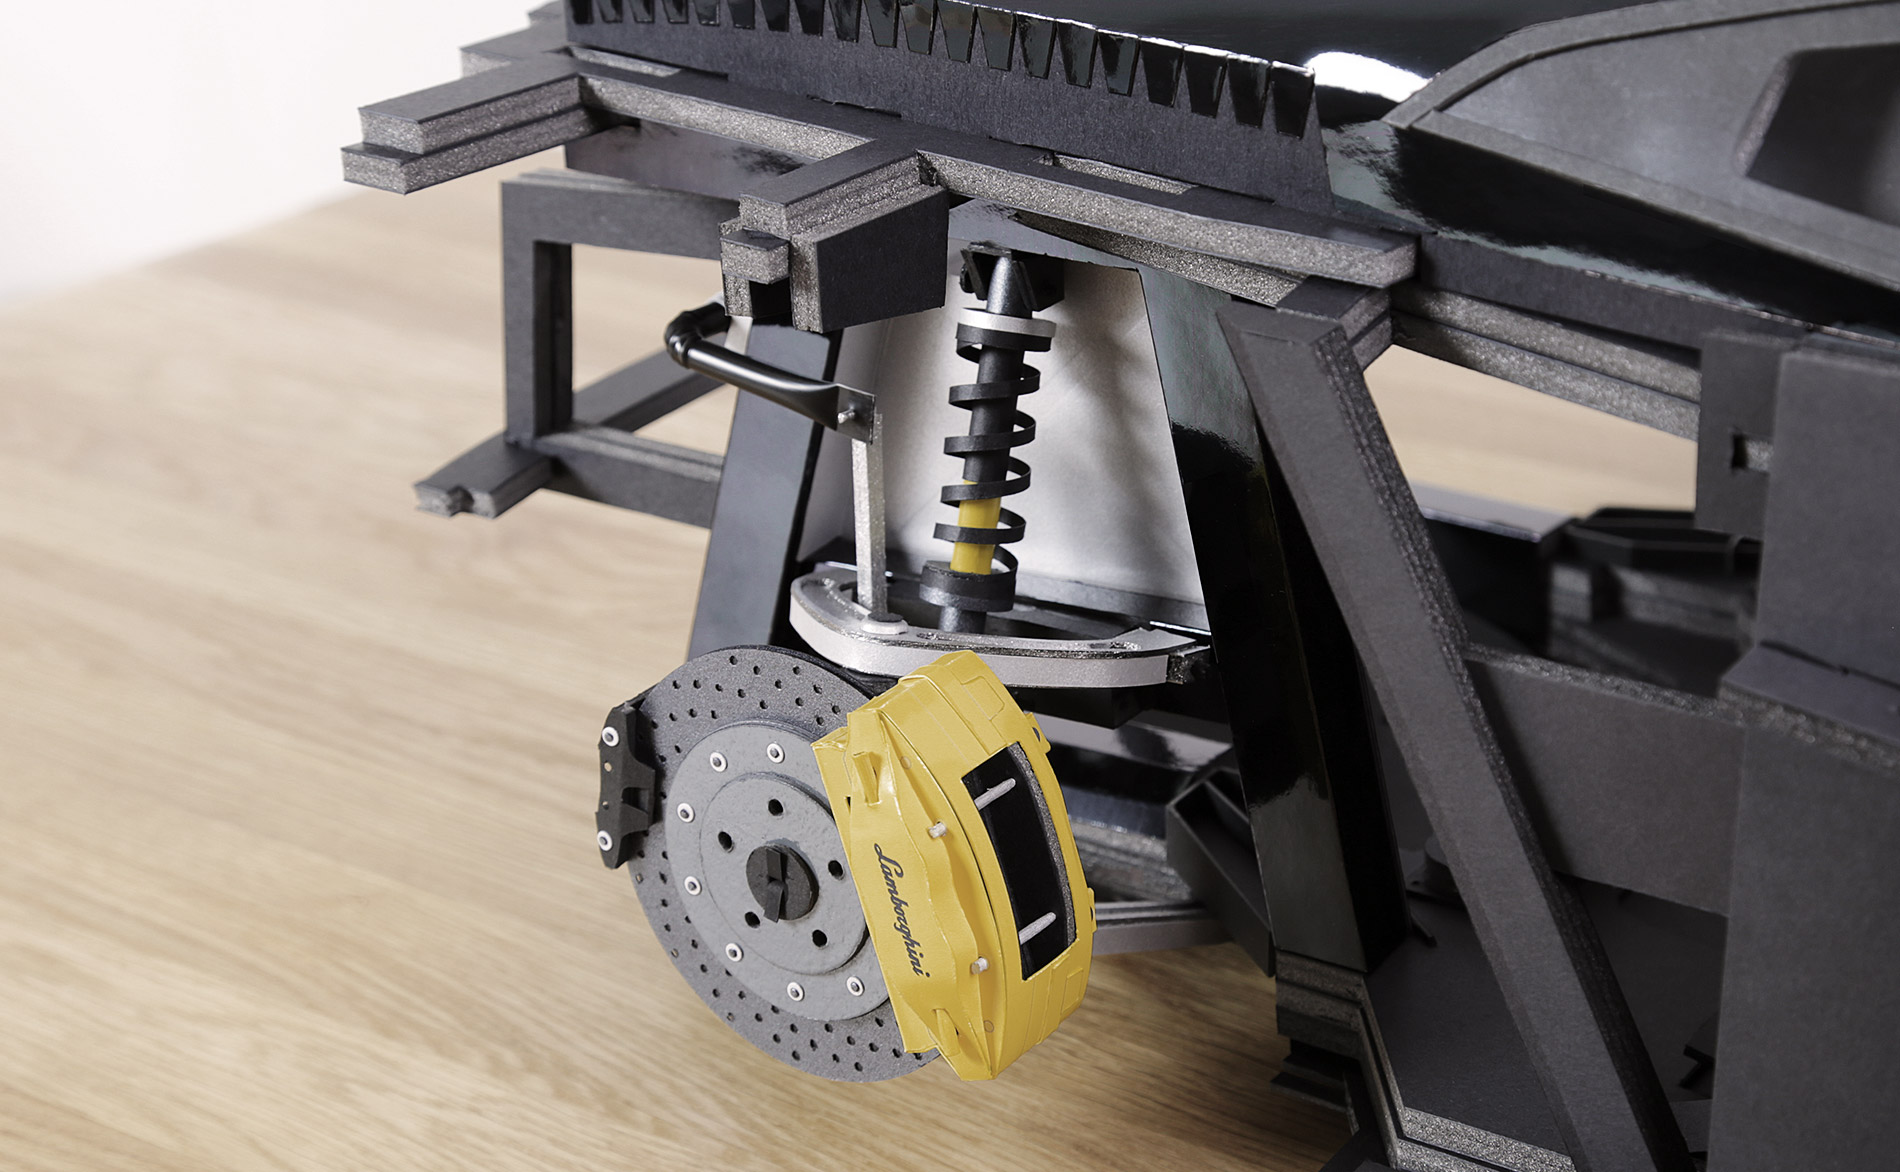
- ‣ Here’s another view of the completed driver’s side rear suspension, brakes, and stabiliser bar. I designed and made all of the parts completely from scratch.

- ‣ I’ve designed and made all of the parts for the rear suspension, brakes, and stabiliser bar. Here’s the completed assembly for the driver’s side.

- ‣ This pic shows parts for the driver’s side rear suspension and brakes.
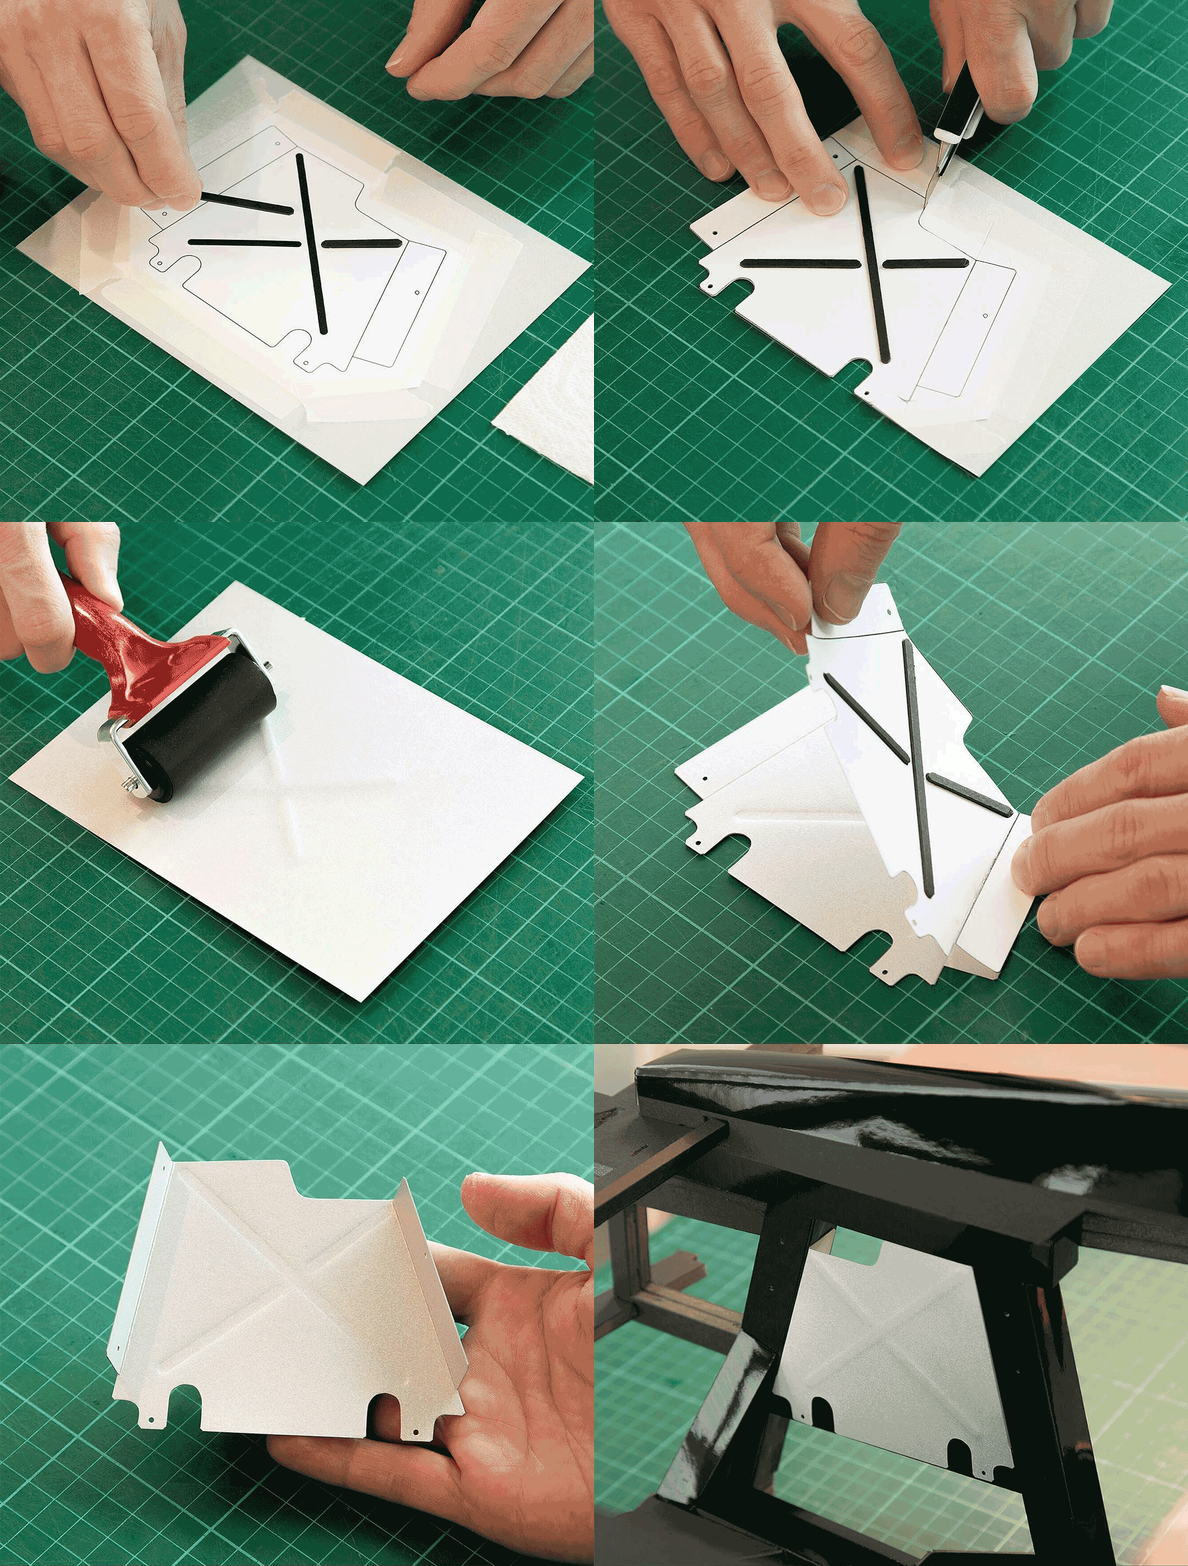
- ‣ Construction process for one piece of engine bay heat shielding.

- ‣ The Gallardo starting to take shape!

- ‣ The roof is done. Final assembly proved to be MUCH more challenging than I expected. I ended up having to redesign a bunch of roof parts, and re-think how sections of the roof fit together. It’s now simpler, more elegant in it’s construction, more accurate, and looks great (I think!)
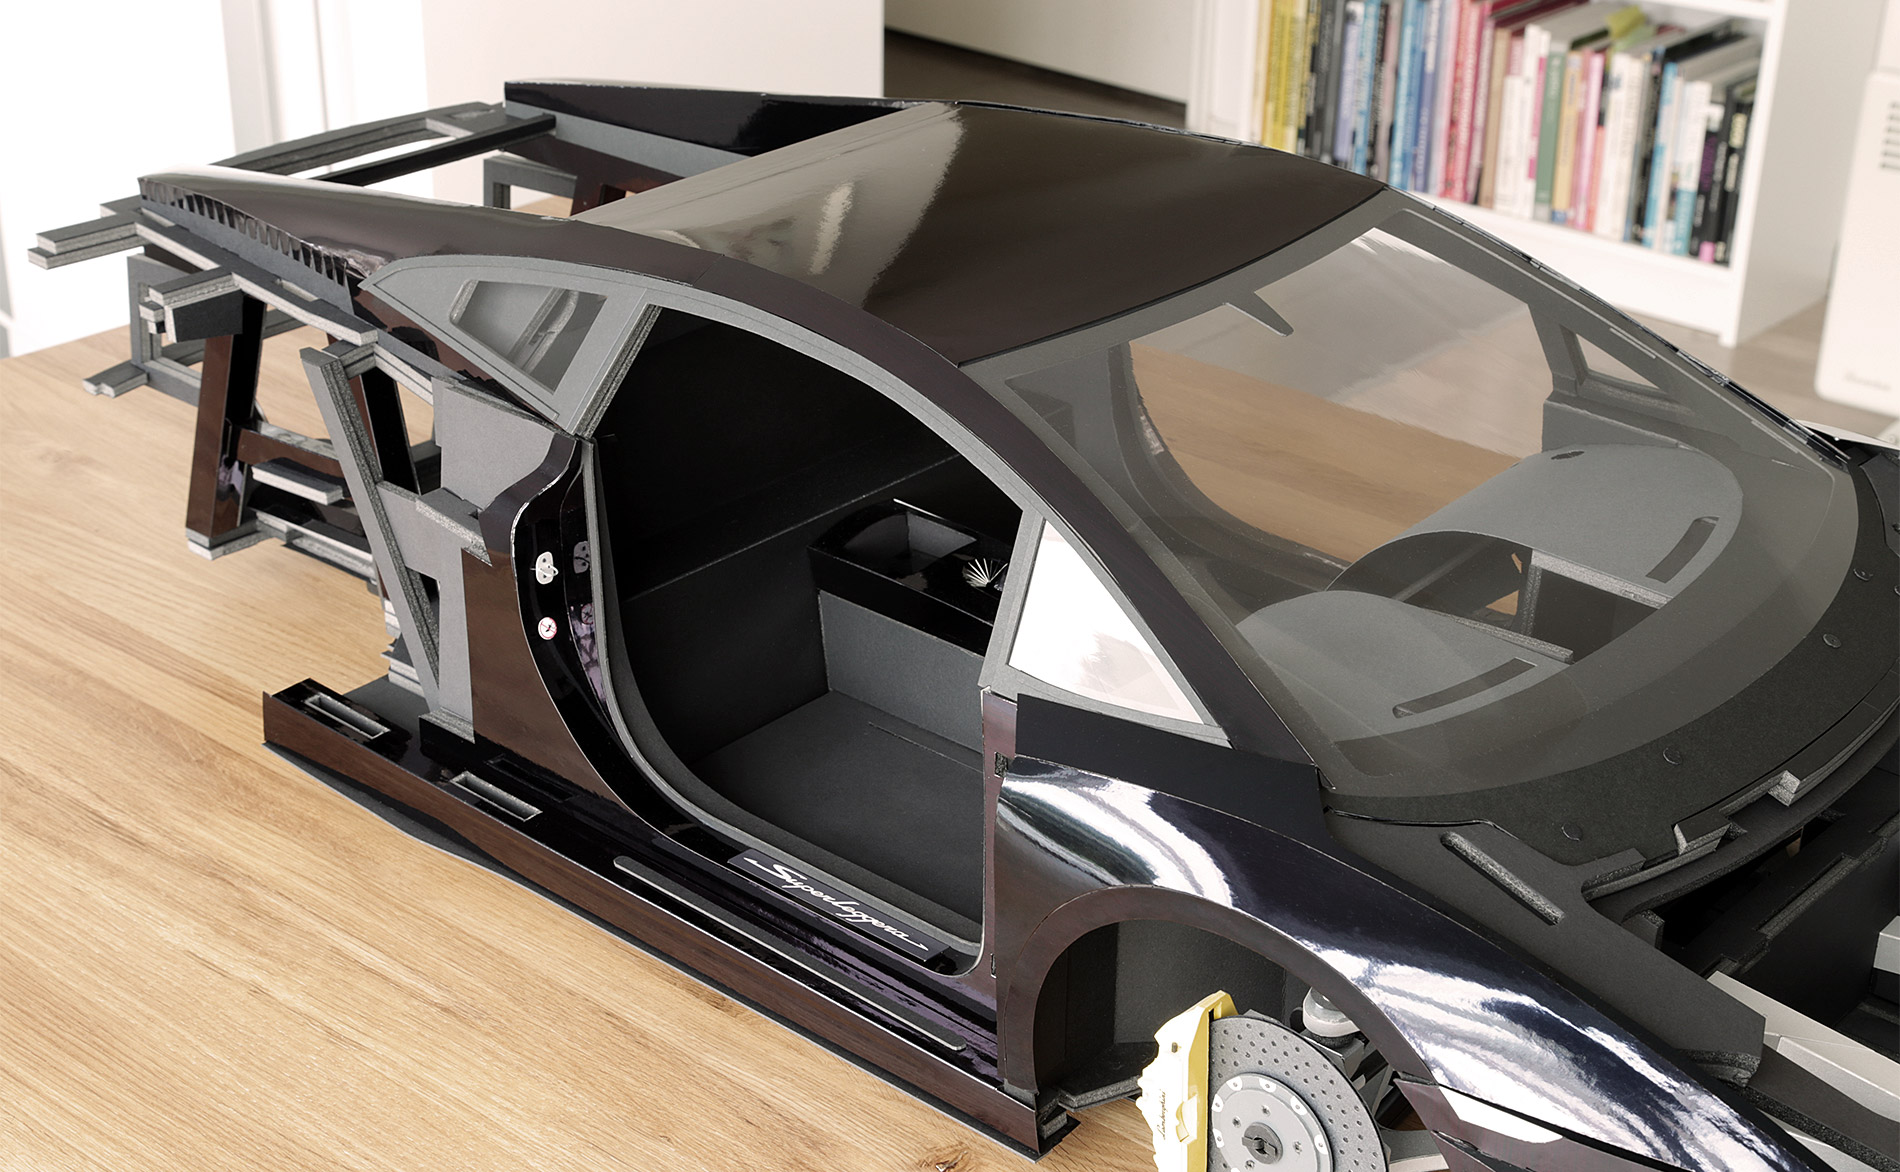
- ‣ Another pic of the roof. The roof construction proved to be much more challenging that I expected.

- ‣ Updated rear frame is fitted to the Gallardo model. Now I could finally assemble and fit the roof.
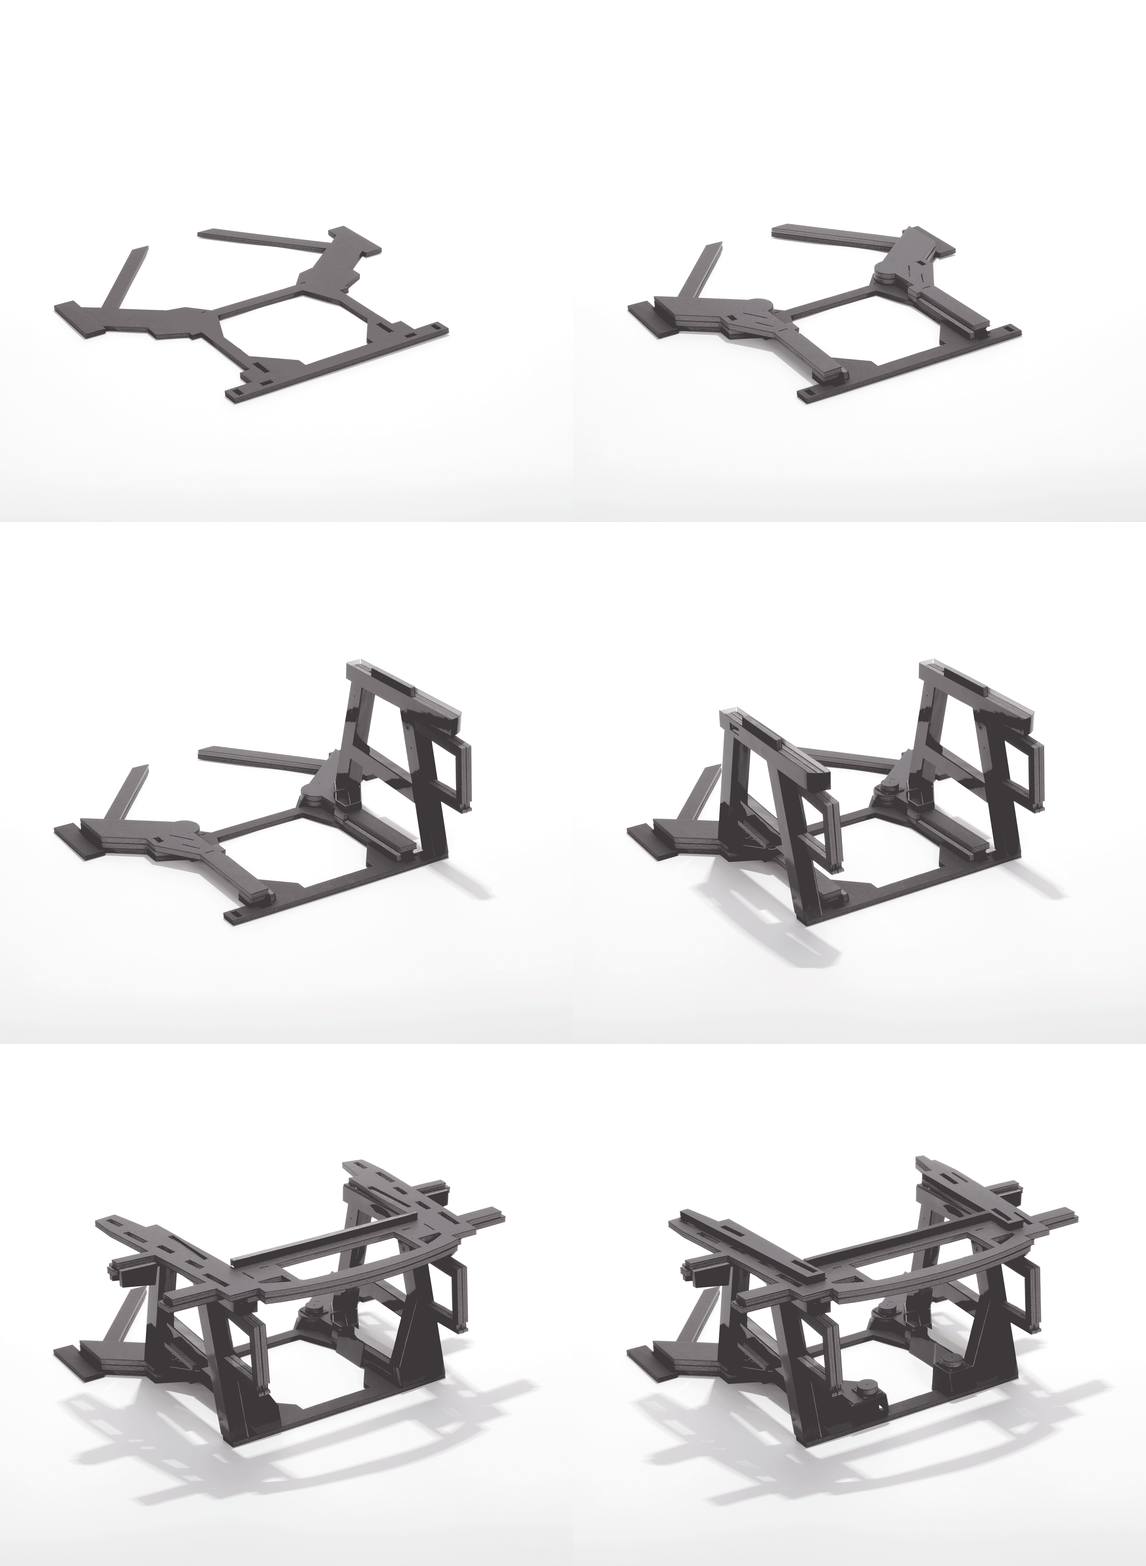
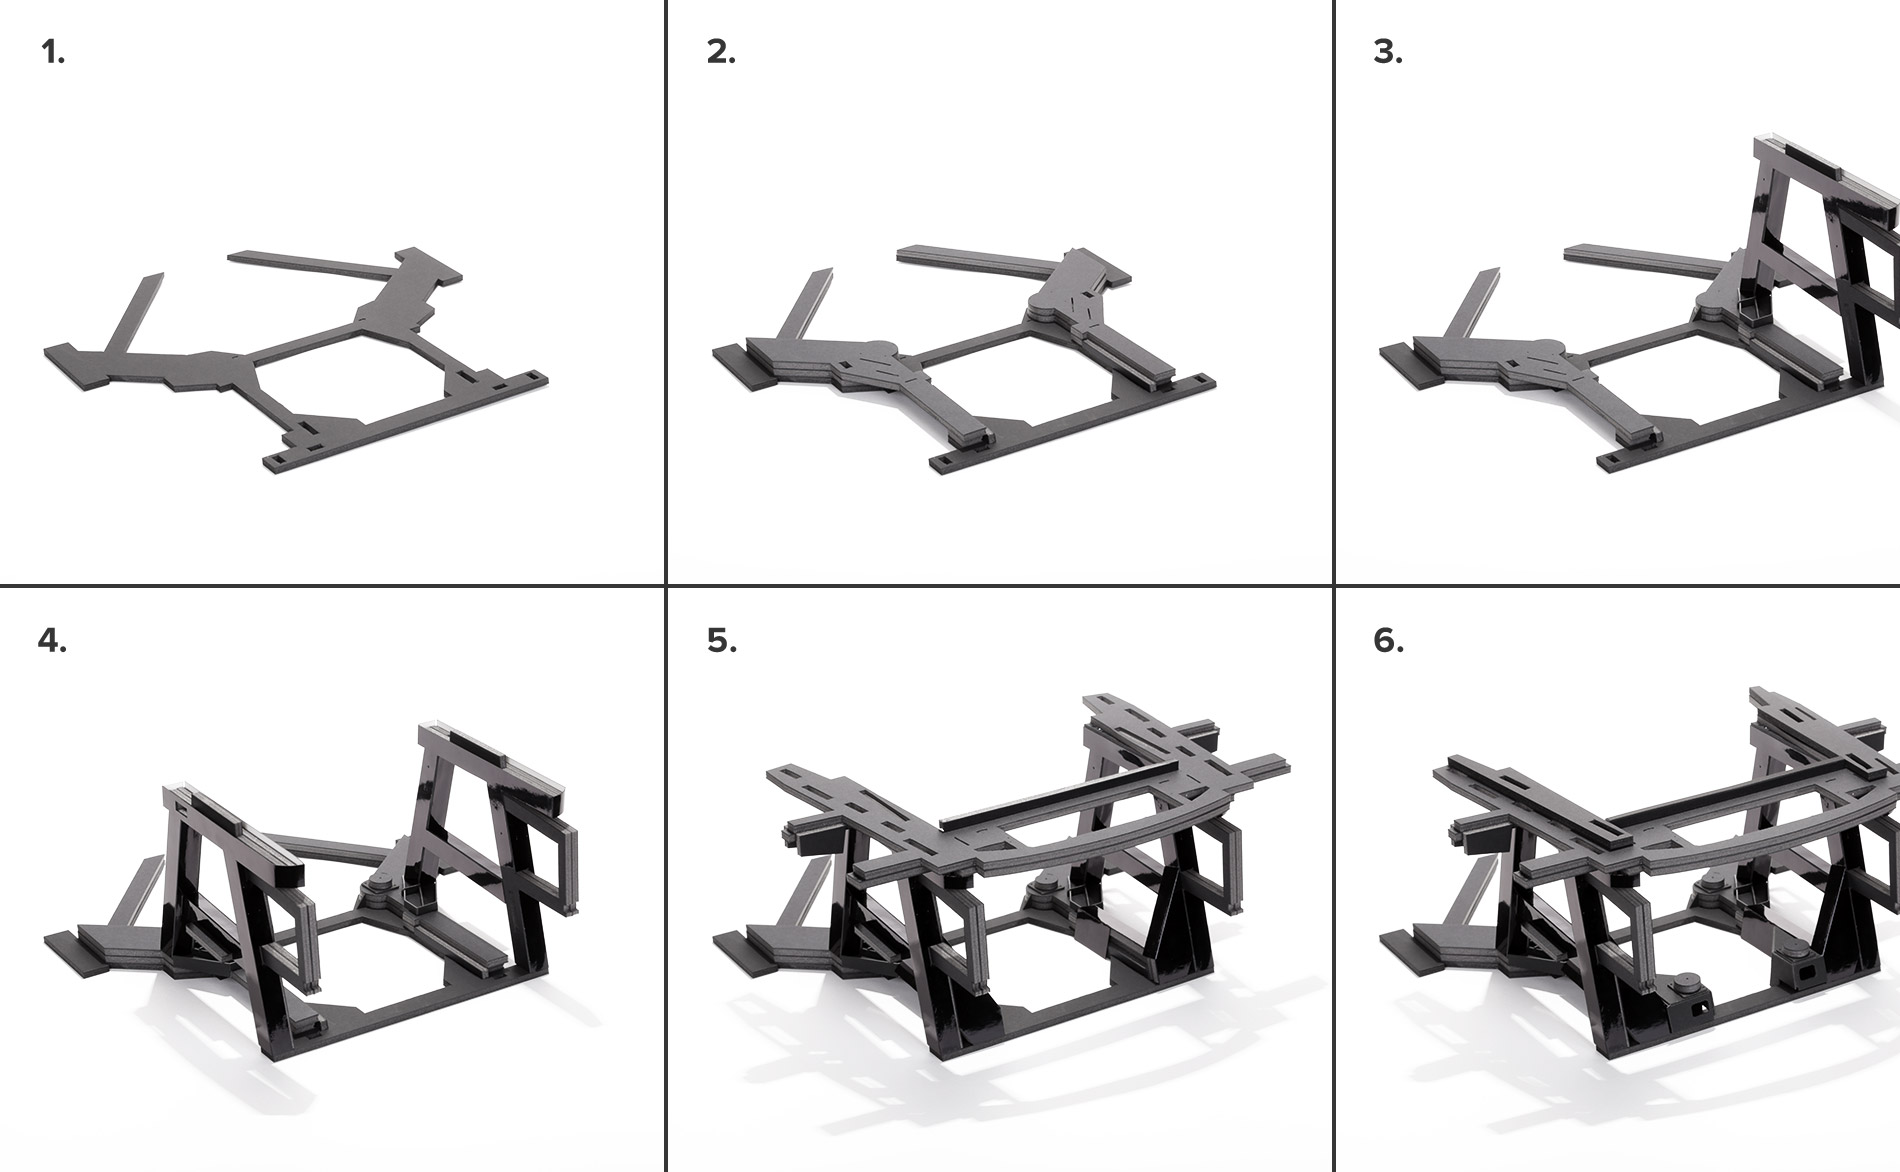
- ‣ Main stages of assembling the Gallardo's rear frame. Lots and lots of parts, all designed from scratch, and cut from sheets of board by hand.
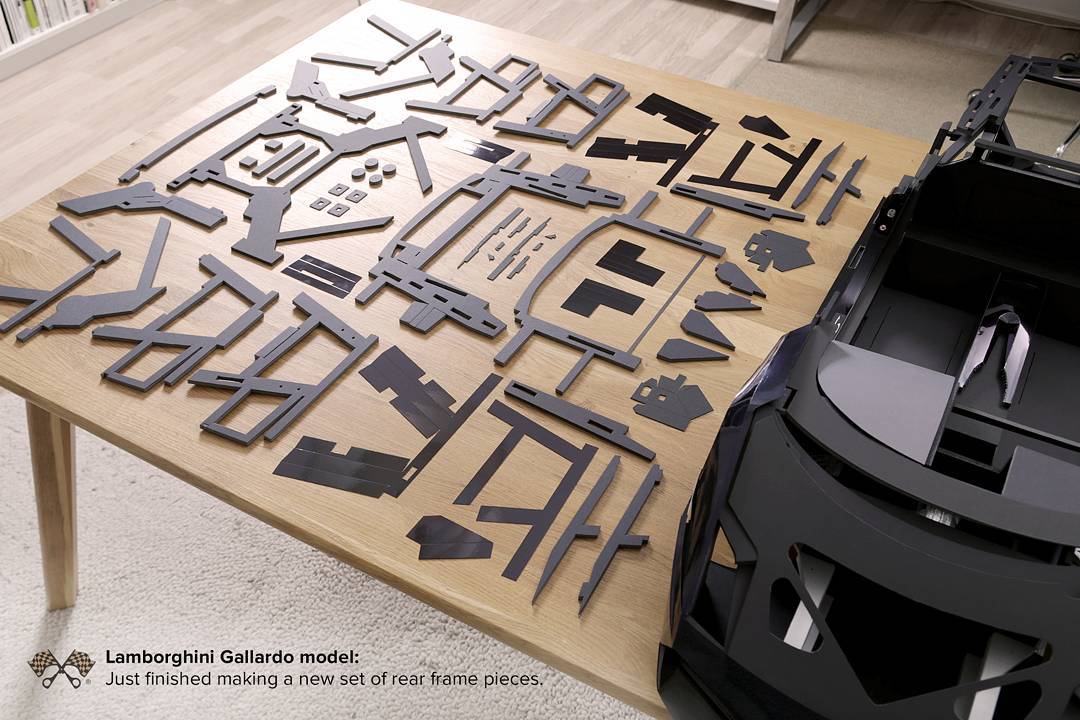
- ‣ Just made a new set of rear frame pieces. I needed to add rear shock absorber attachment brackets; modify the position of the upper arm attachment points; plus a bunch of other tweaks. These needed to be done before I assemble the final roof (which partly attaches to the rear frame).

- ‣ Front end view taken March 2017.