Lamborghini Gallardo Page 2
Superleggera LP 570-4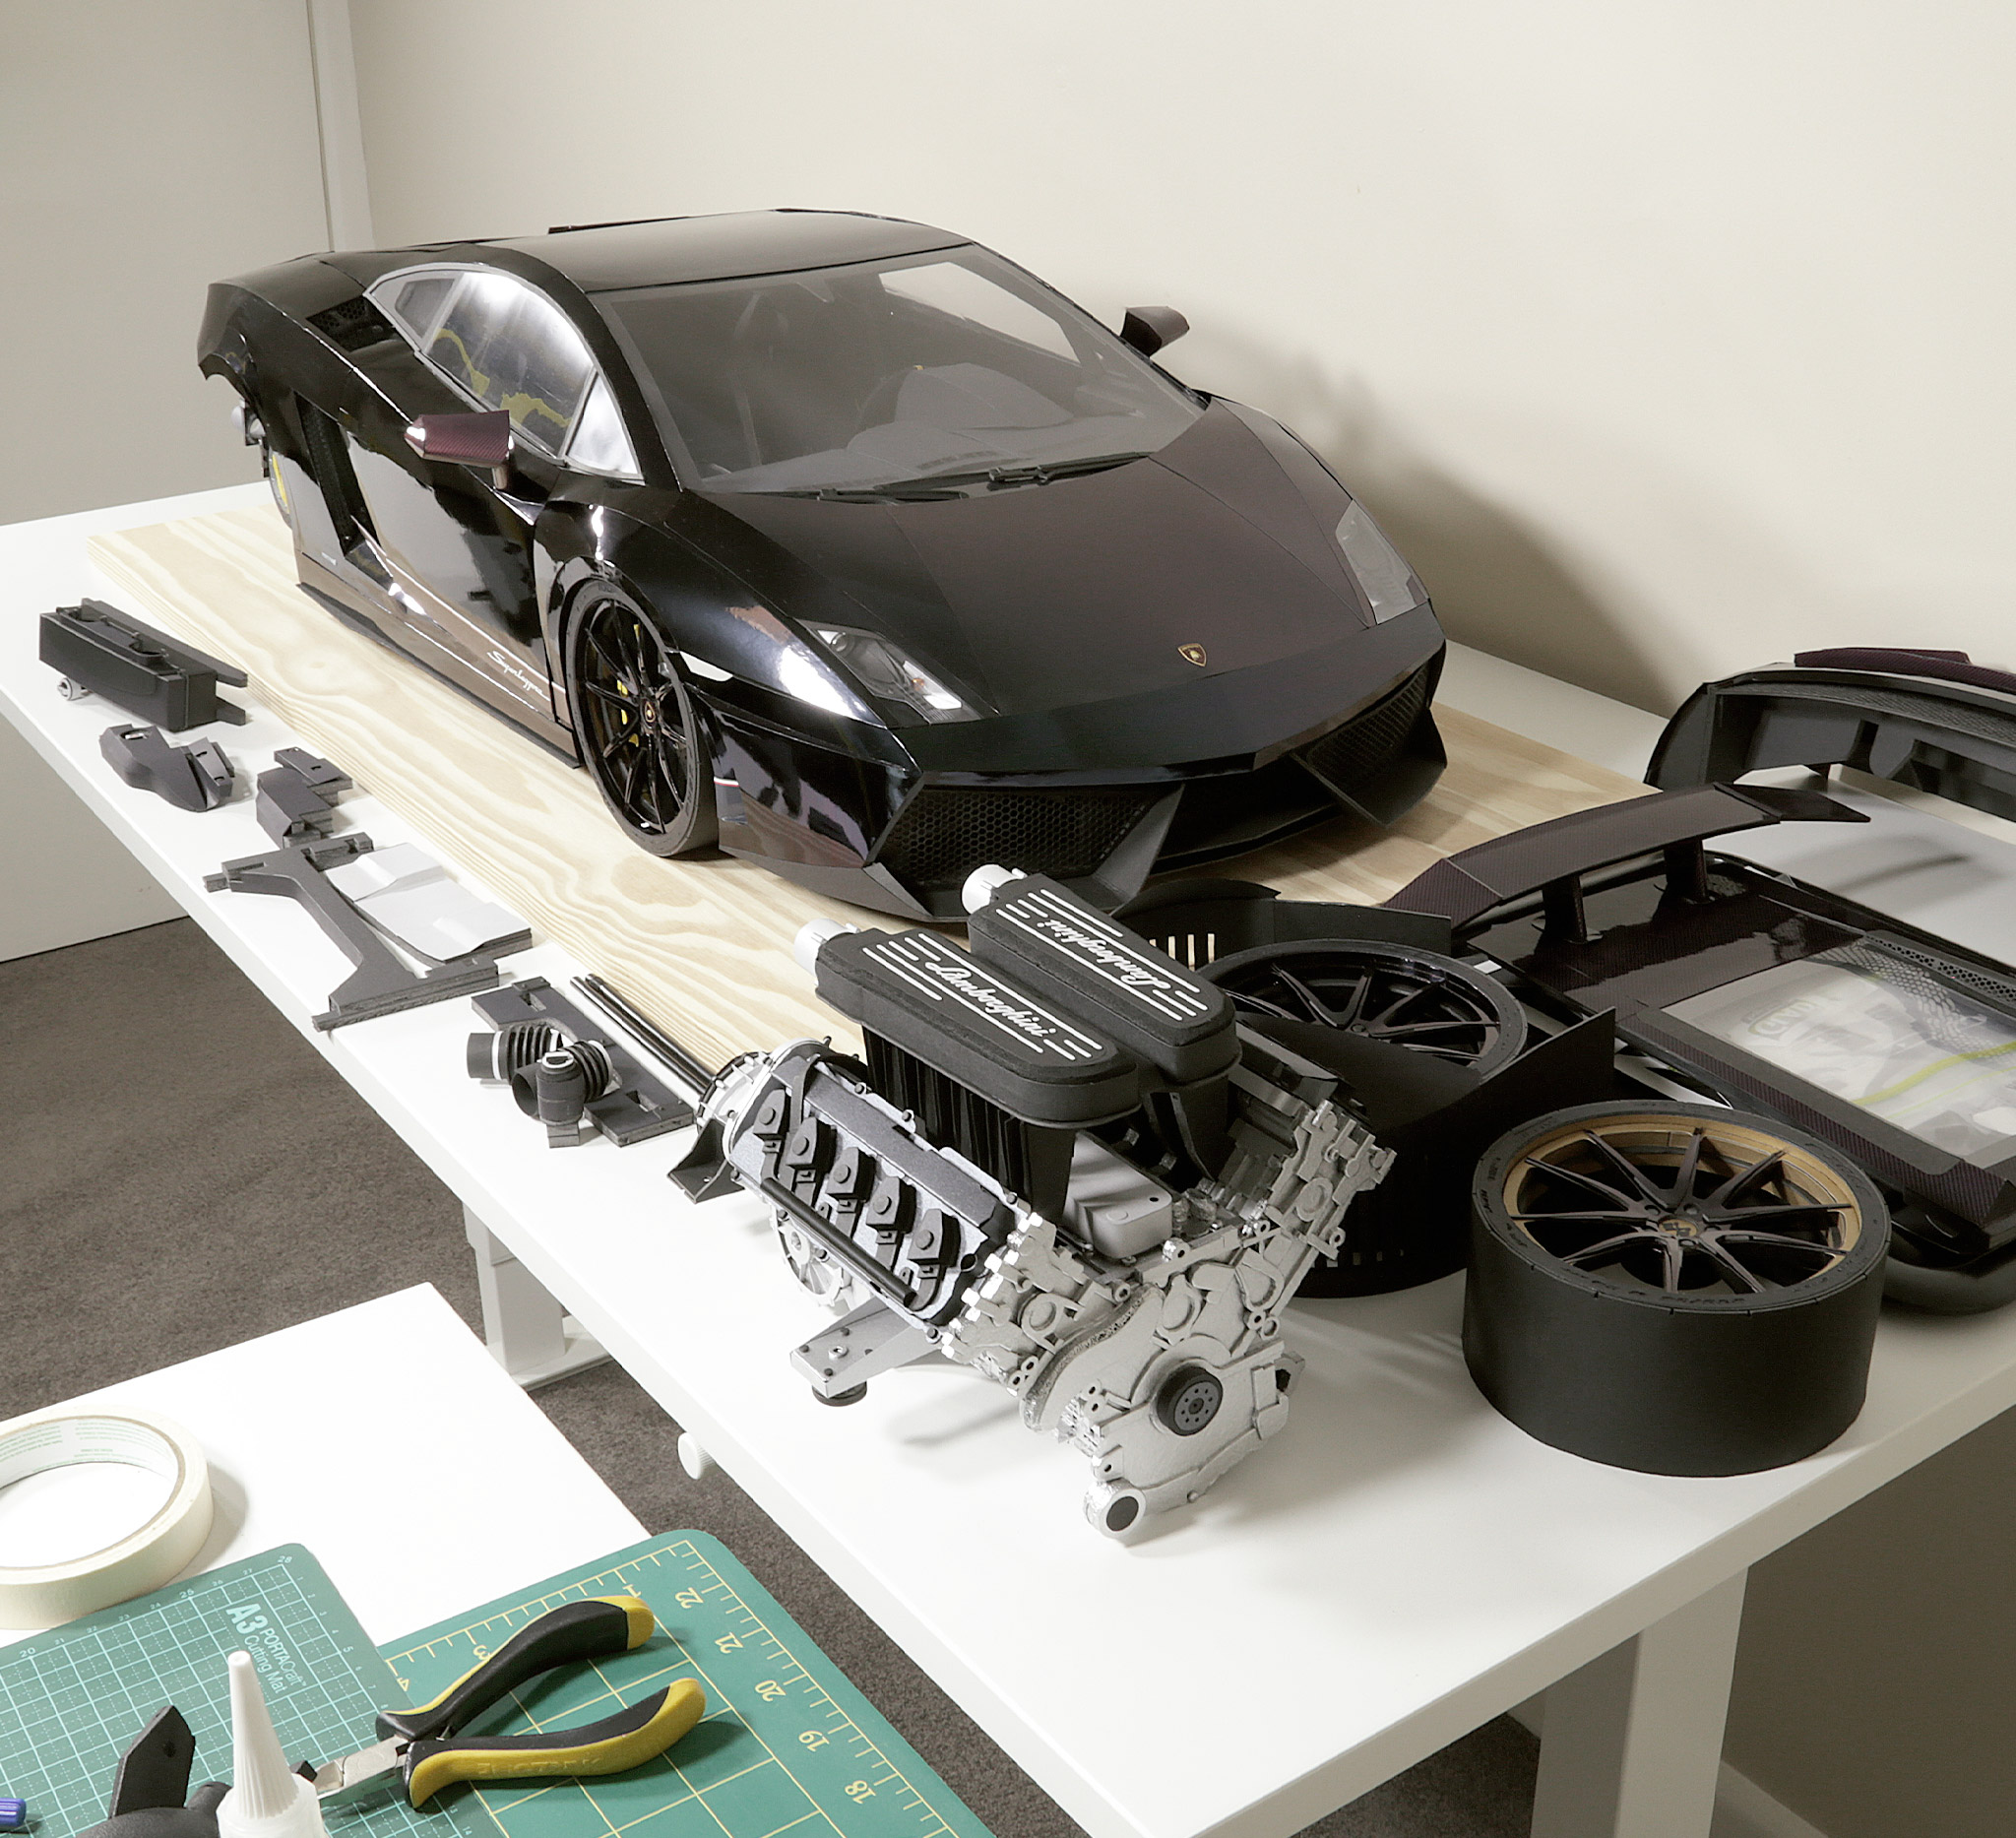
- ‣ Rear wheels, rear bumper, and engine cover all removed before fitting the engine and transmission.
- ‣ Instagram story about how I had finally completed the Gallardo's engine and transmission.
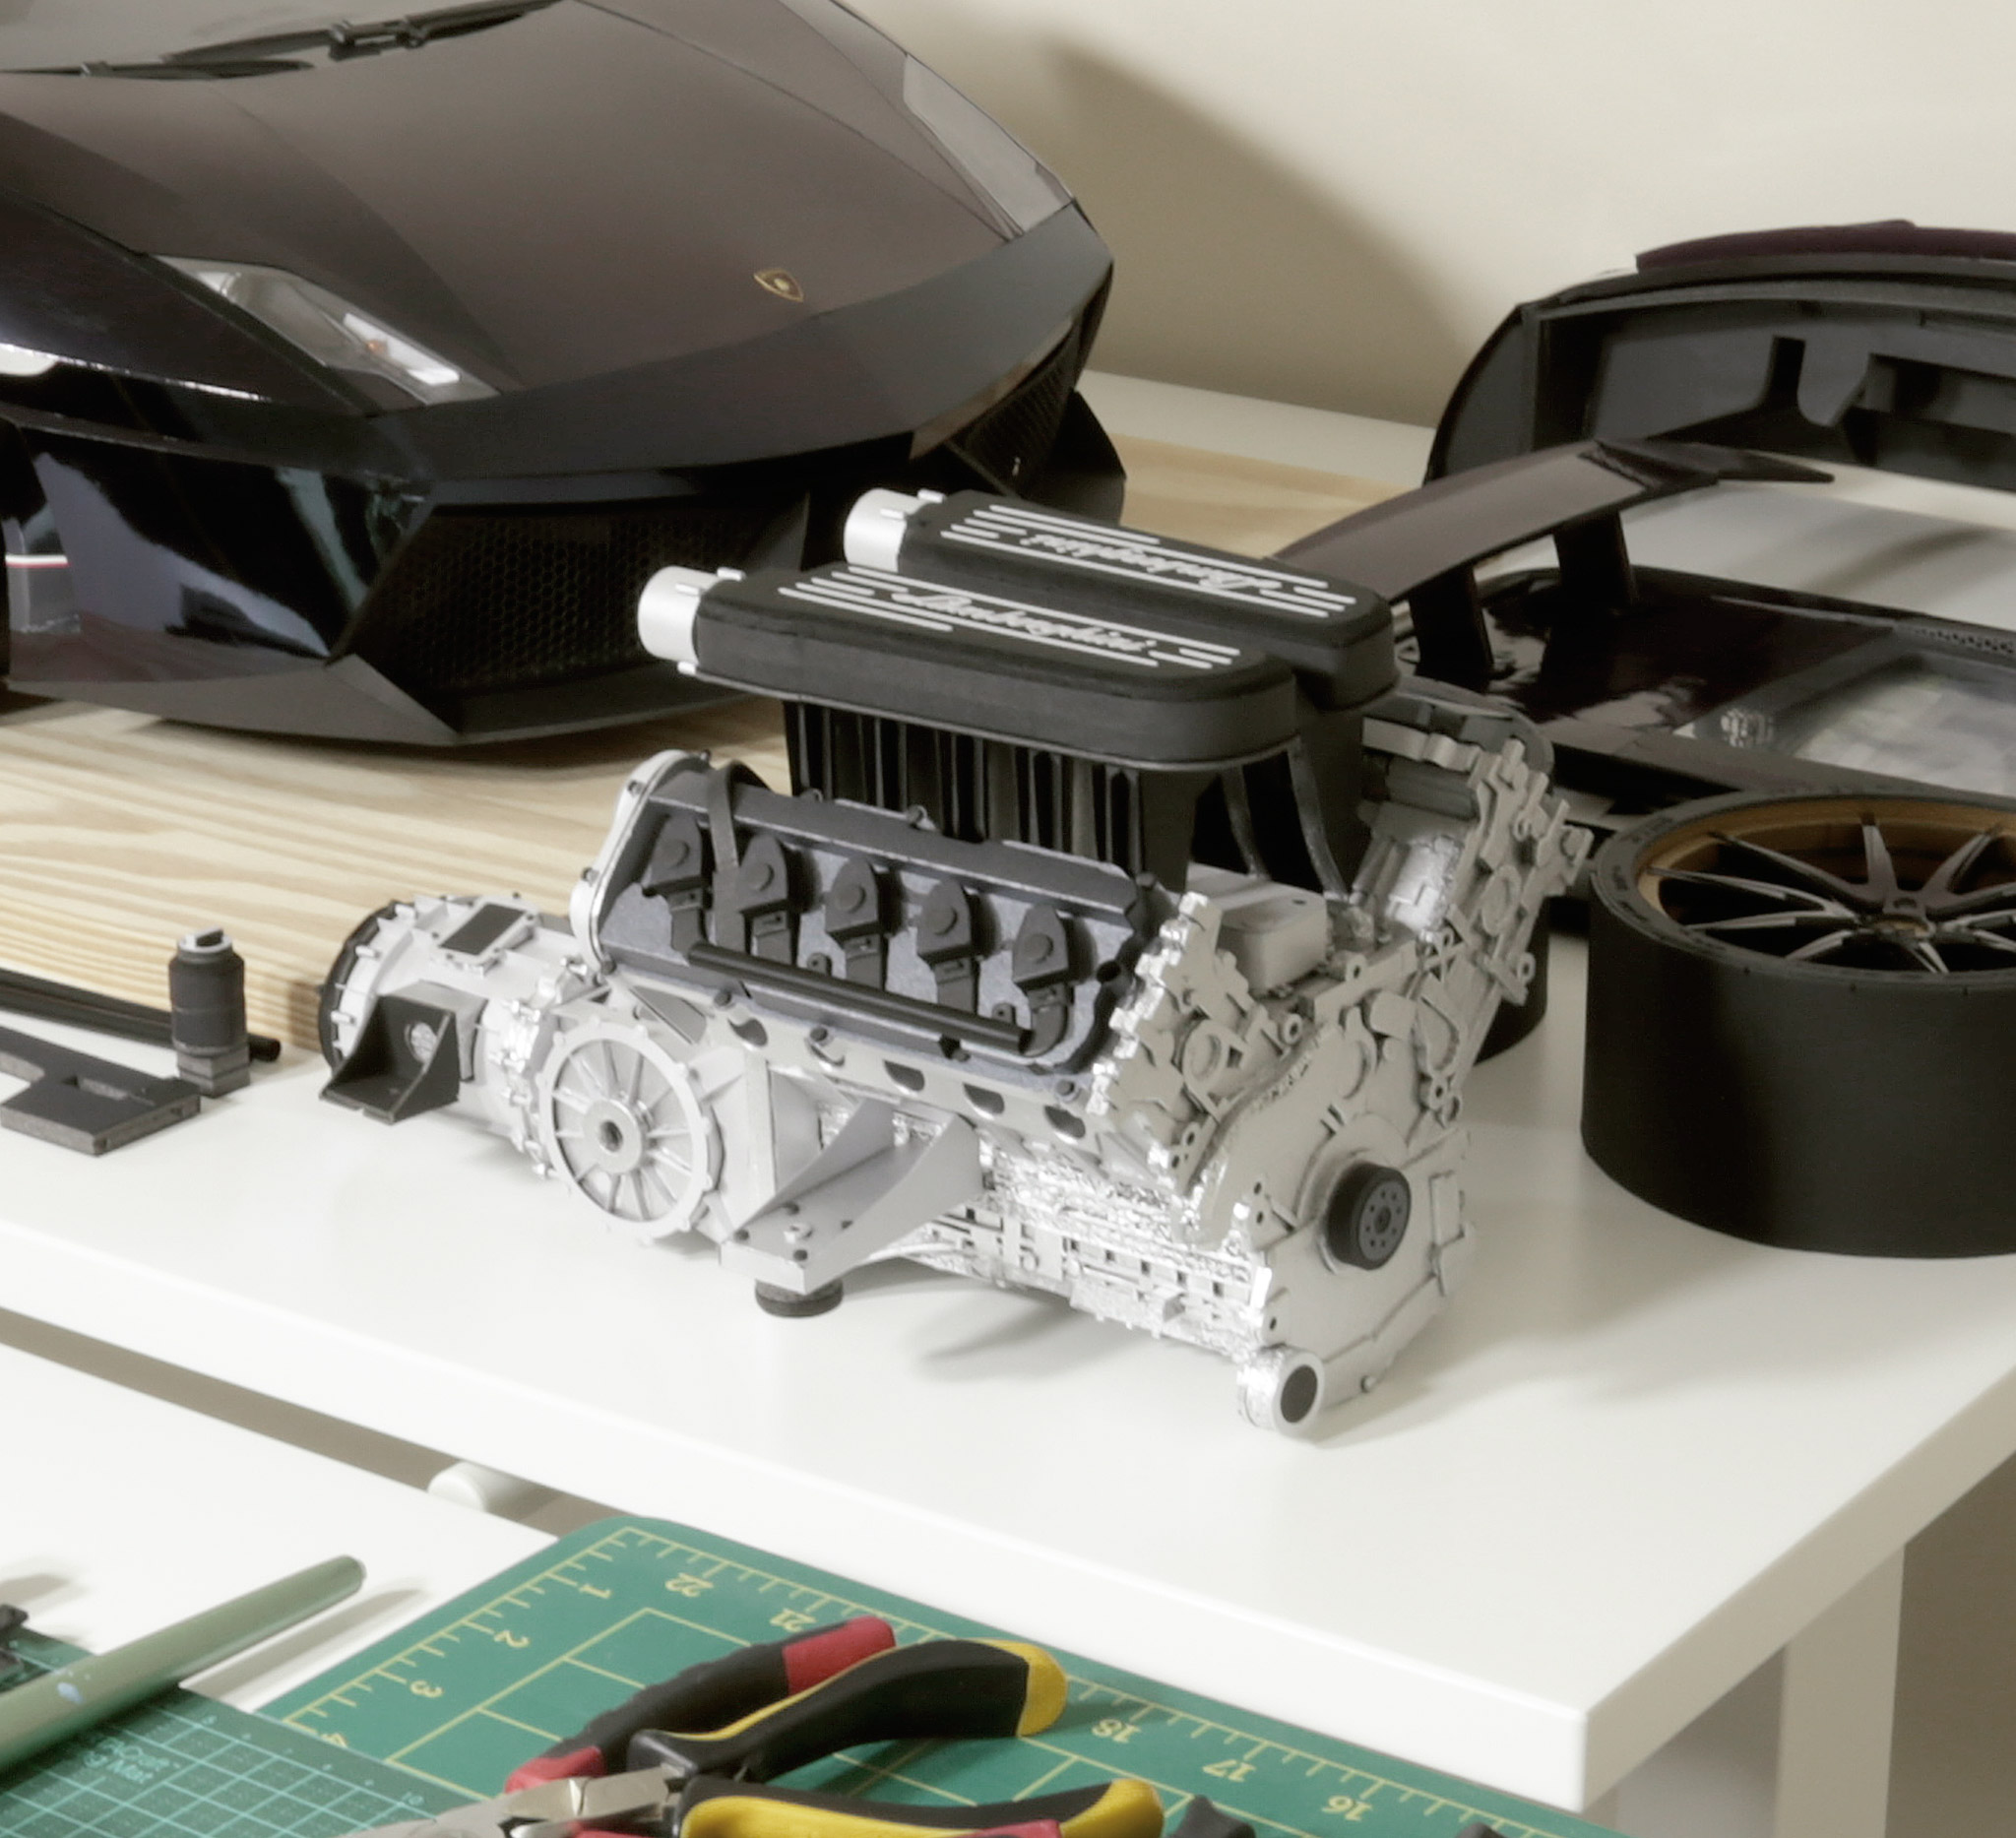
- ‣ Getting ready to fit the engine and transmission to the Gallardo.
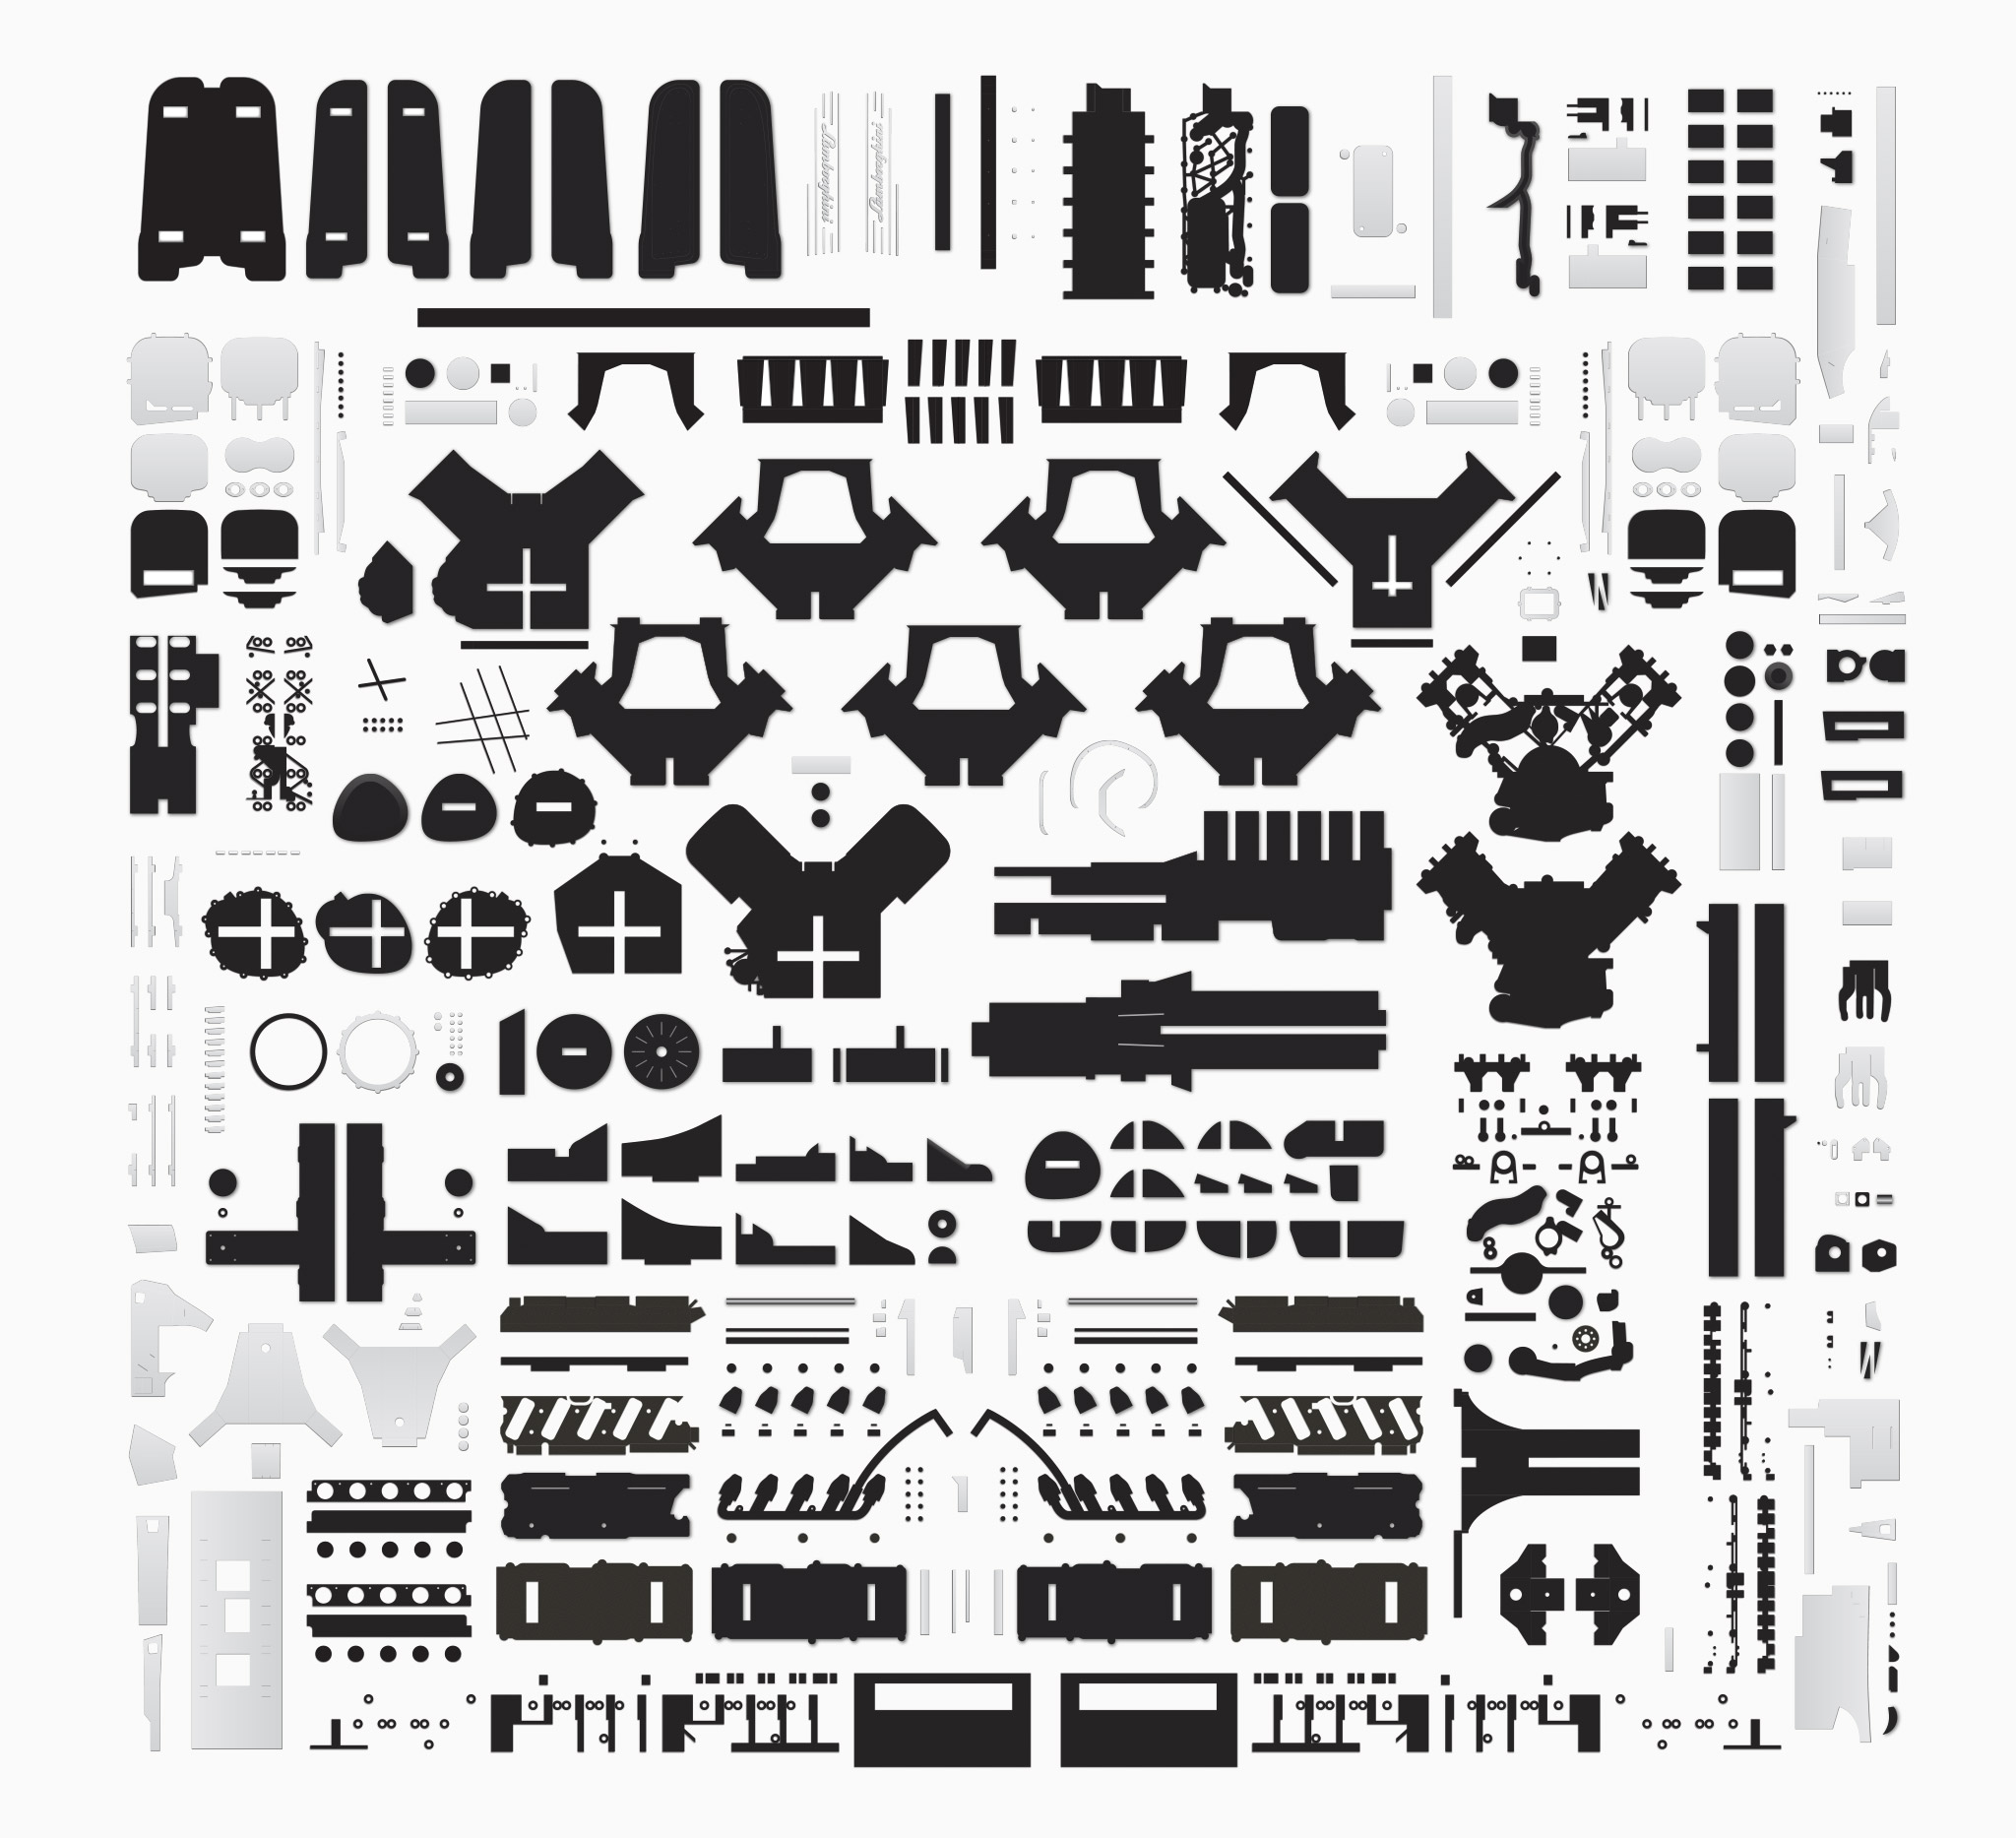
- ‣ All the 704 individual parts I designed for the V10 engine and transmission. It took about 5 months in my spare time, carefully crafting each piece from scratch – and I cut most by hand. I used my usual materials: 5mm foam core board; 1000gsm cardboard; and various other metallic card stocks and craft materials.
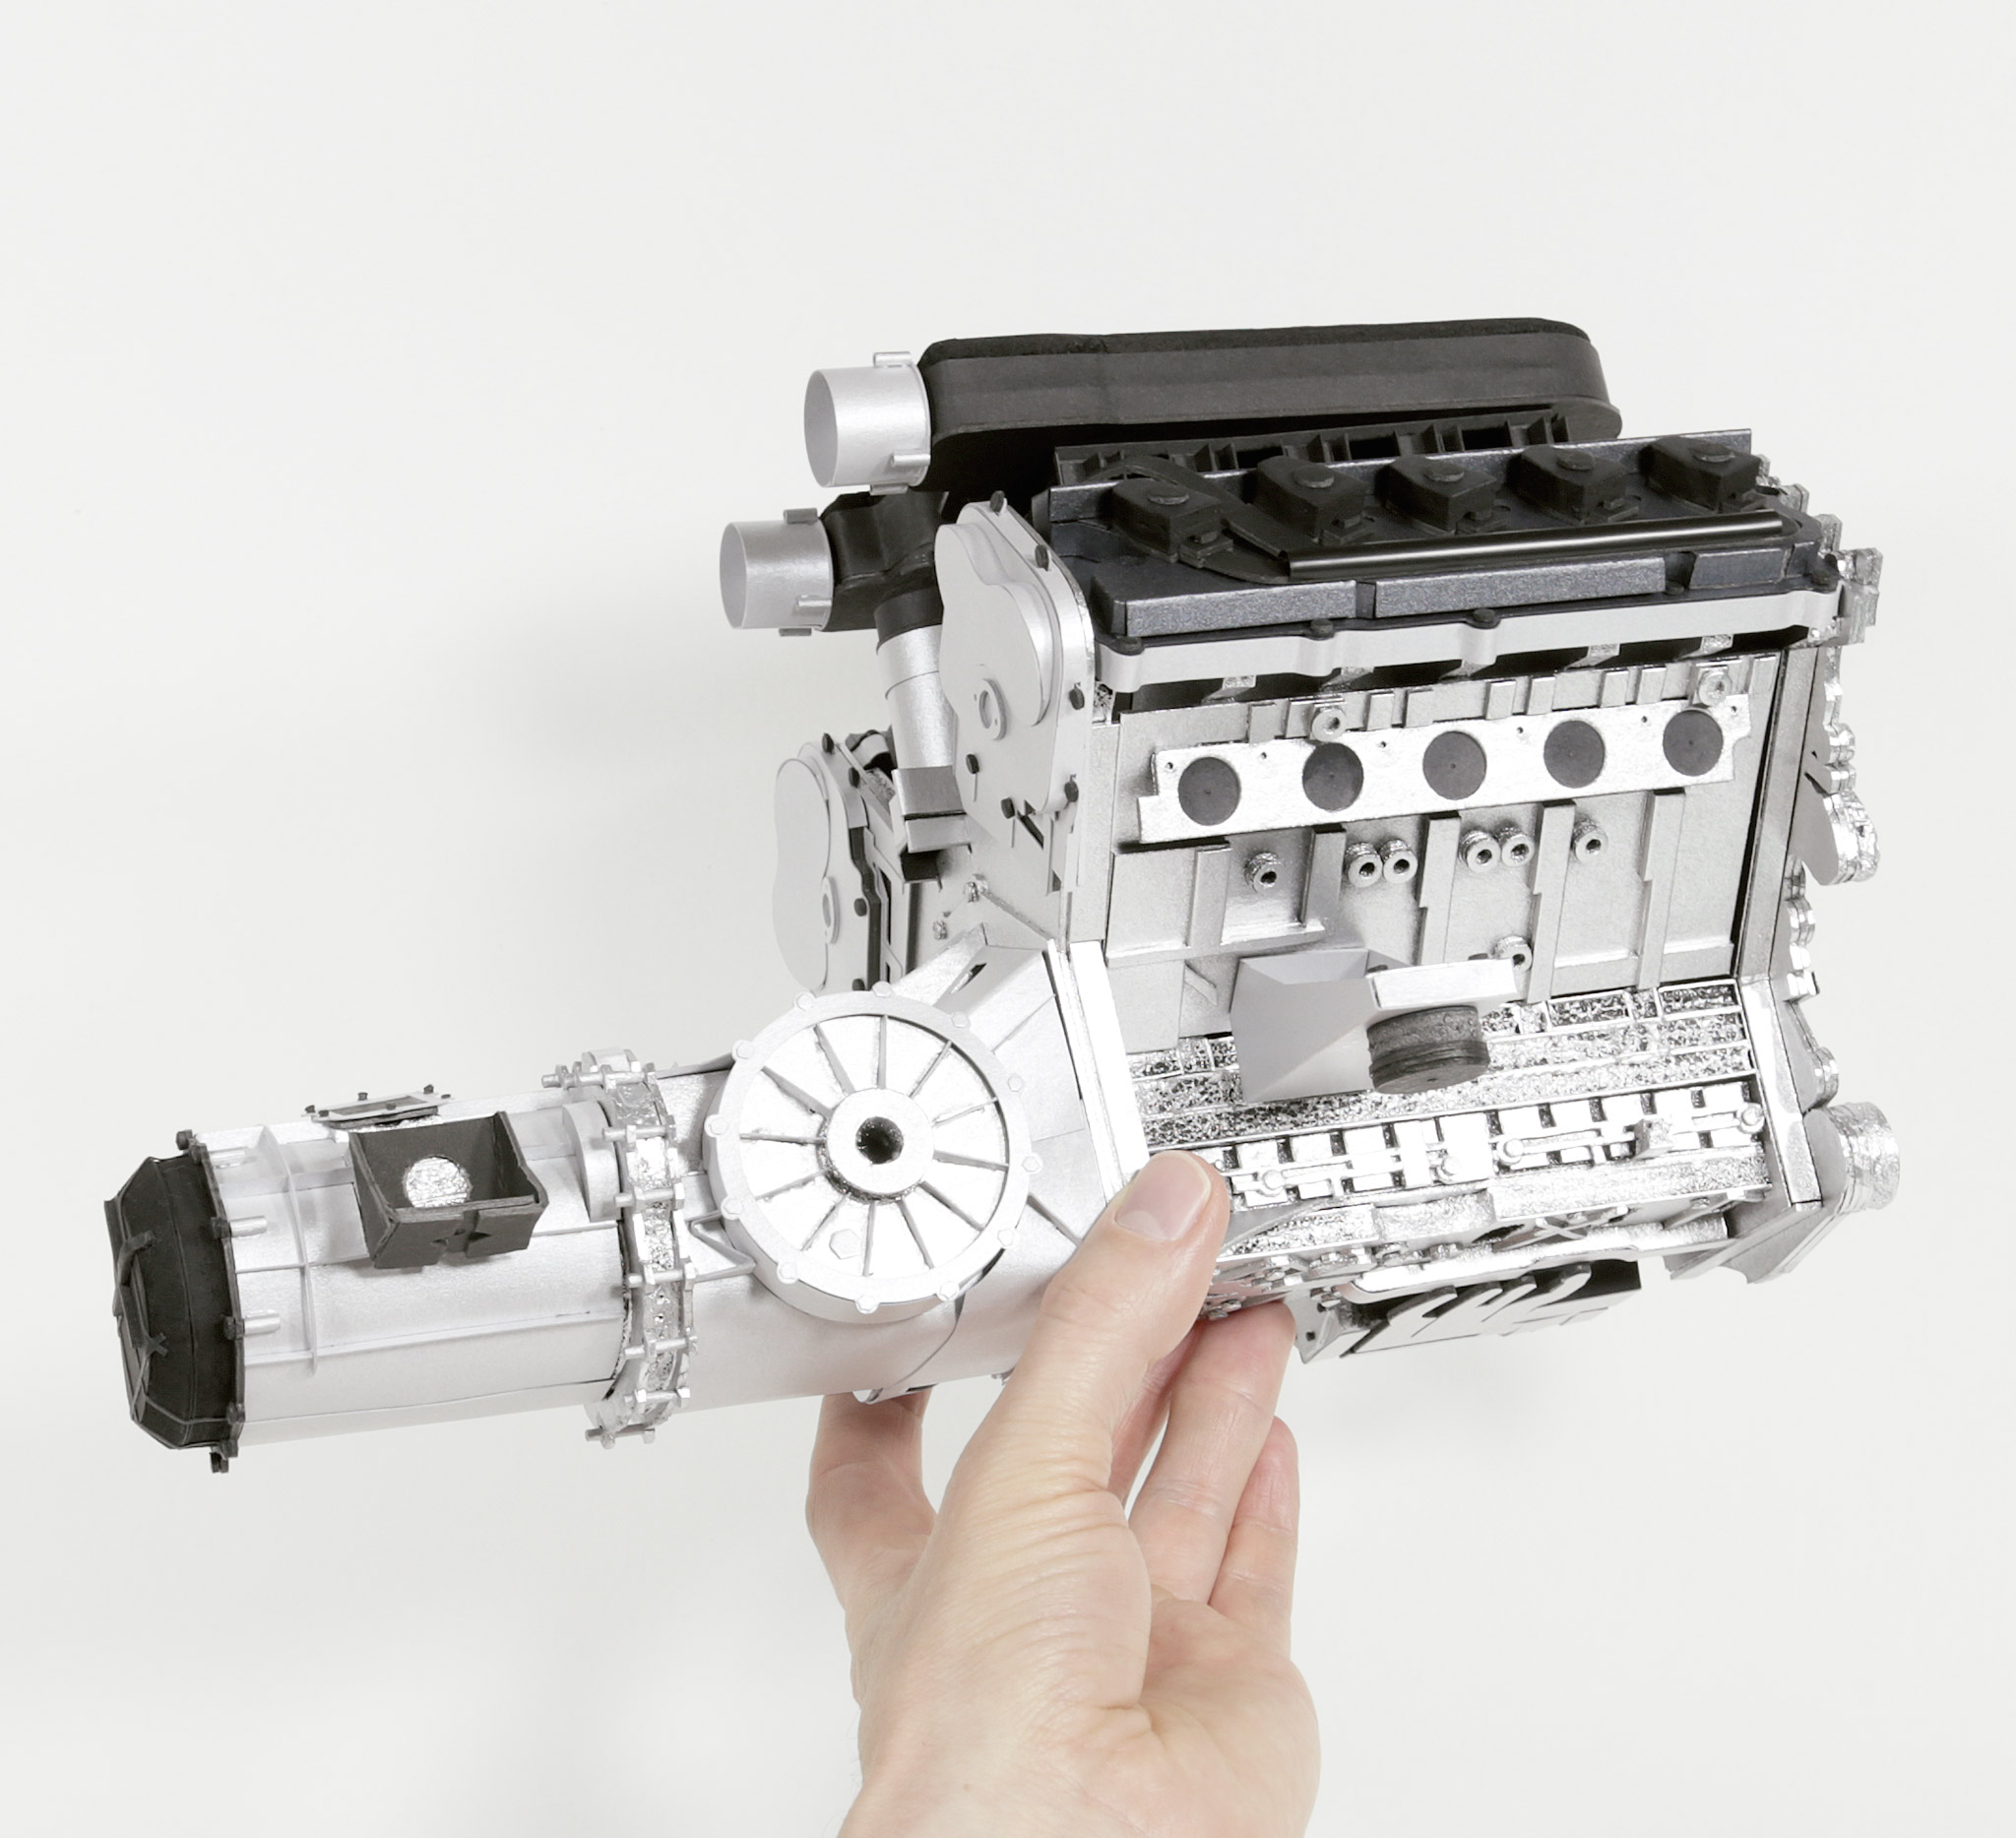
- ‣ View of the completed V10 engine and transmission.
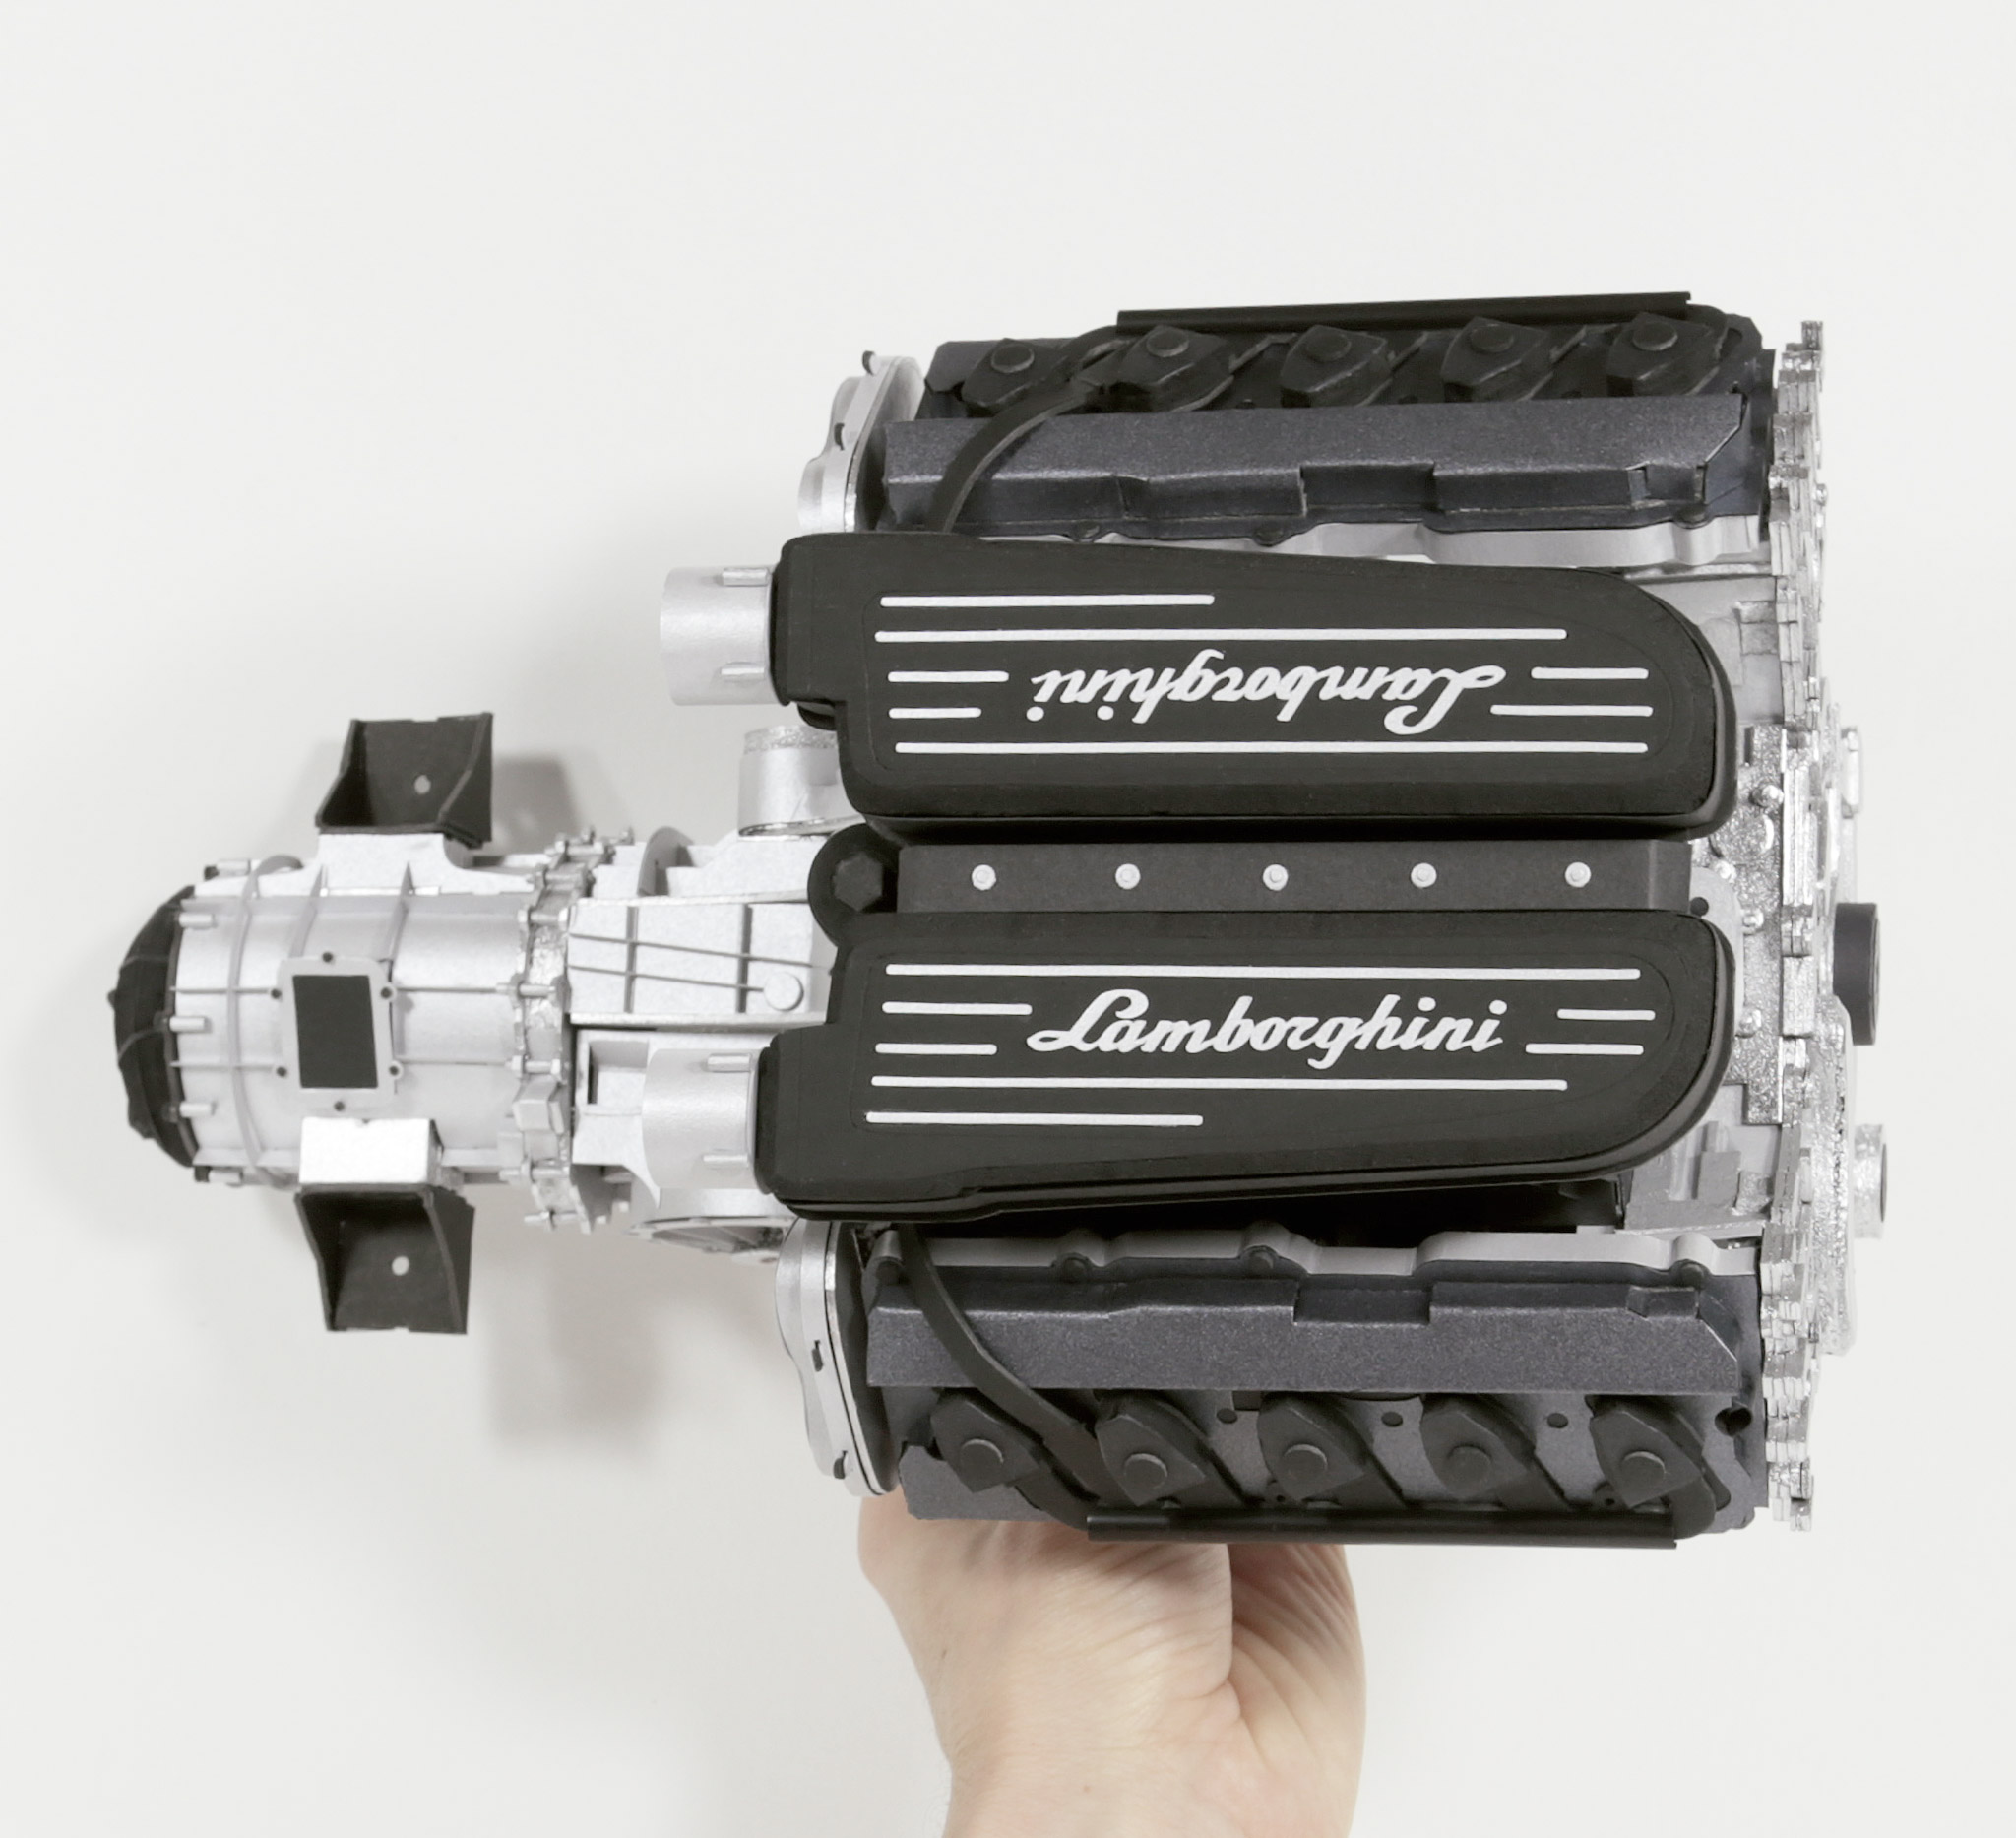
- ‣ Top view of the V10 engine and transmission.
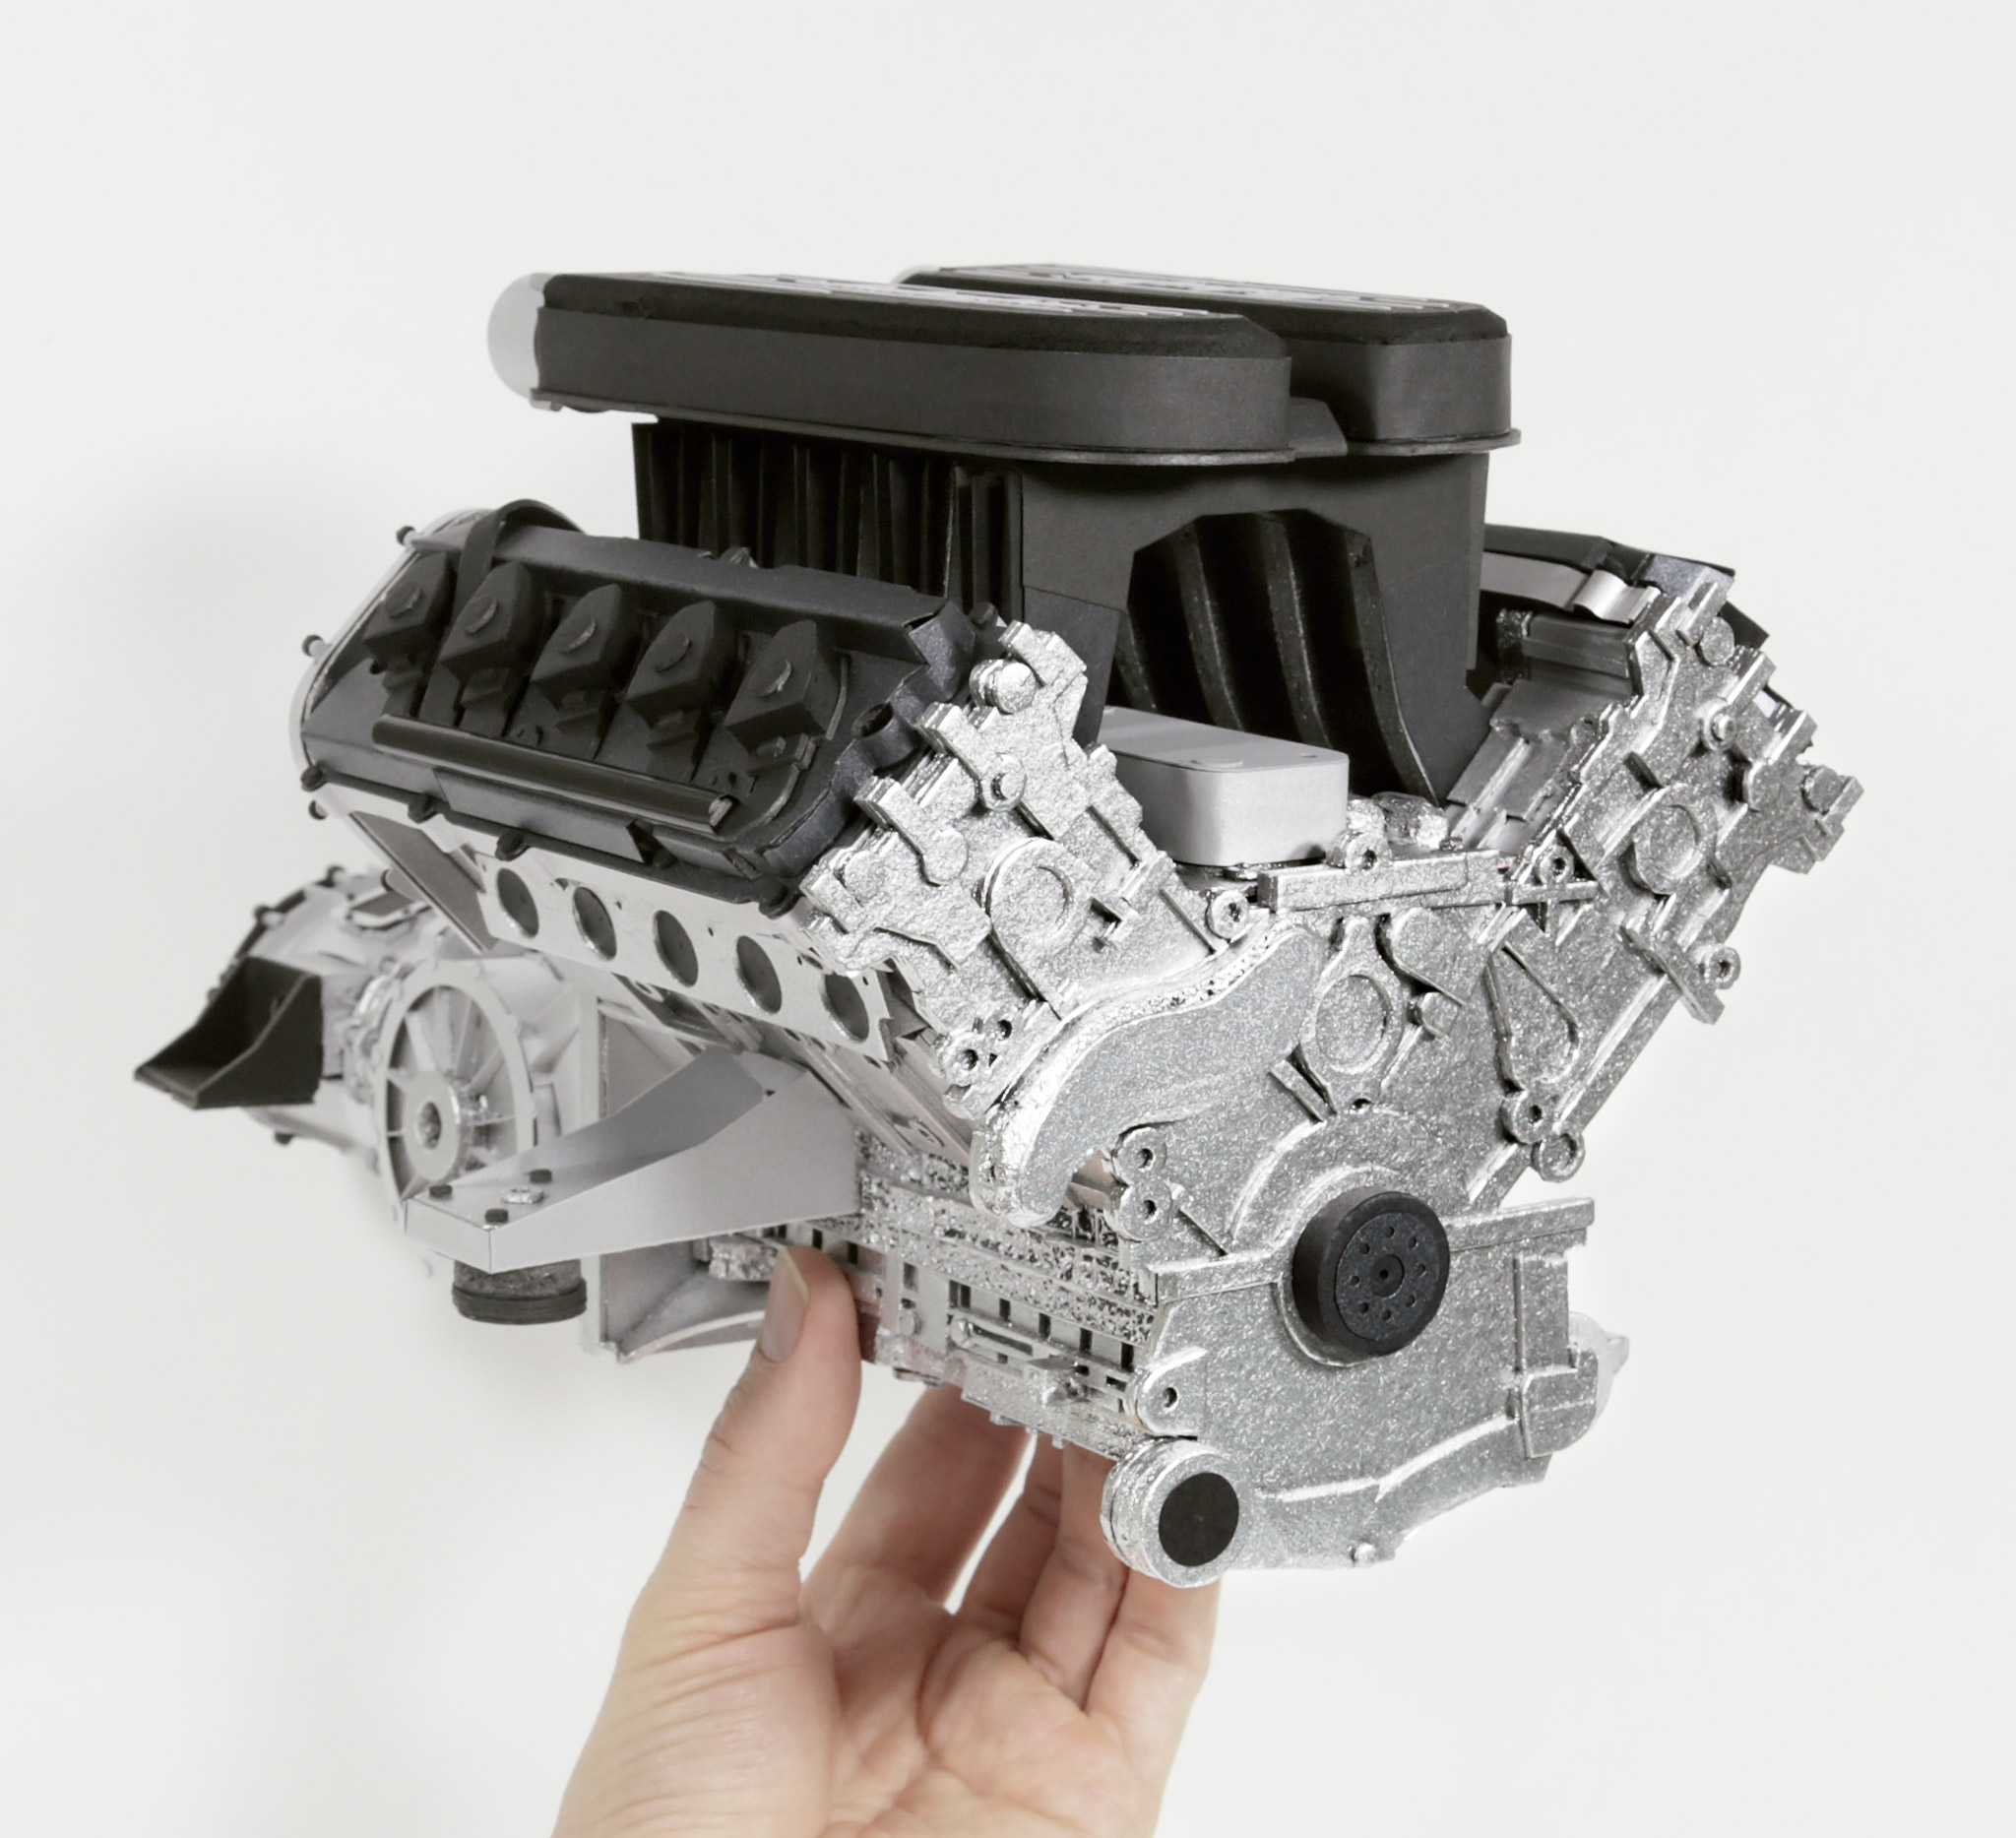
- ‣ Front three quarter view of the V10 engine and transmission.
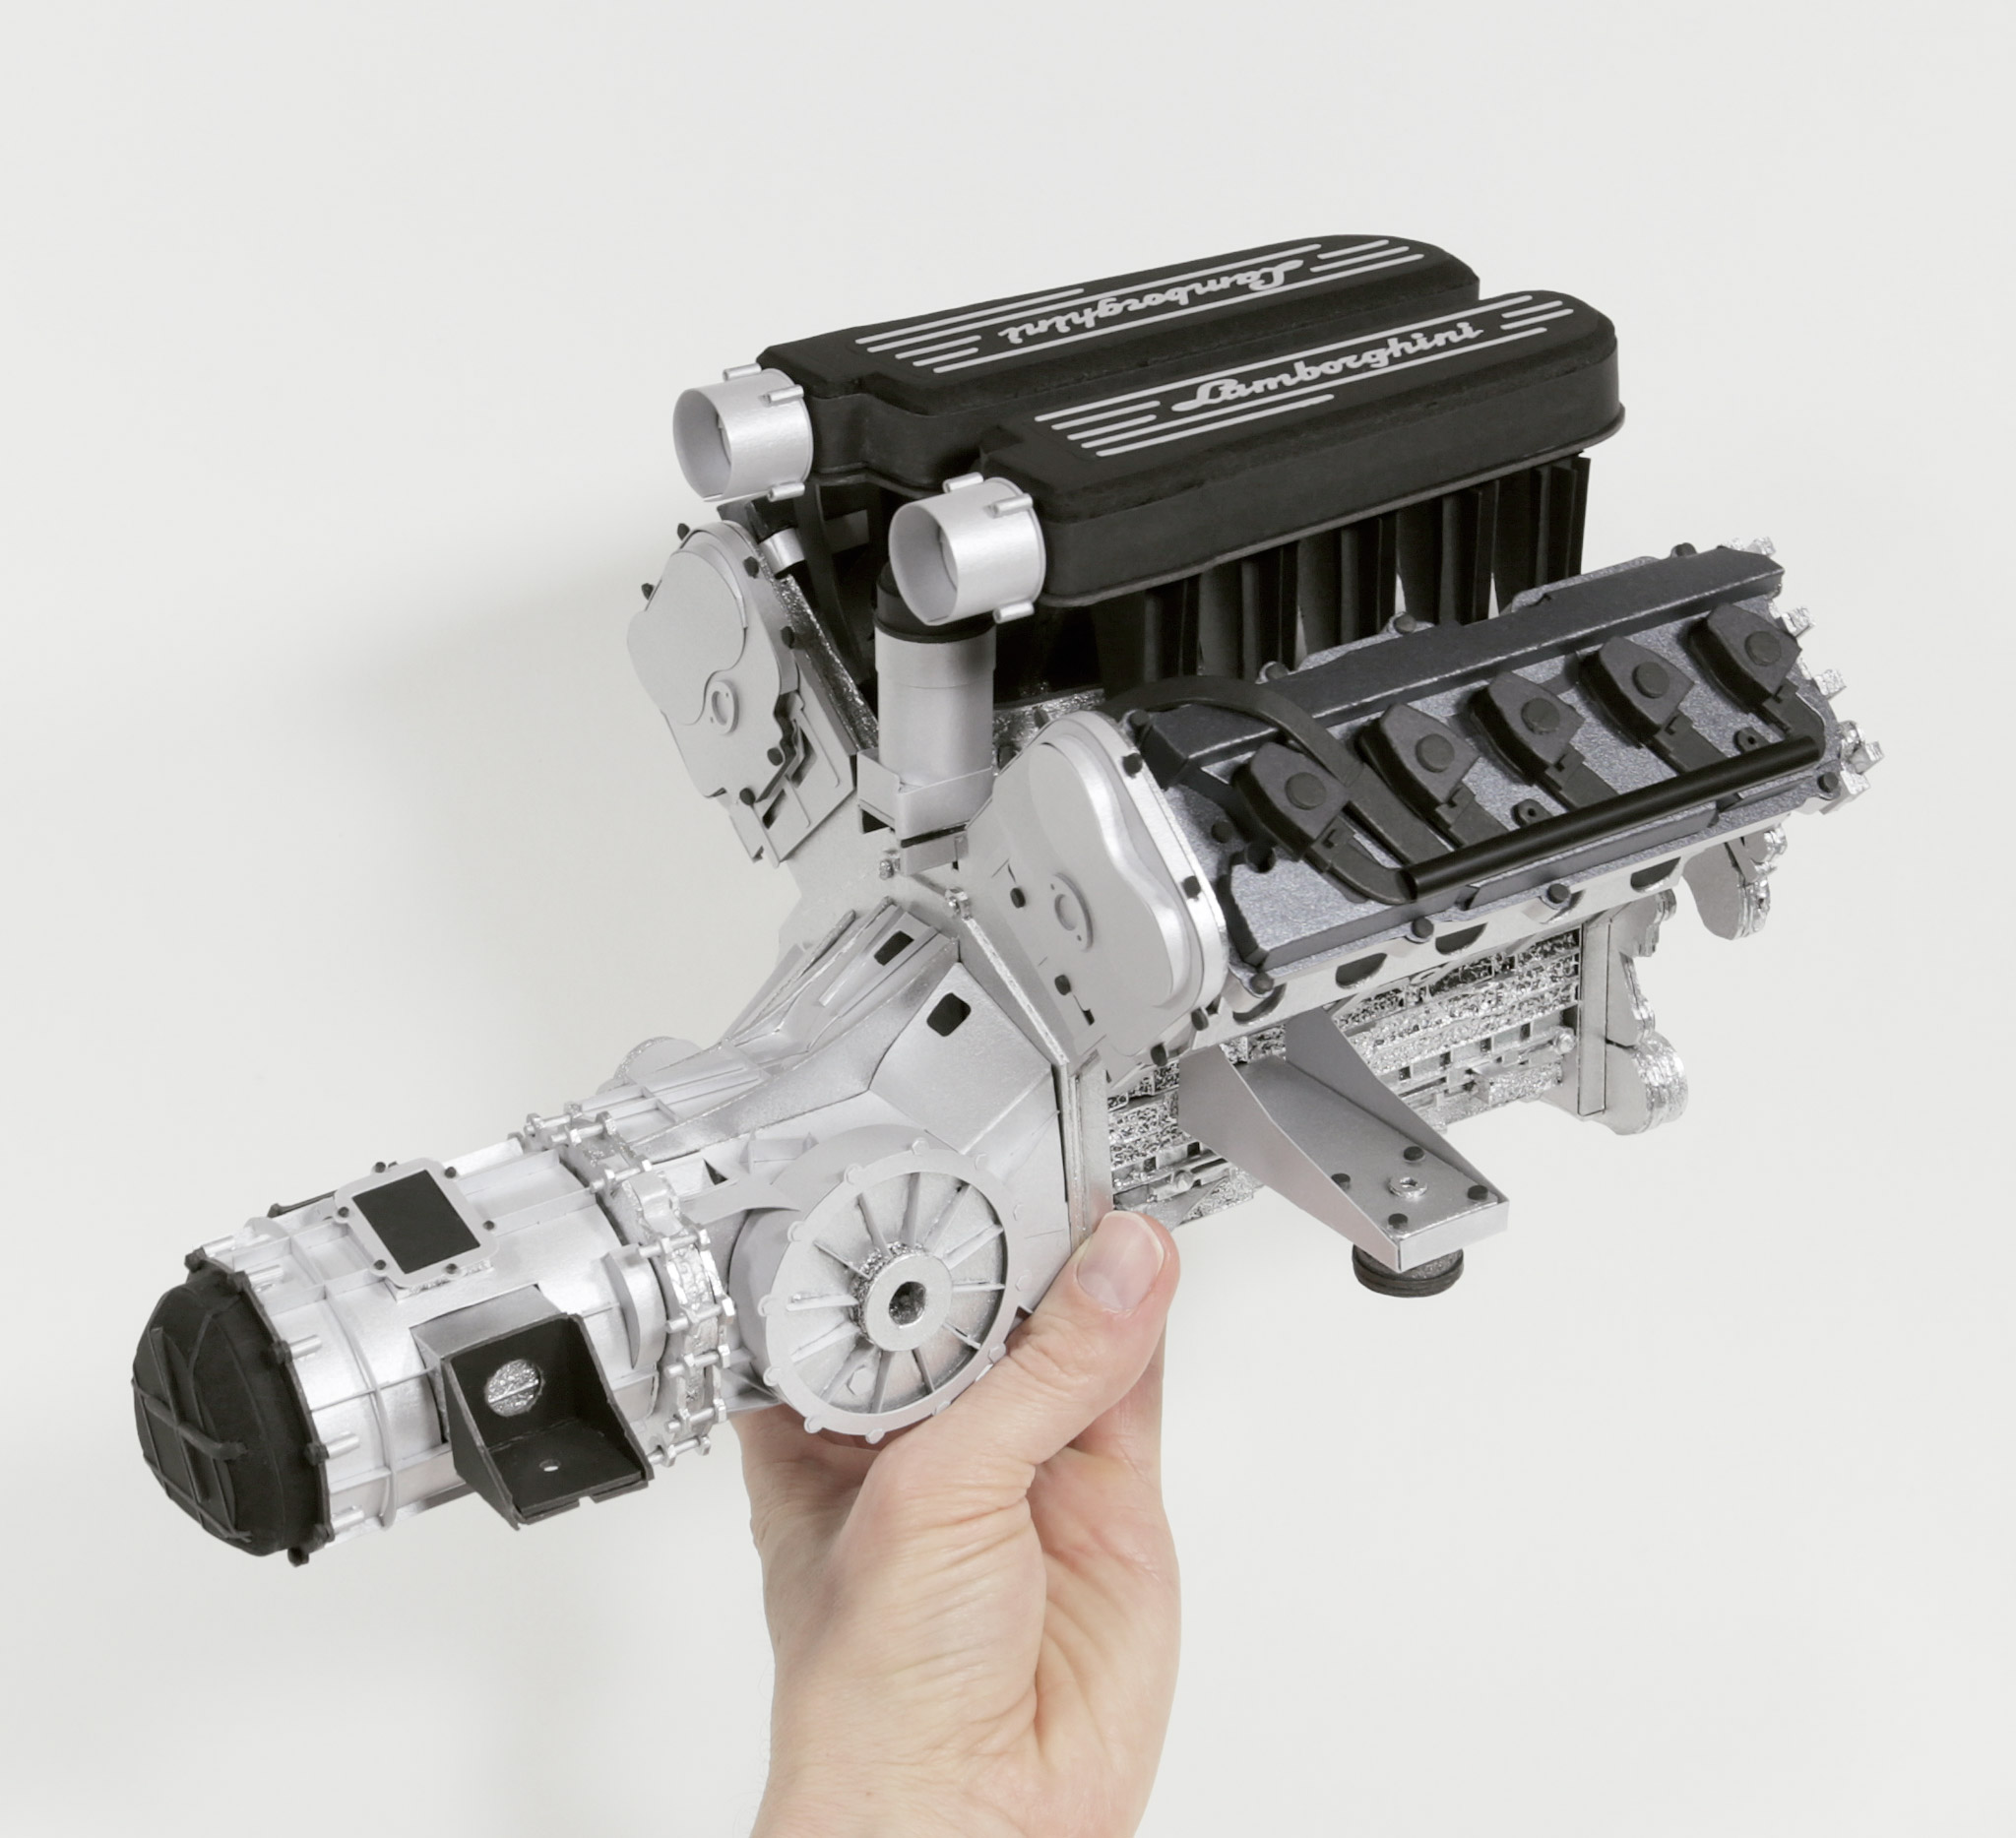
- ‣ Rear three quarter view of the V10 engine and transmission. It's made up of 704 individual parts. I spent around 5 months in my spare time designing all the parts from scratch– and most are cut by hand. I used the usual materials: 5mm foam core board; 1000gsm cardboard; and various other metallic card stocks and craft materials.
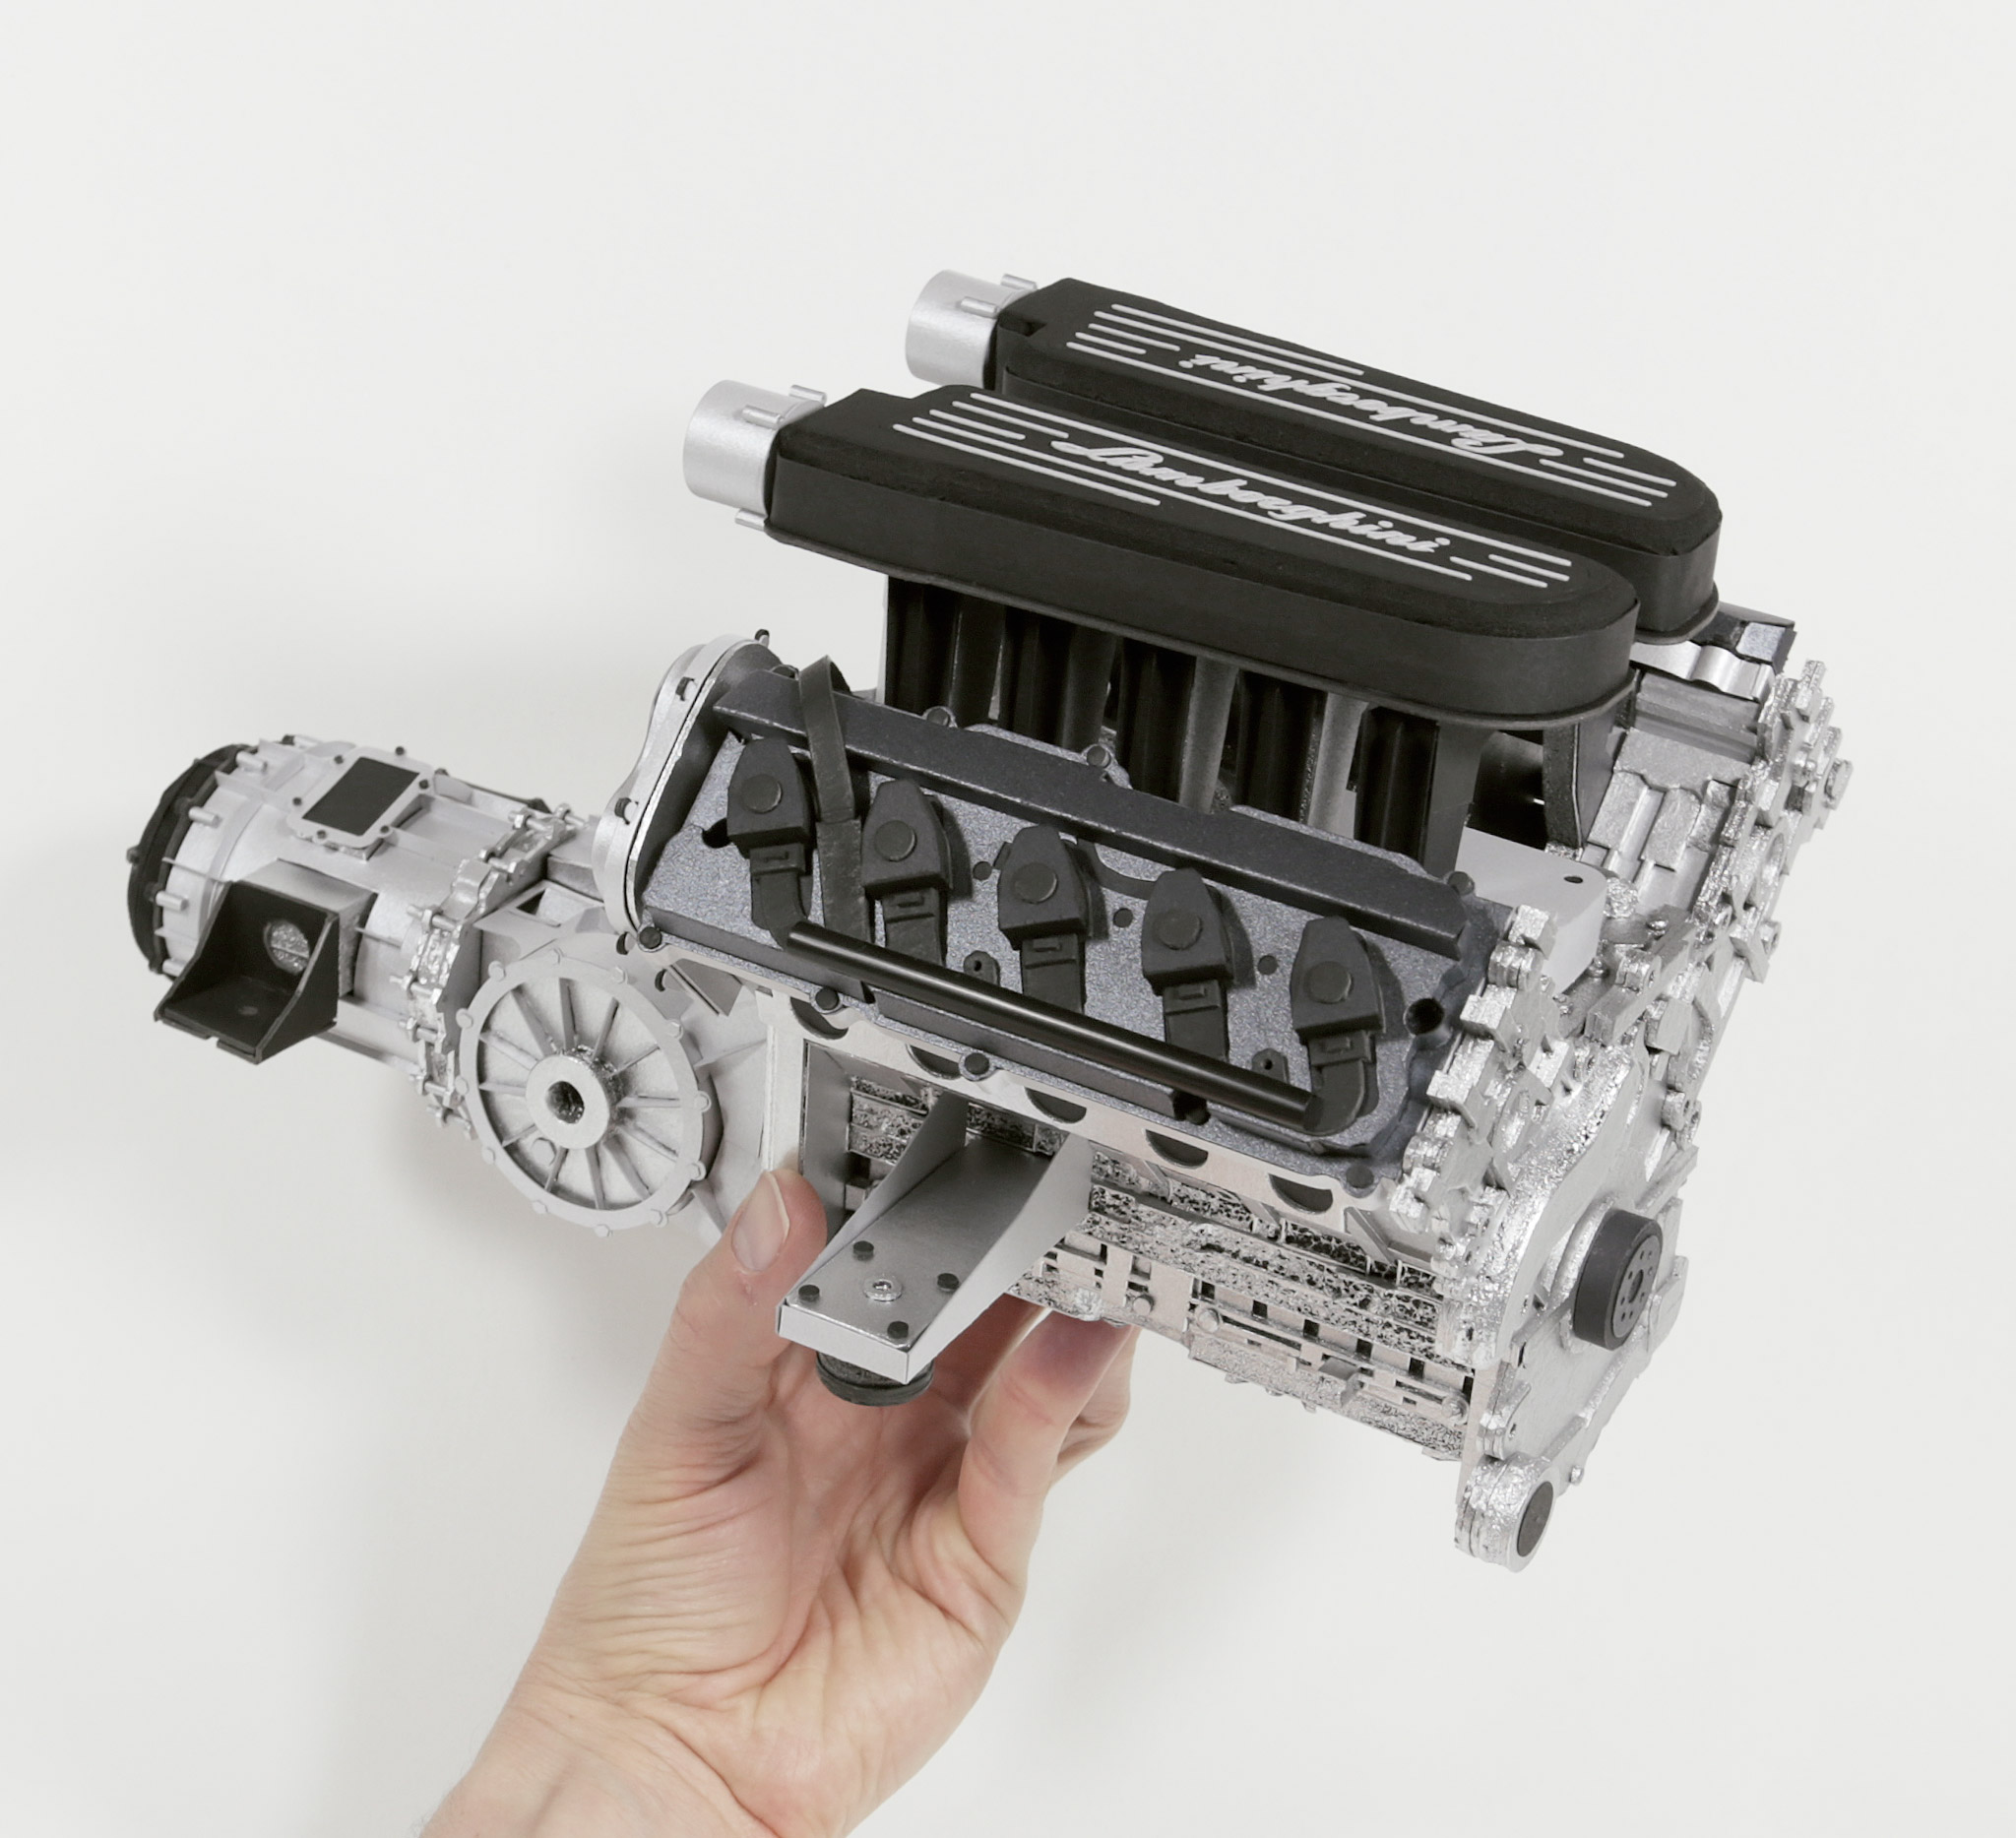
- ‣ The completed v10 engine and transmission for the Gallardo.
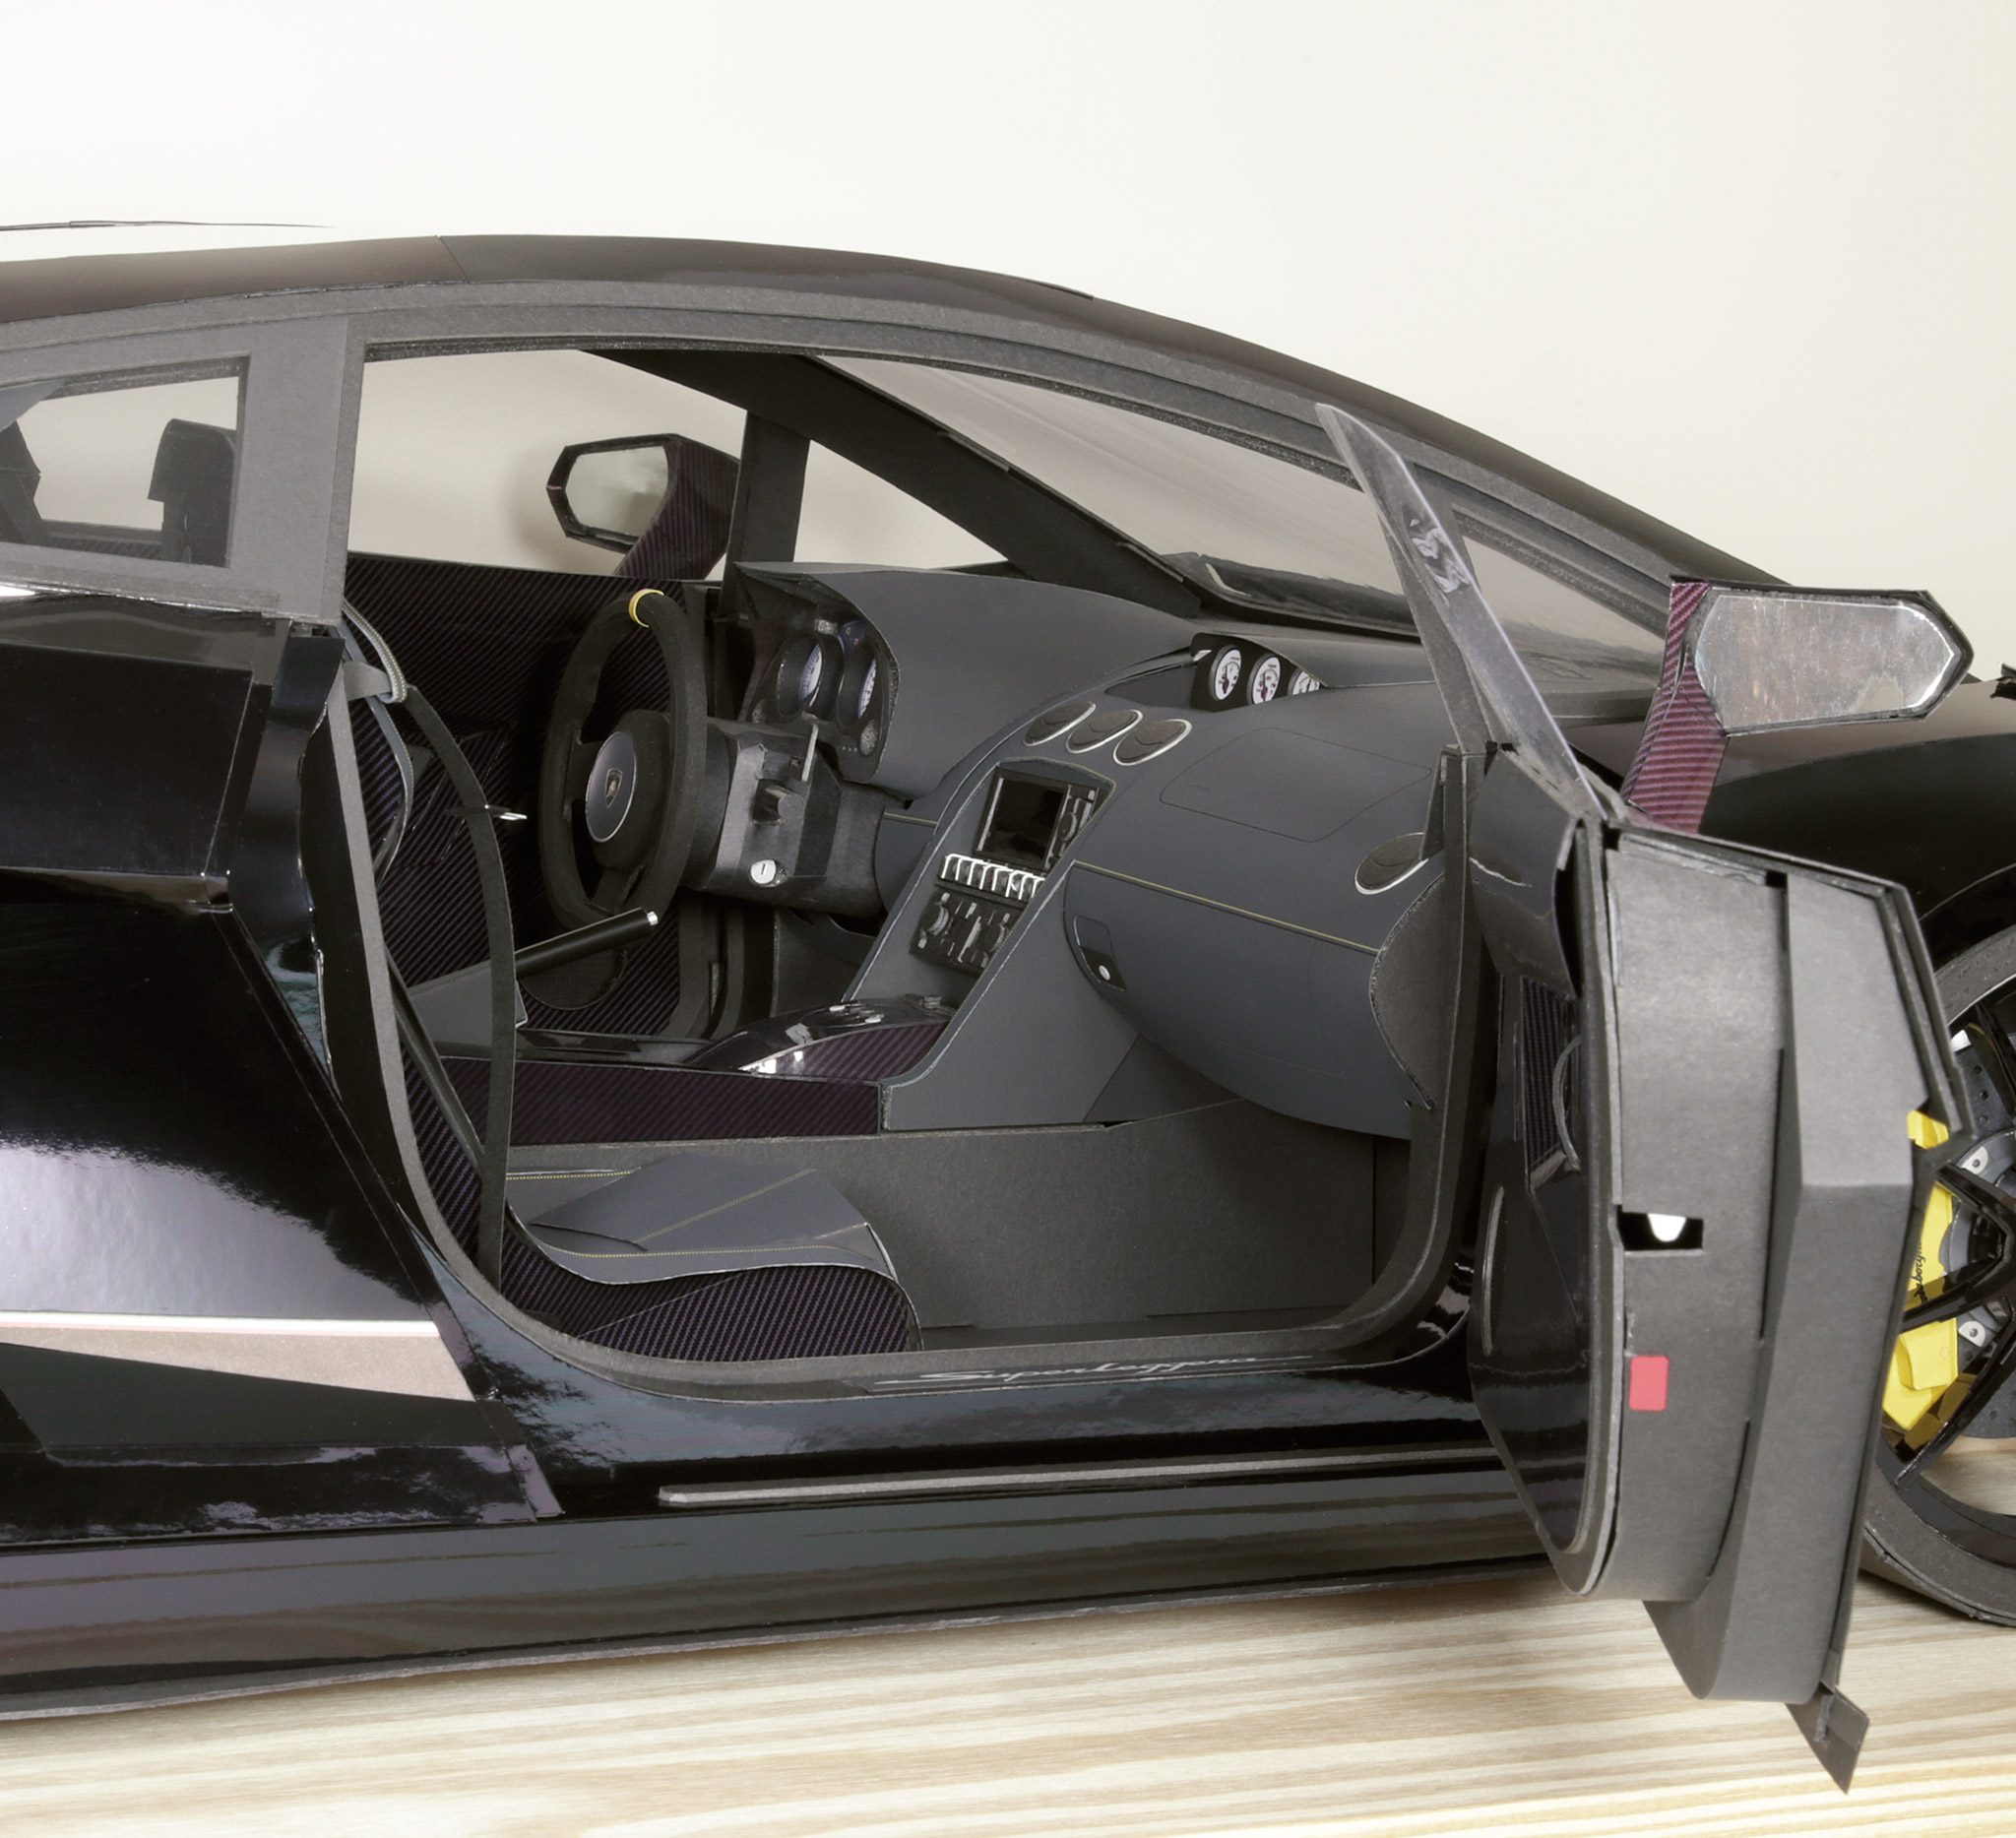
- ‣ Completed dashboard and interior, looking in the passenger side.
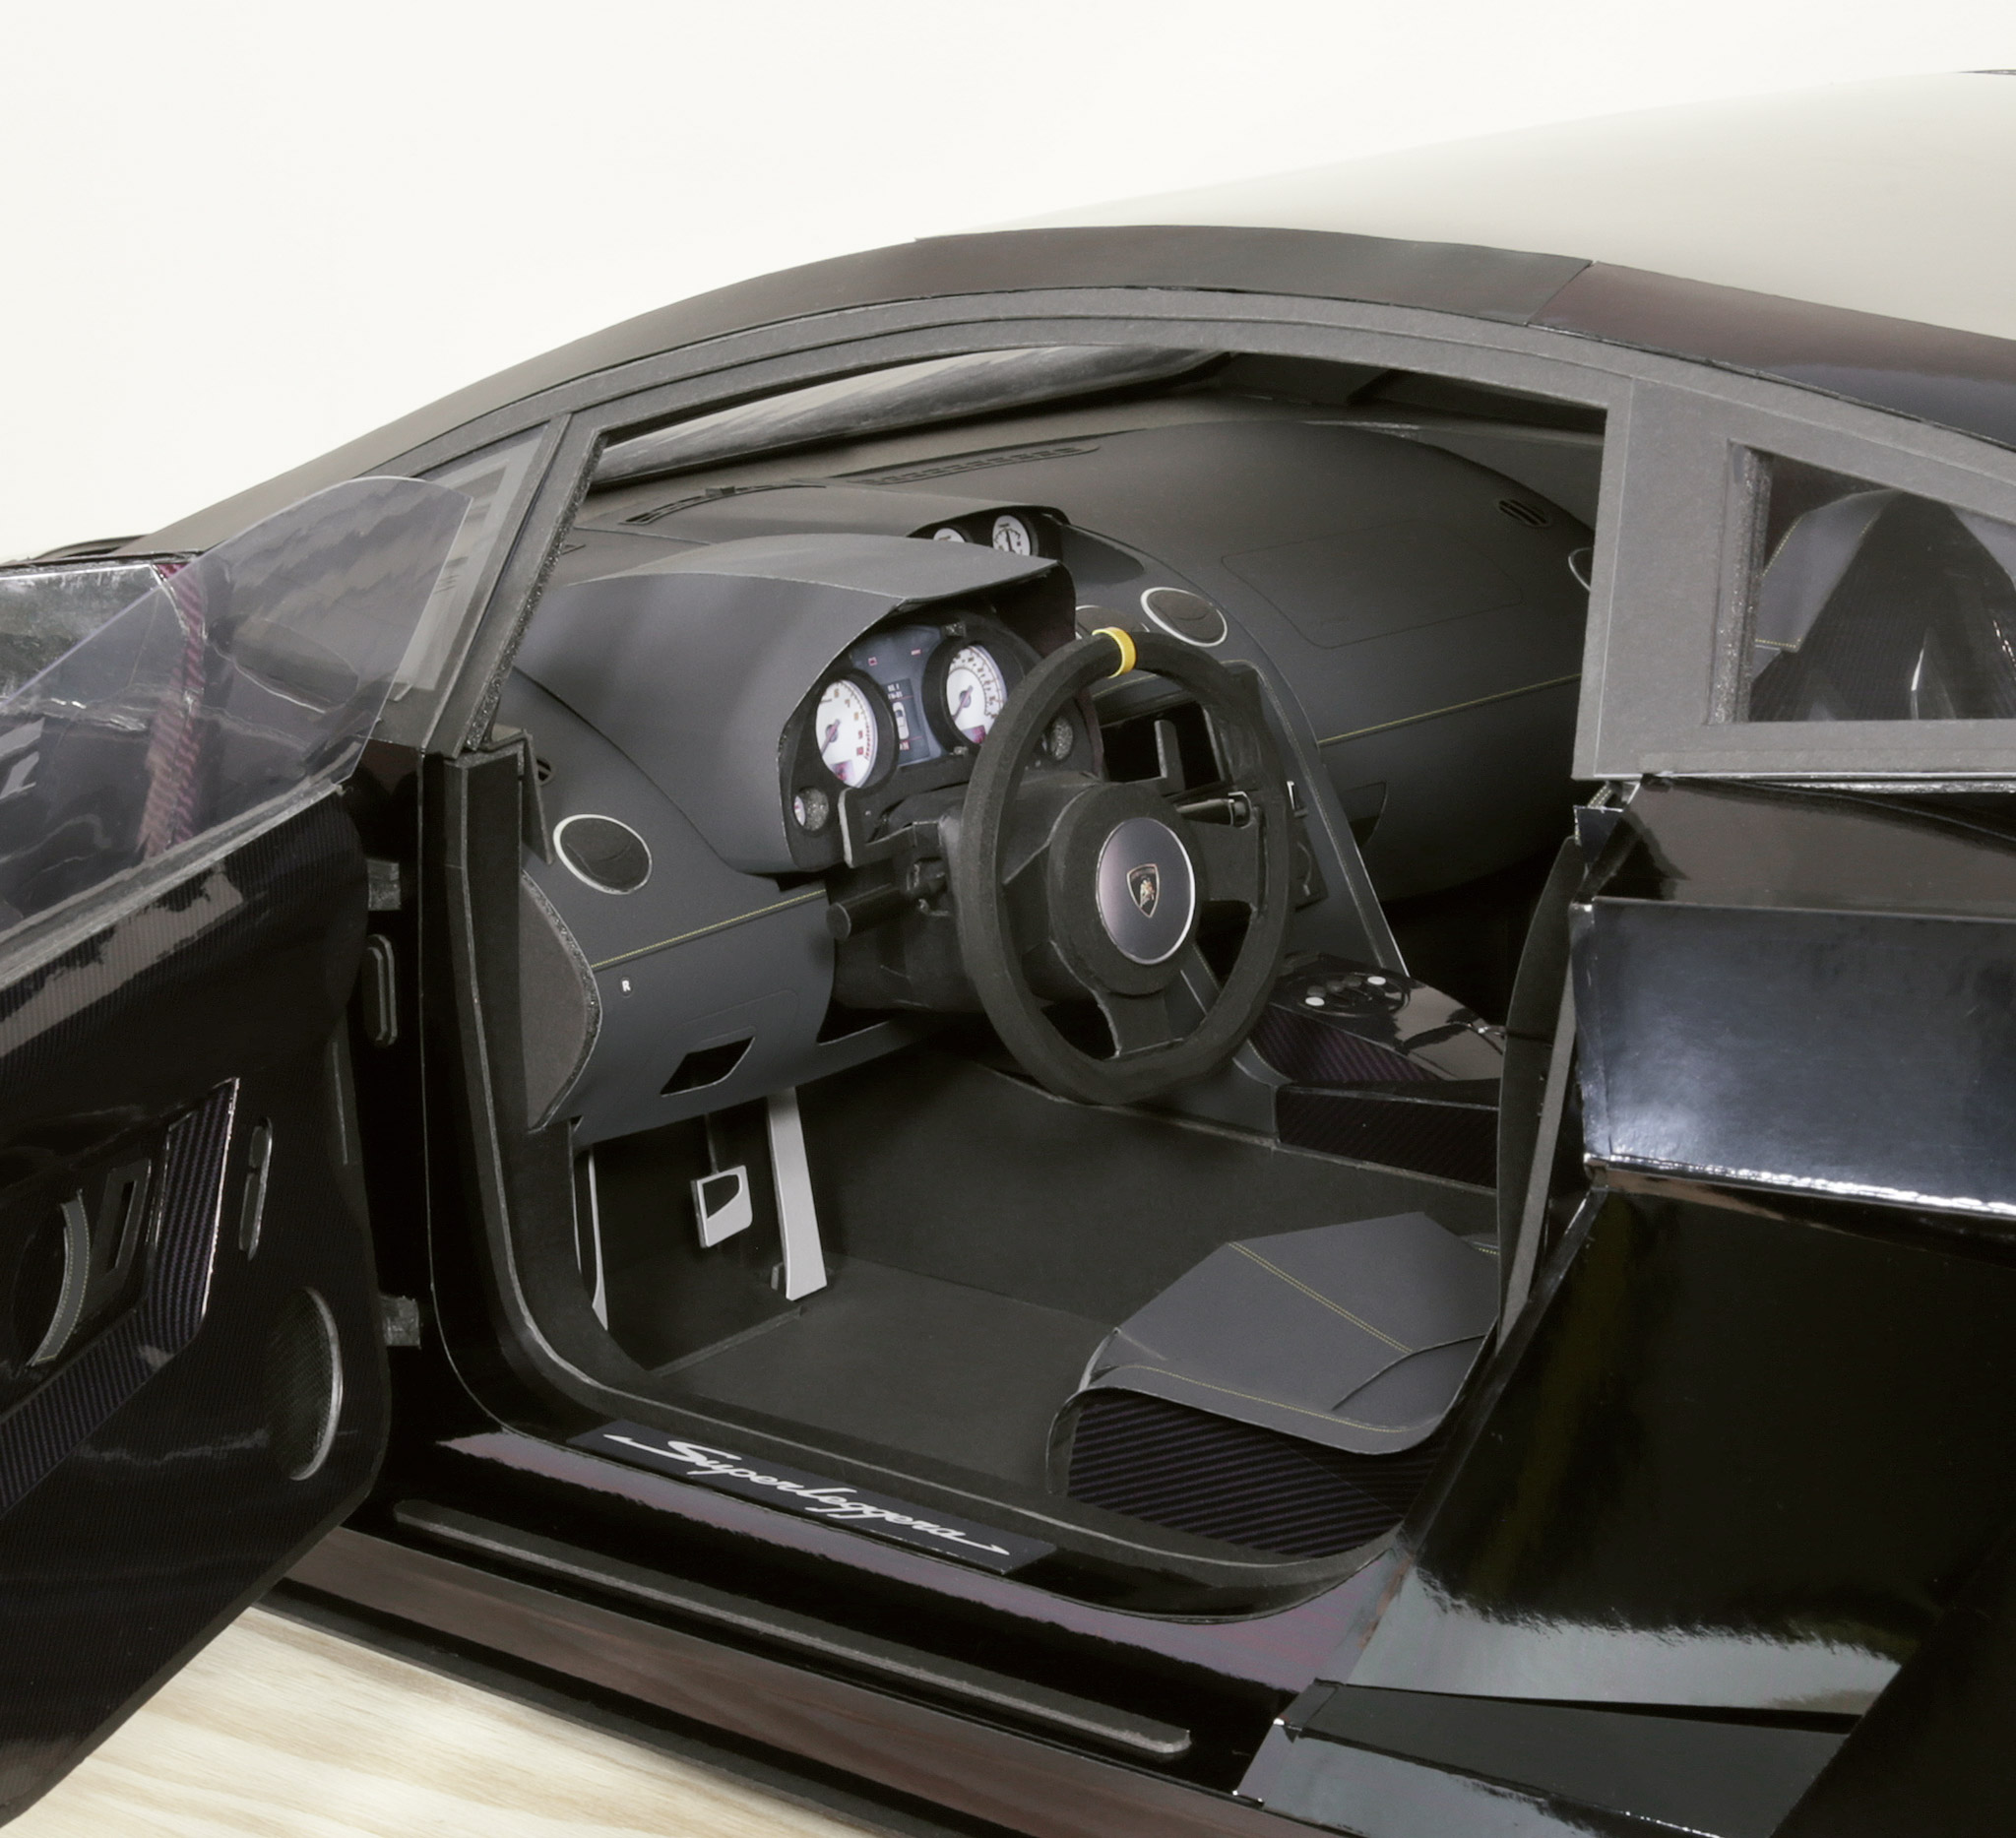
- ‣ Completed dashboard and interior, looking in the driver side.
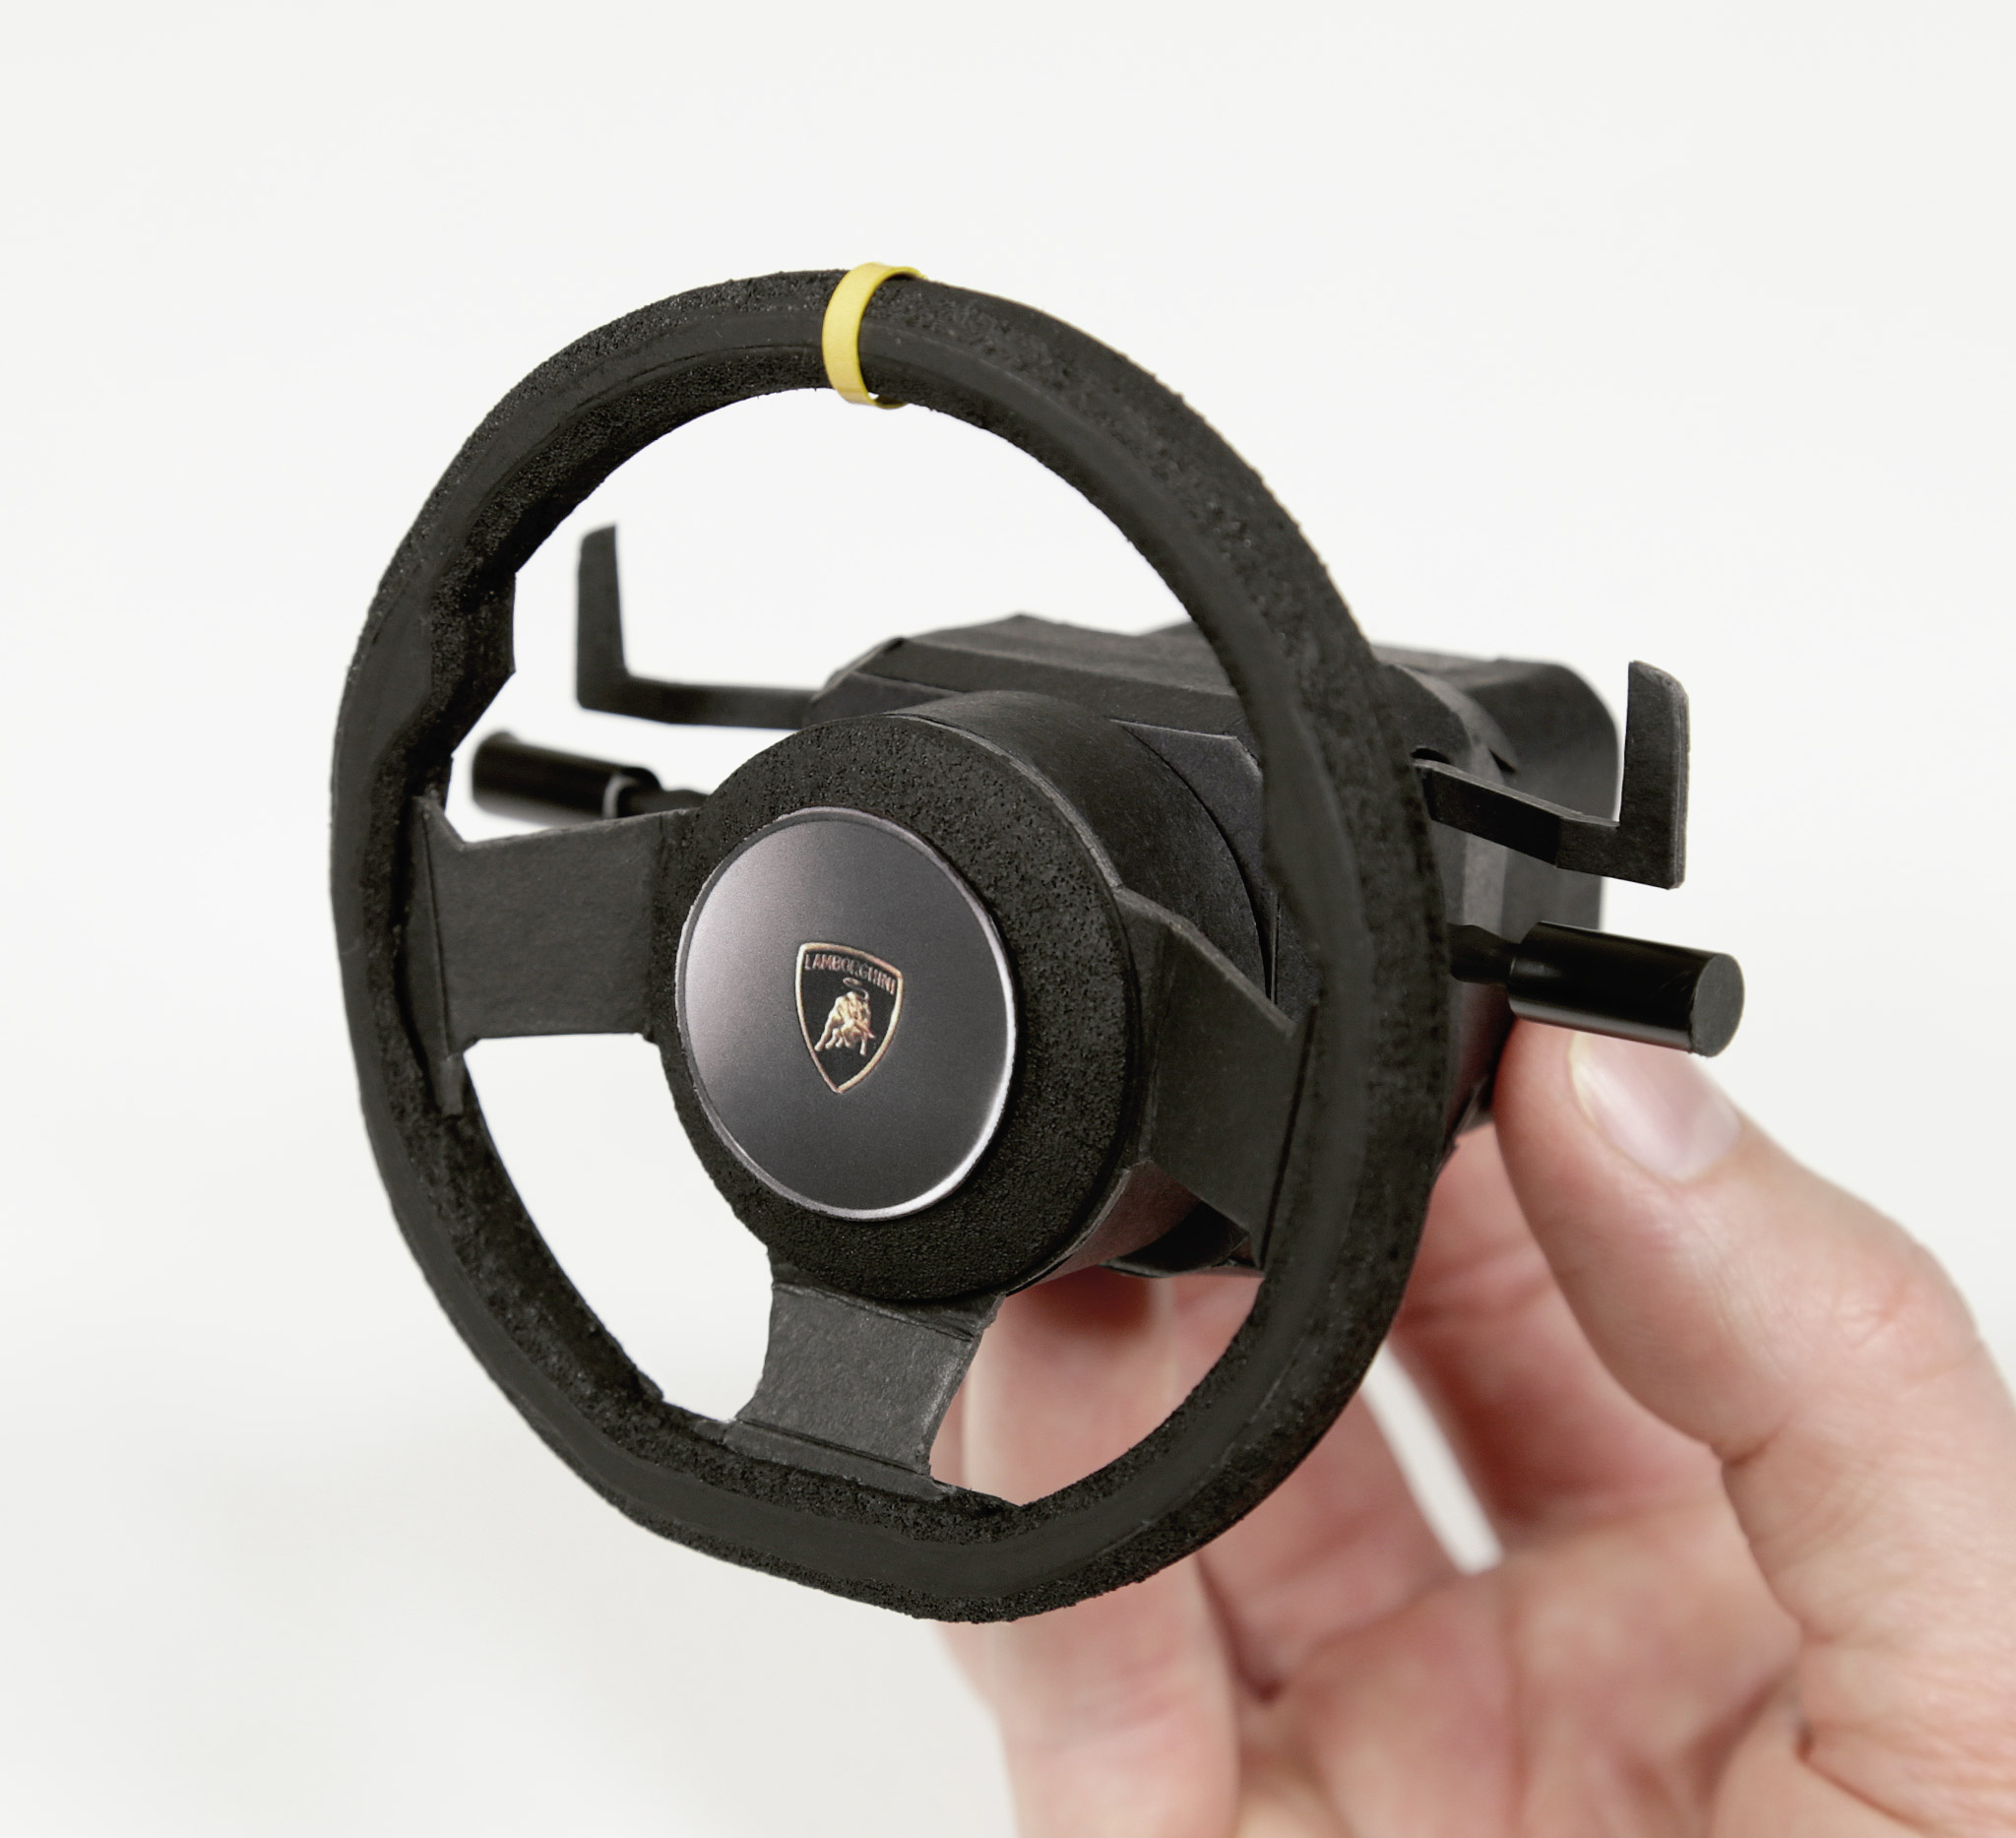
- ‣ Close up detail of the steering wheel and steering column assembly, including shifter paddles and indicator/wiper controls.
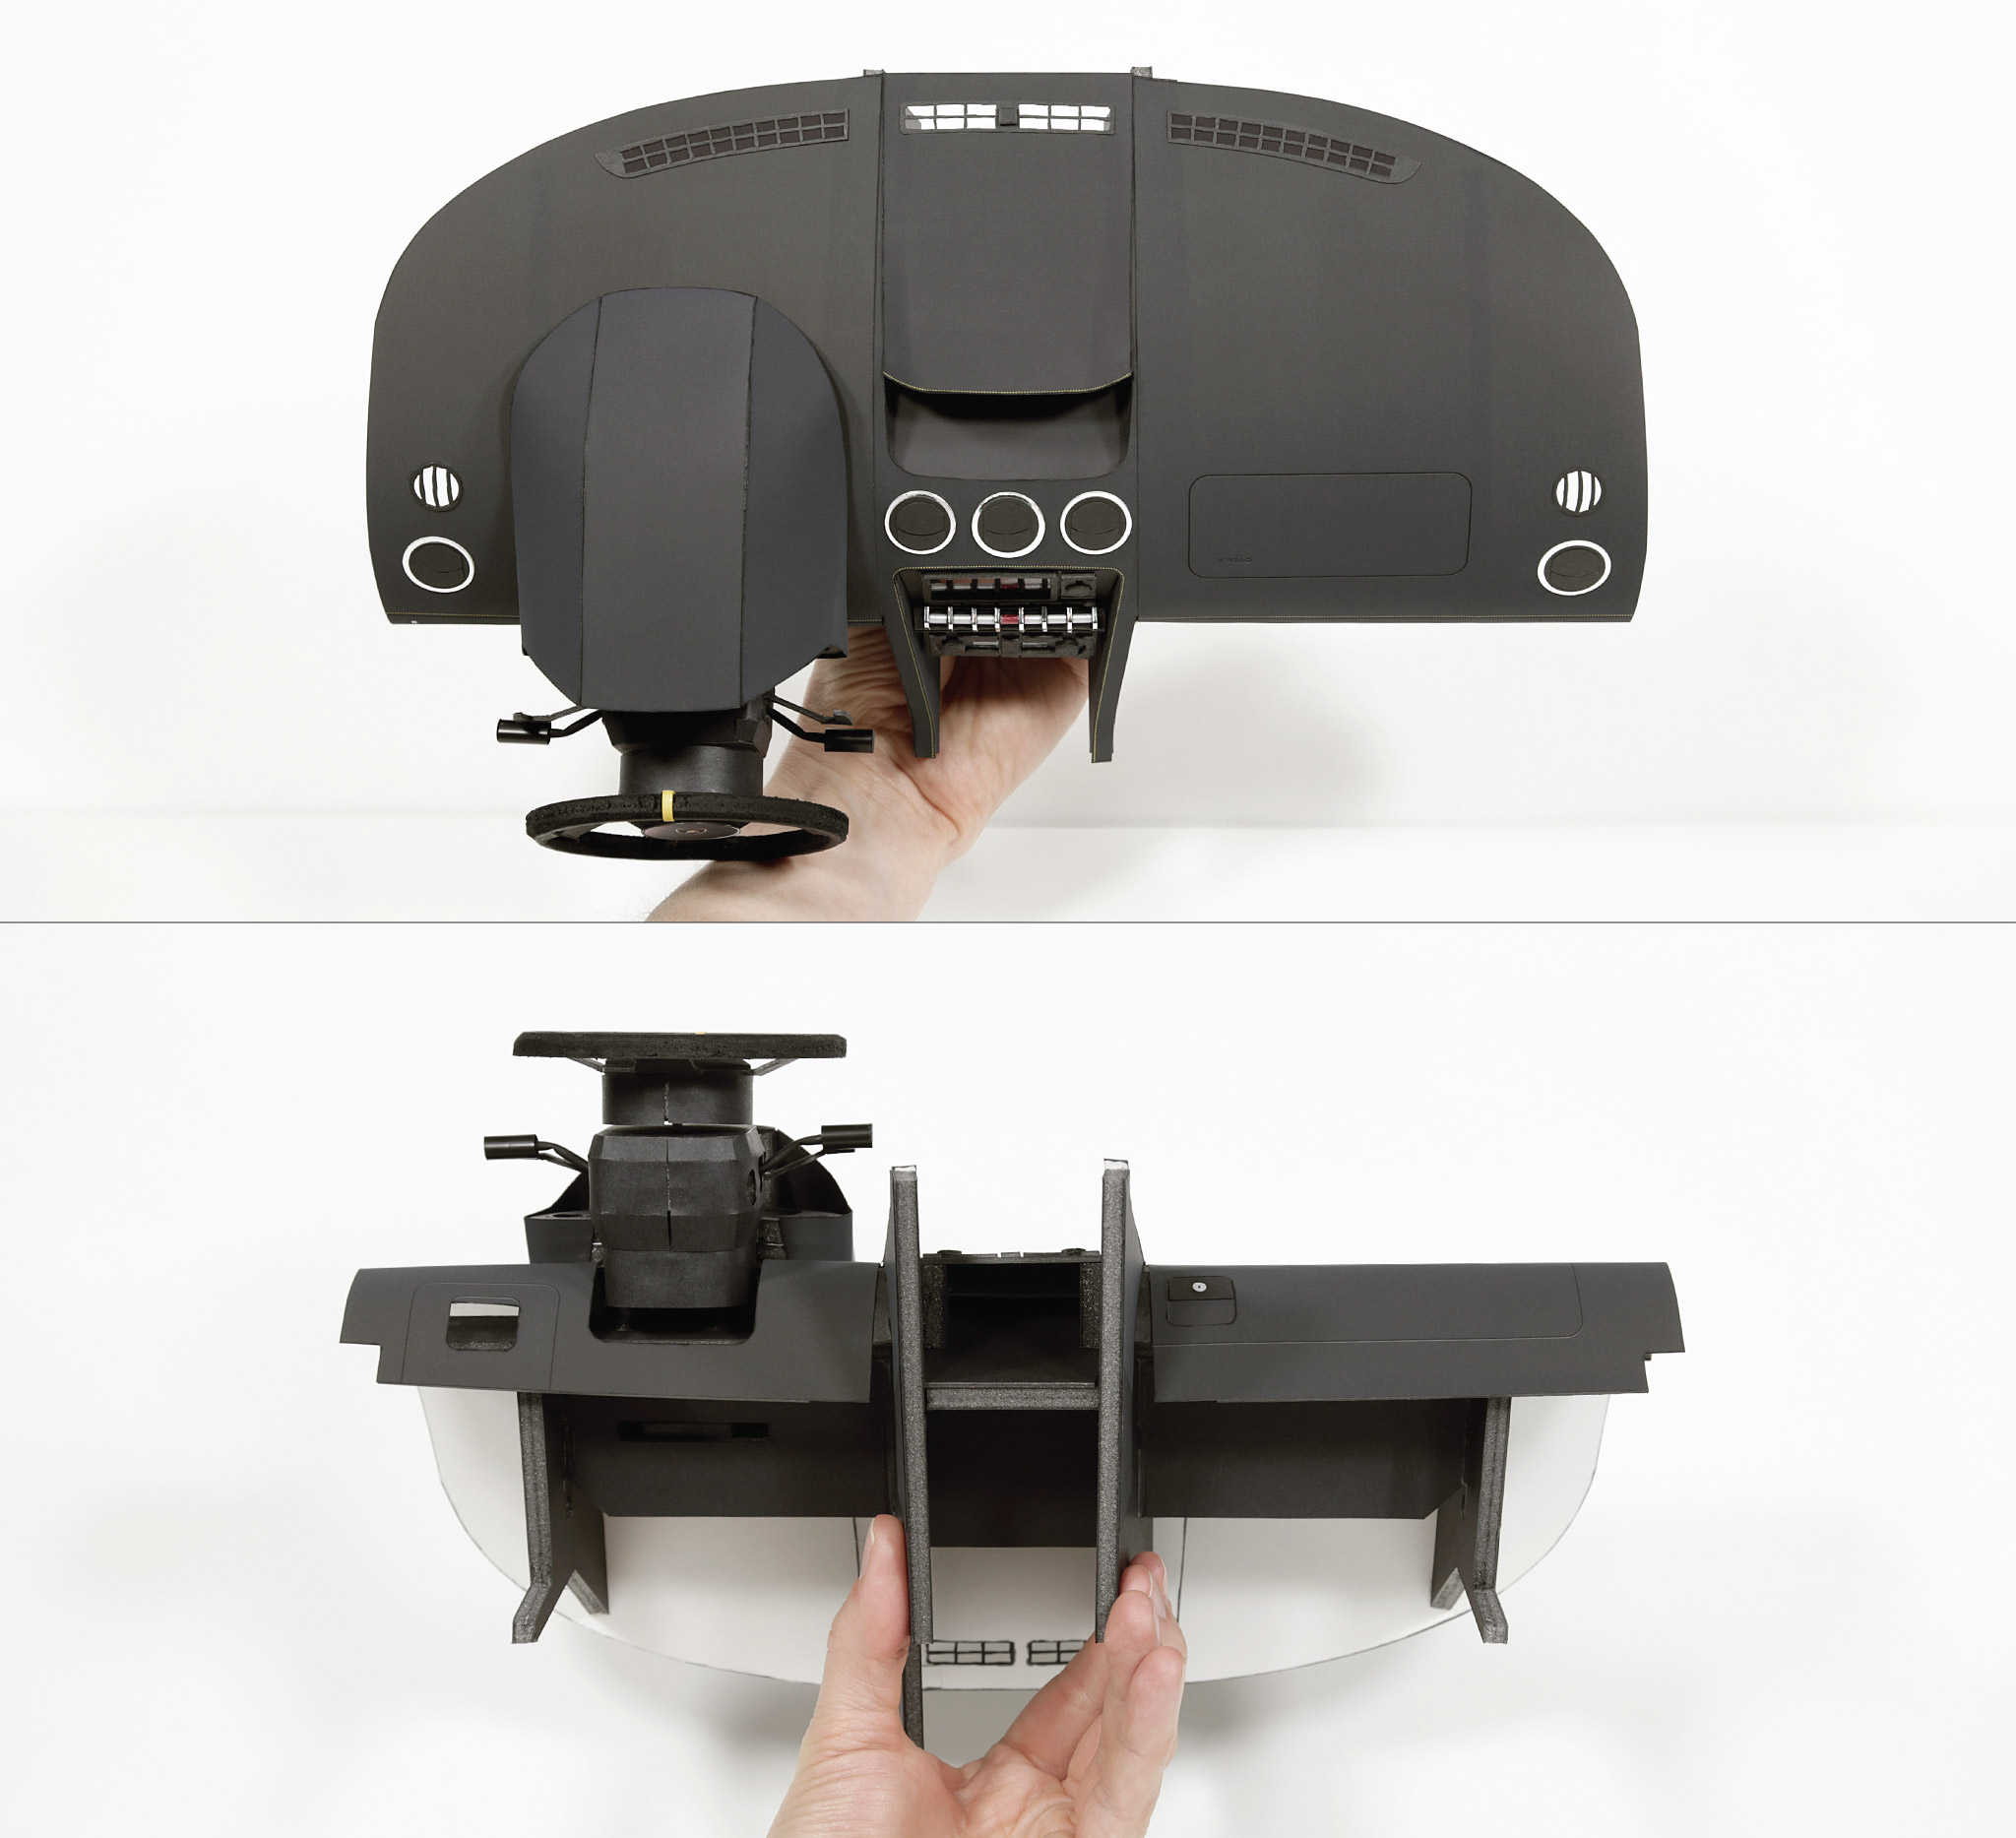
- ‣ Two views of the finished dashboard; instrument cluster; infotainment; and steering column assembly. Designing all the parts and getting the build right took a couple of months. Parts are made from matte photo print paper; 1000gsm cardboard; 5mm foam board; and various other craft materials. Super happy with the result!
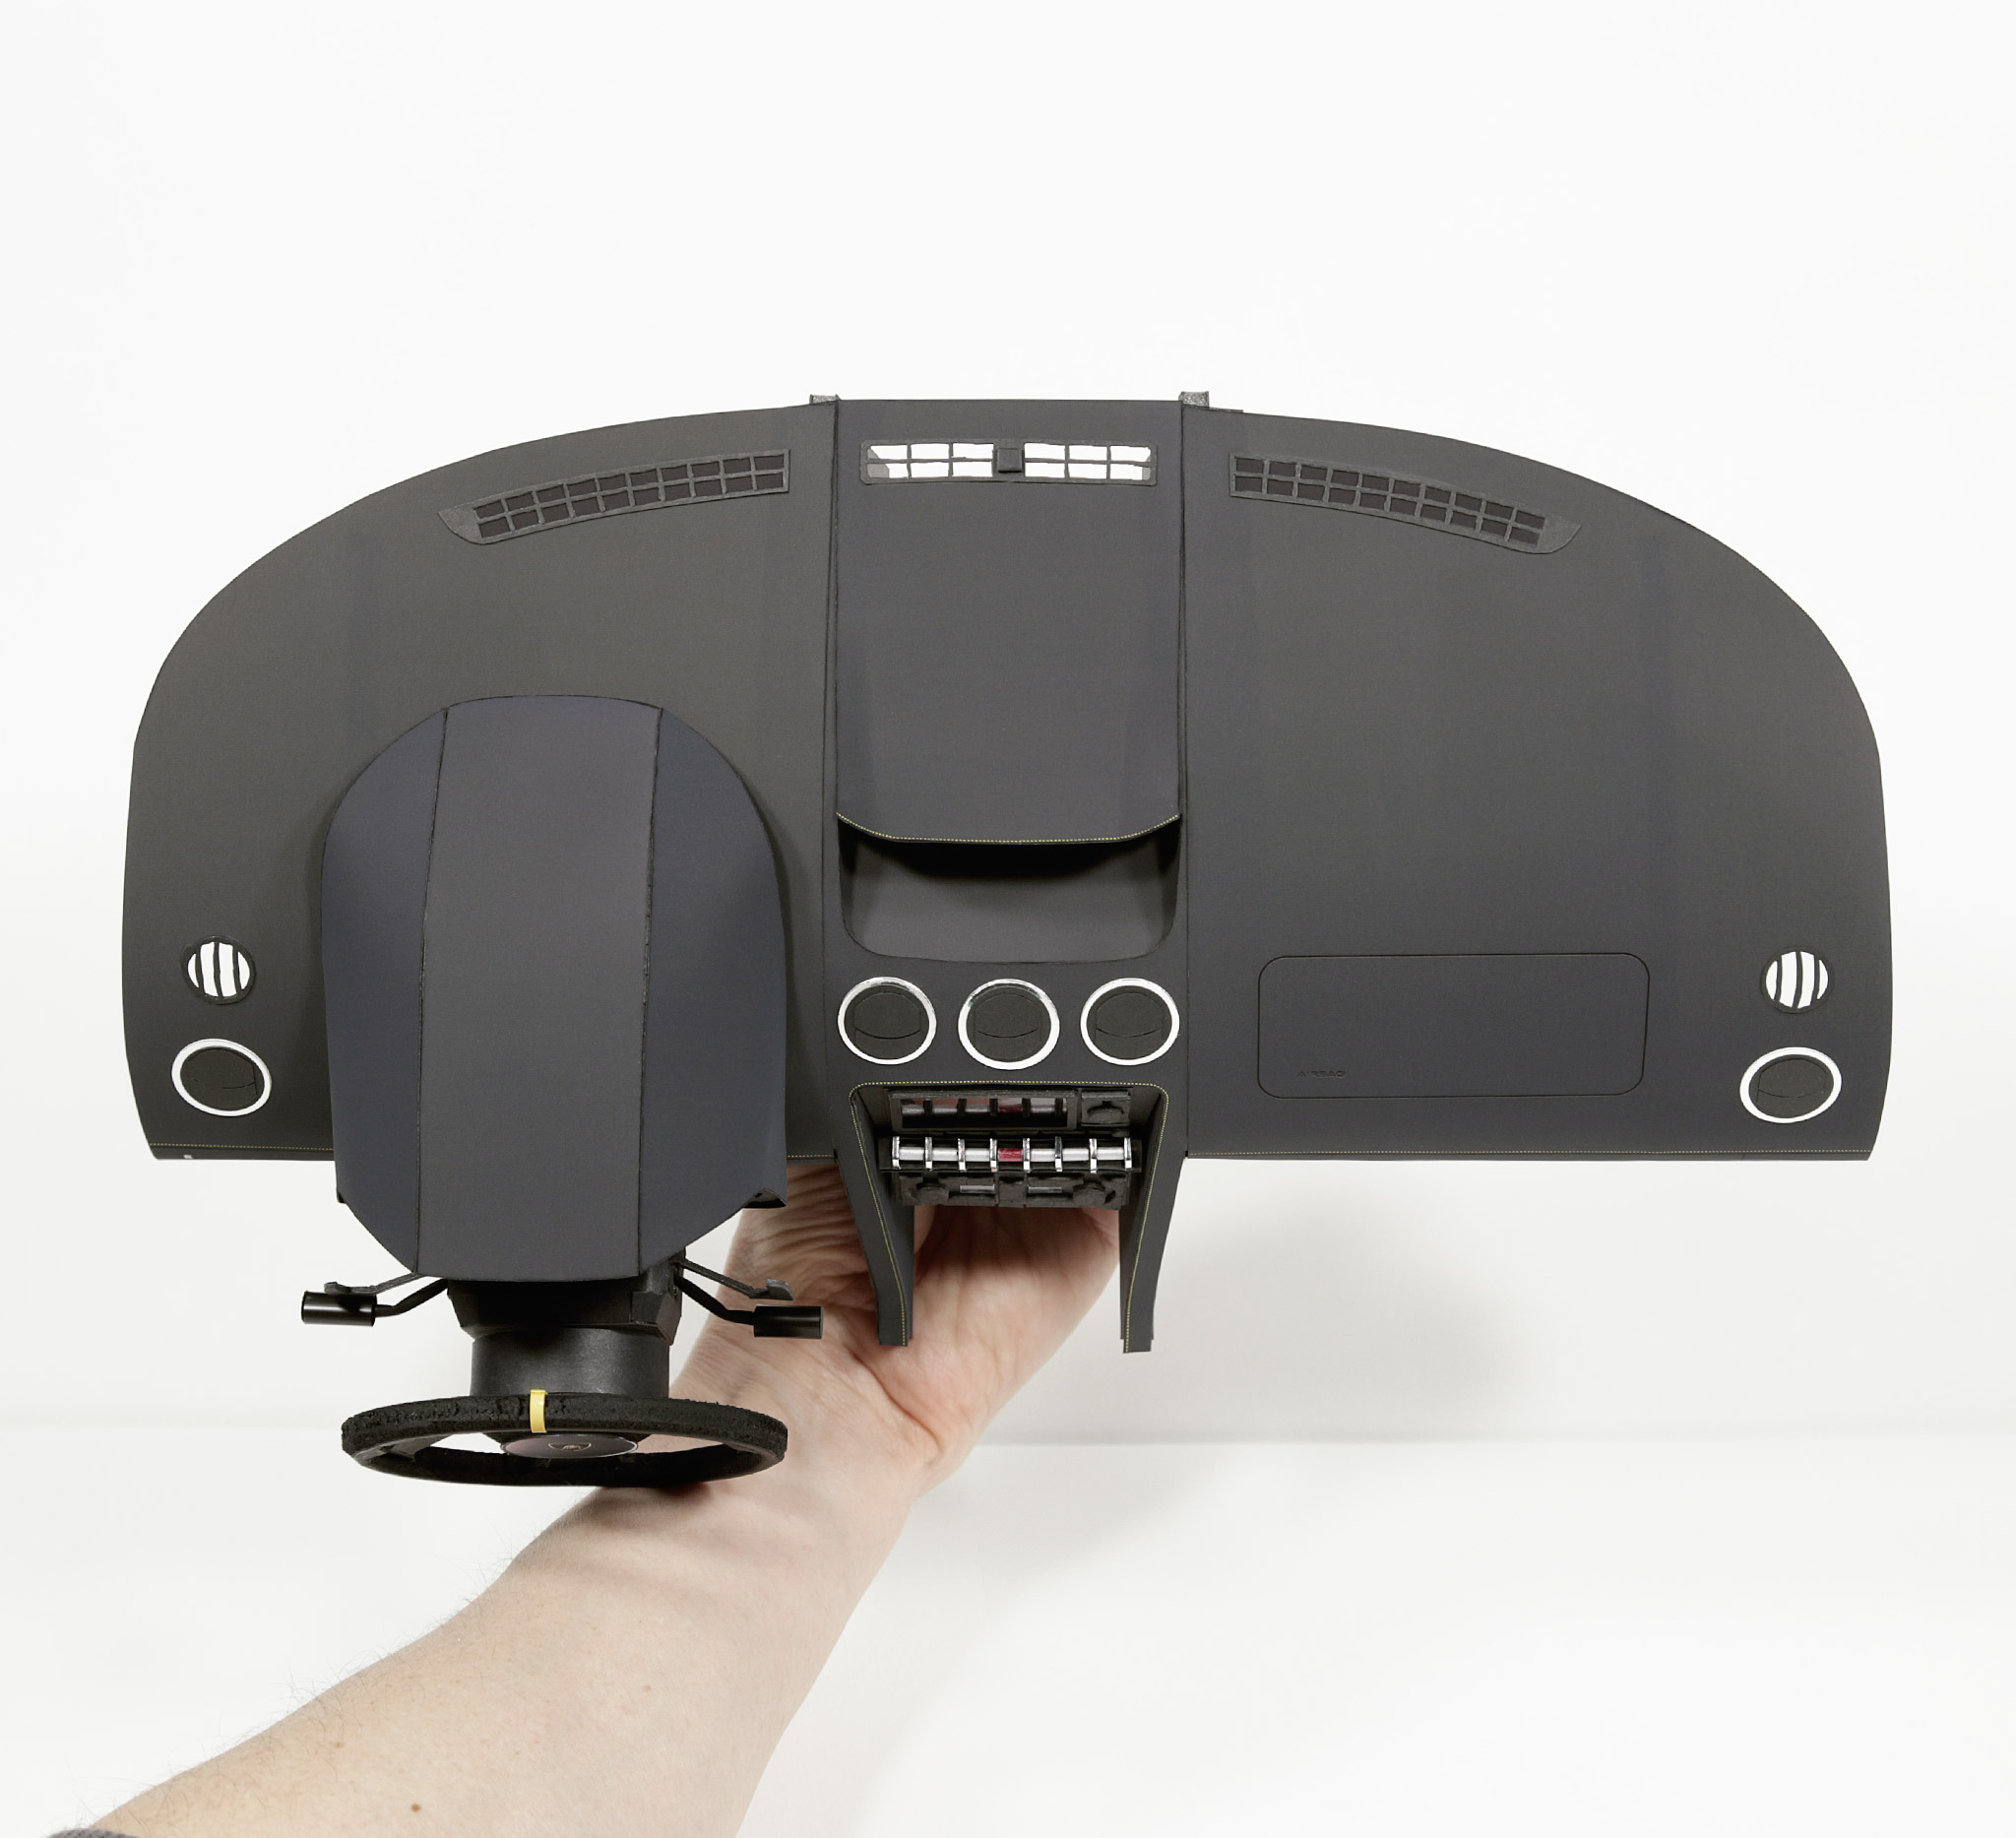
- ‣ Top view of the finished dashboard; instrument cluster; infotainment; and steering column assembly.
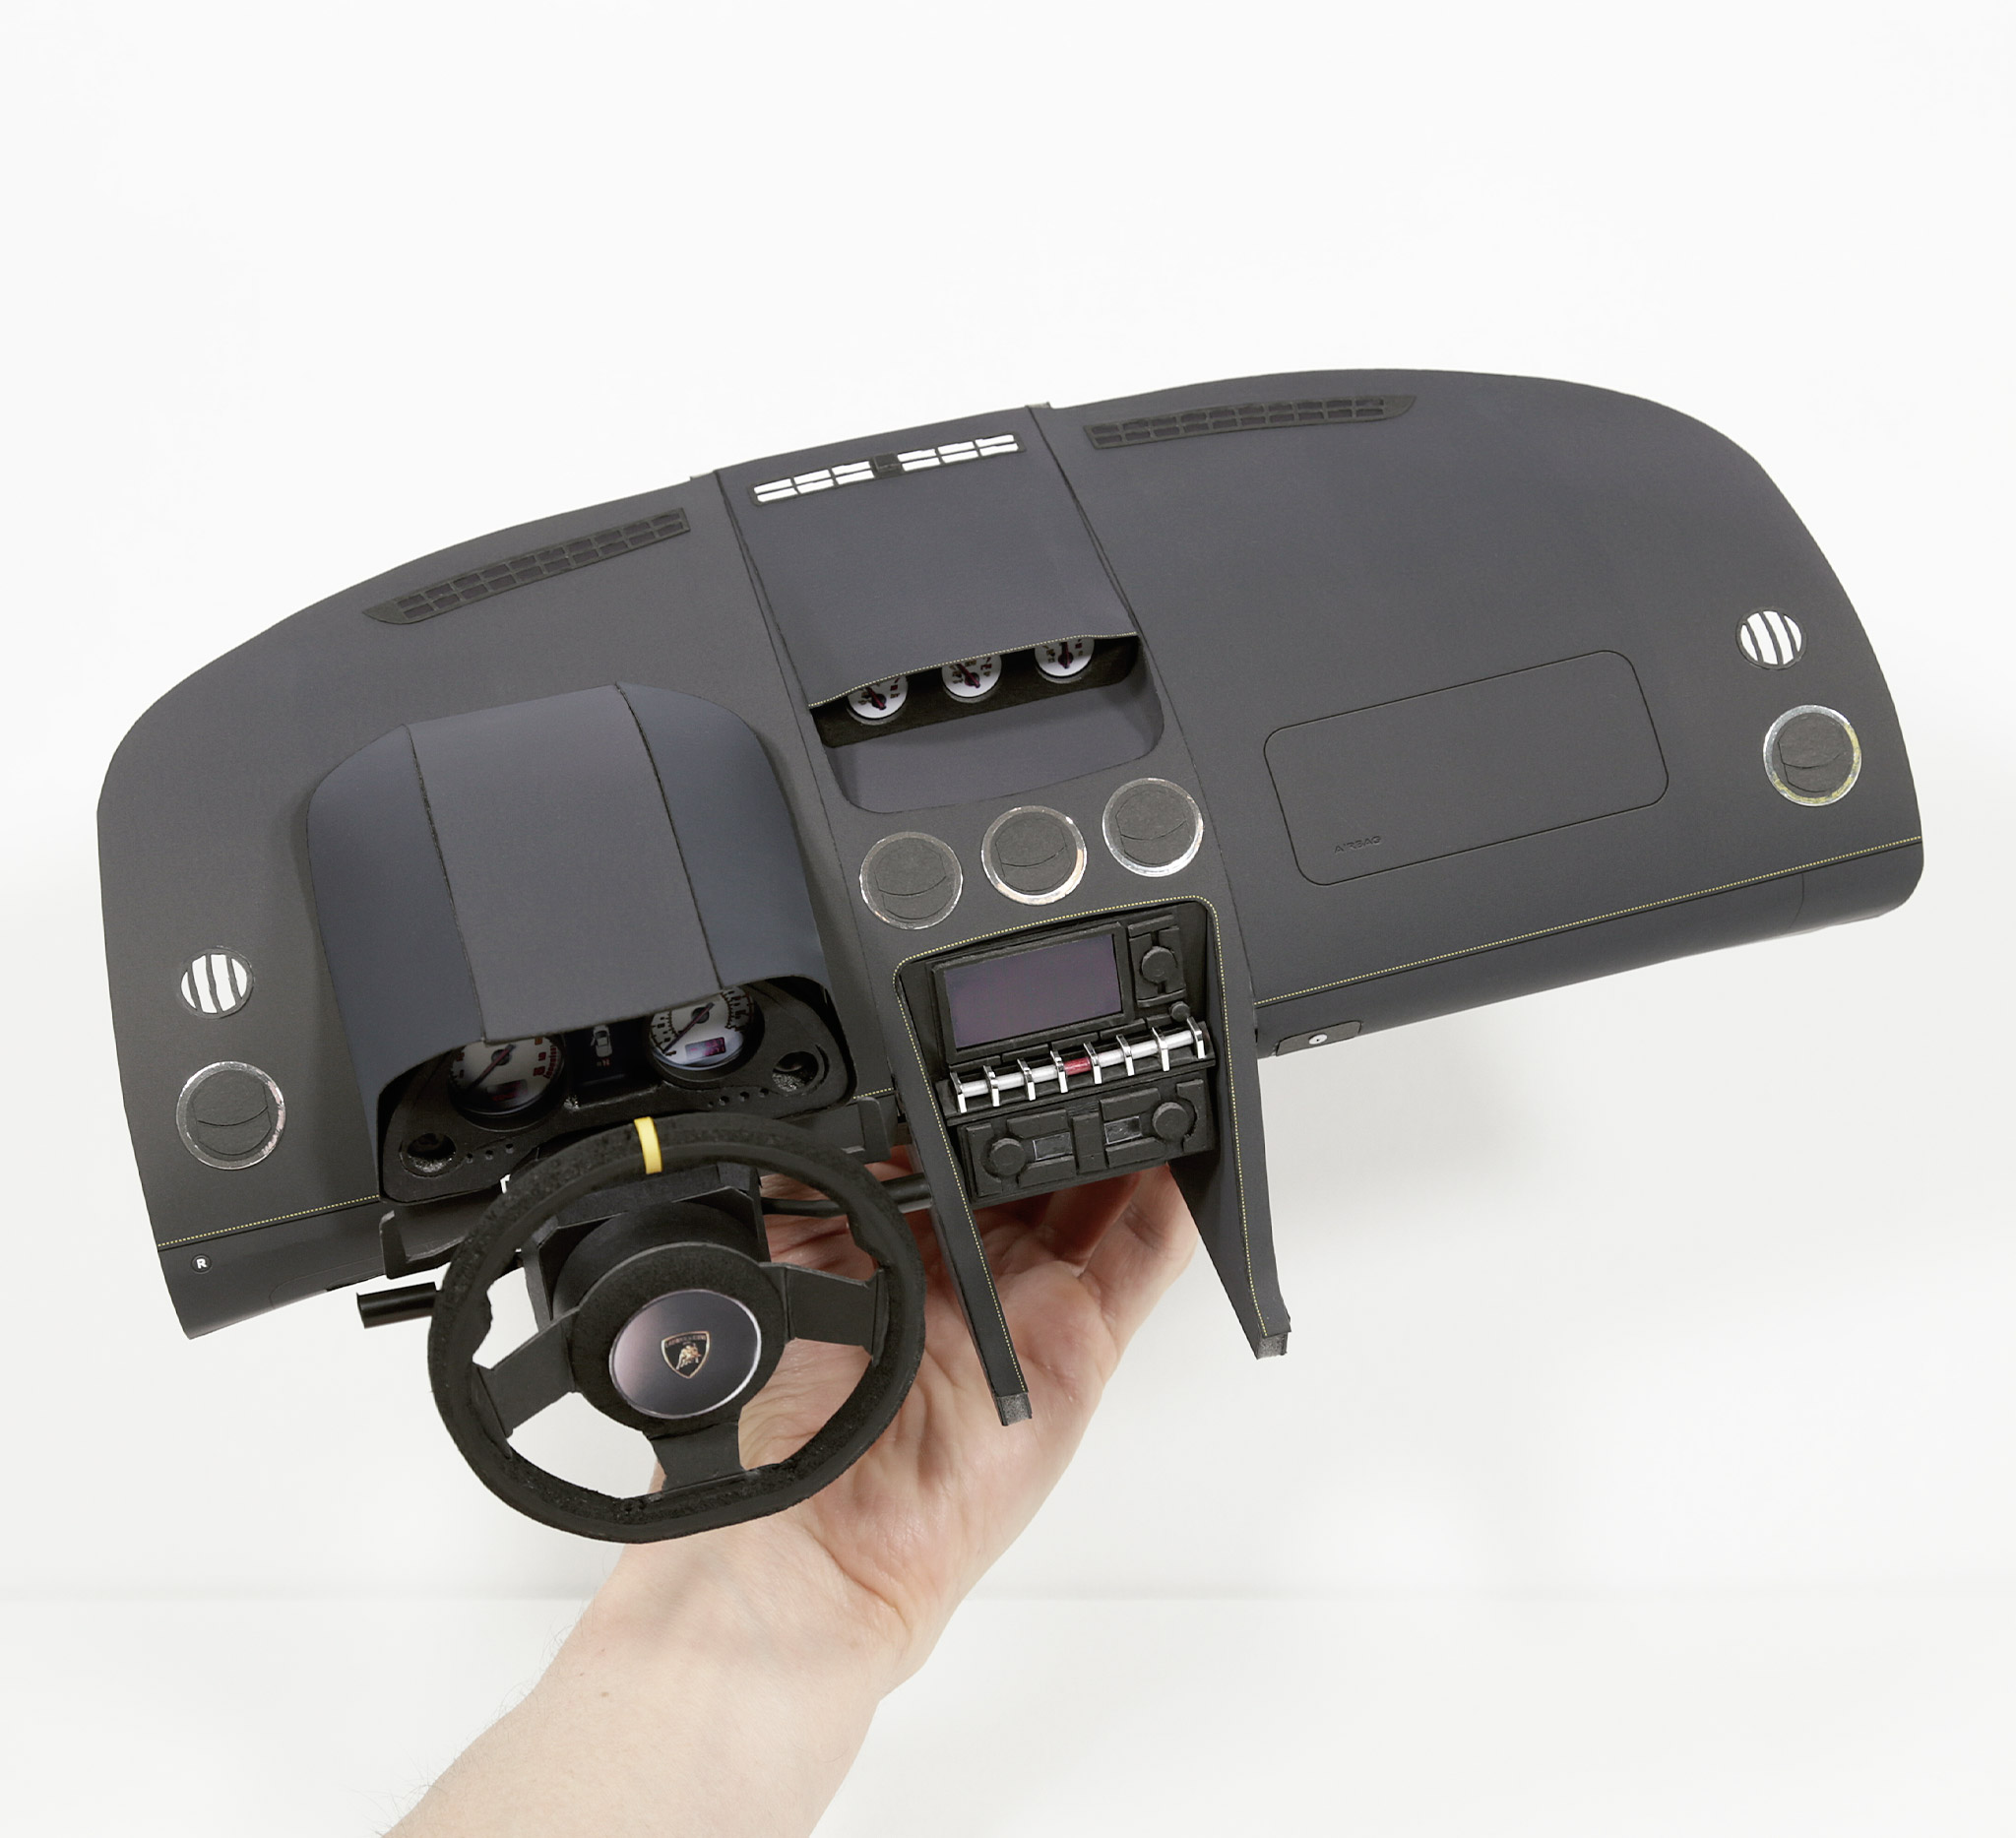
- ‣ View of the finished dashboard; instrument cluster; infotainment; and steering column assembly. Designing all the parts and getting the build right took a couple of months– worth it though. The speedo and rev counter-dials part is simply an image edited from a photo of a real Gallardo instrument panel. The rest is made up of matte photo print paper parts; 1000gsm cardboard; 5mm foam board; and various other craft materials. Super happy with the result.
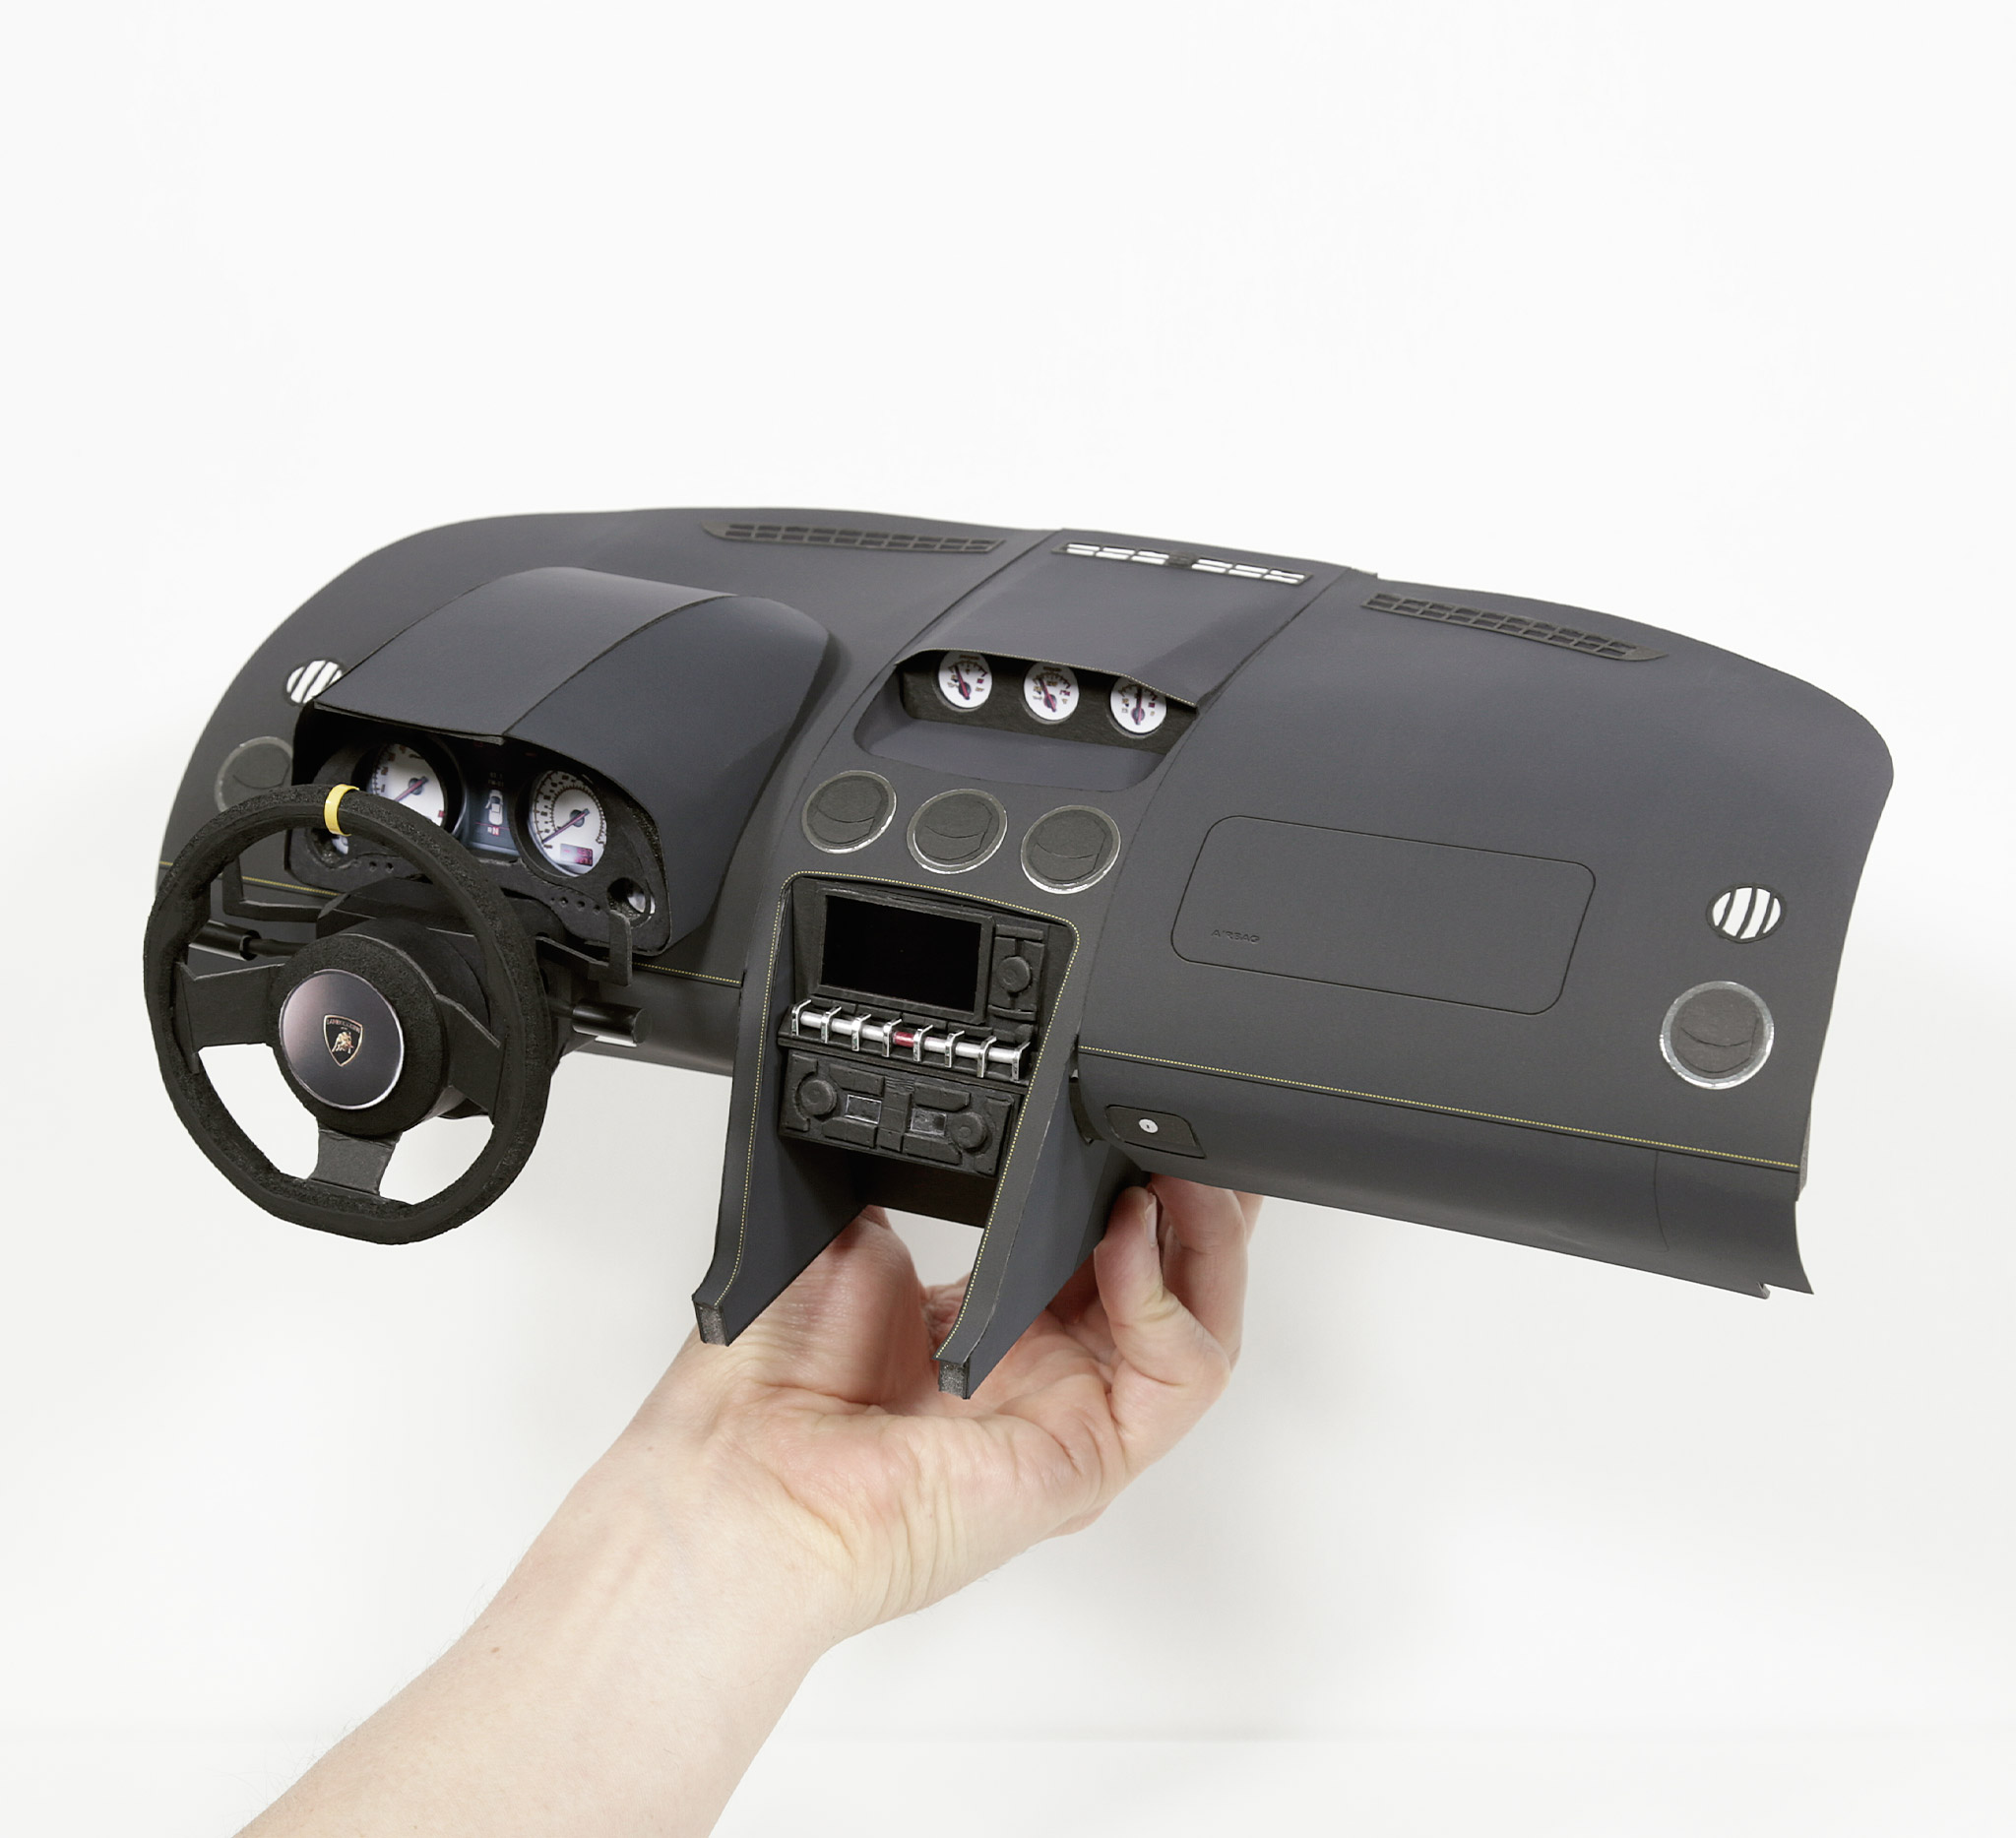
- ‣ Finished dashboard; instrument cluster; infotainment; and steering column assembly.
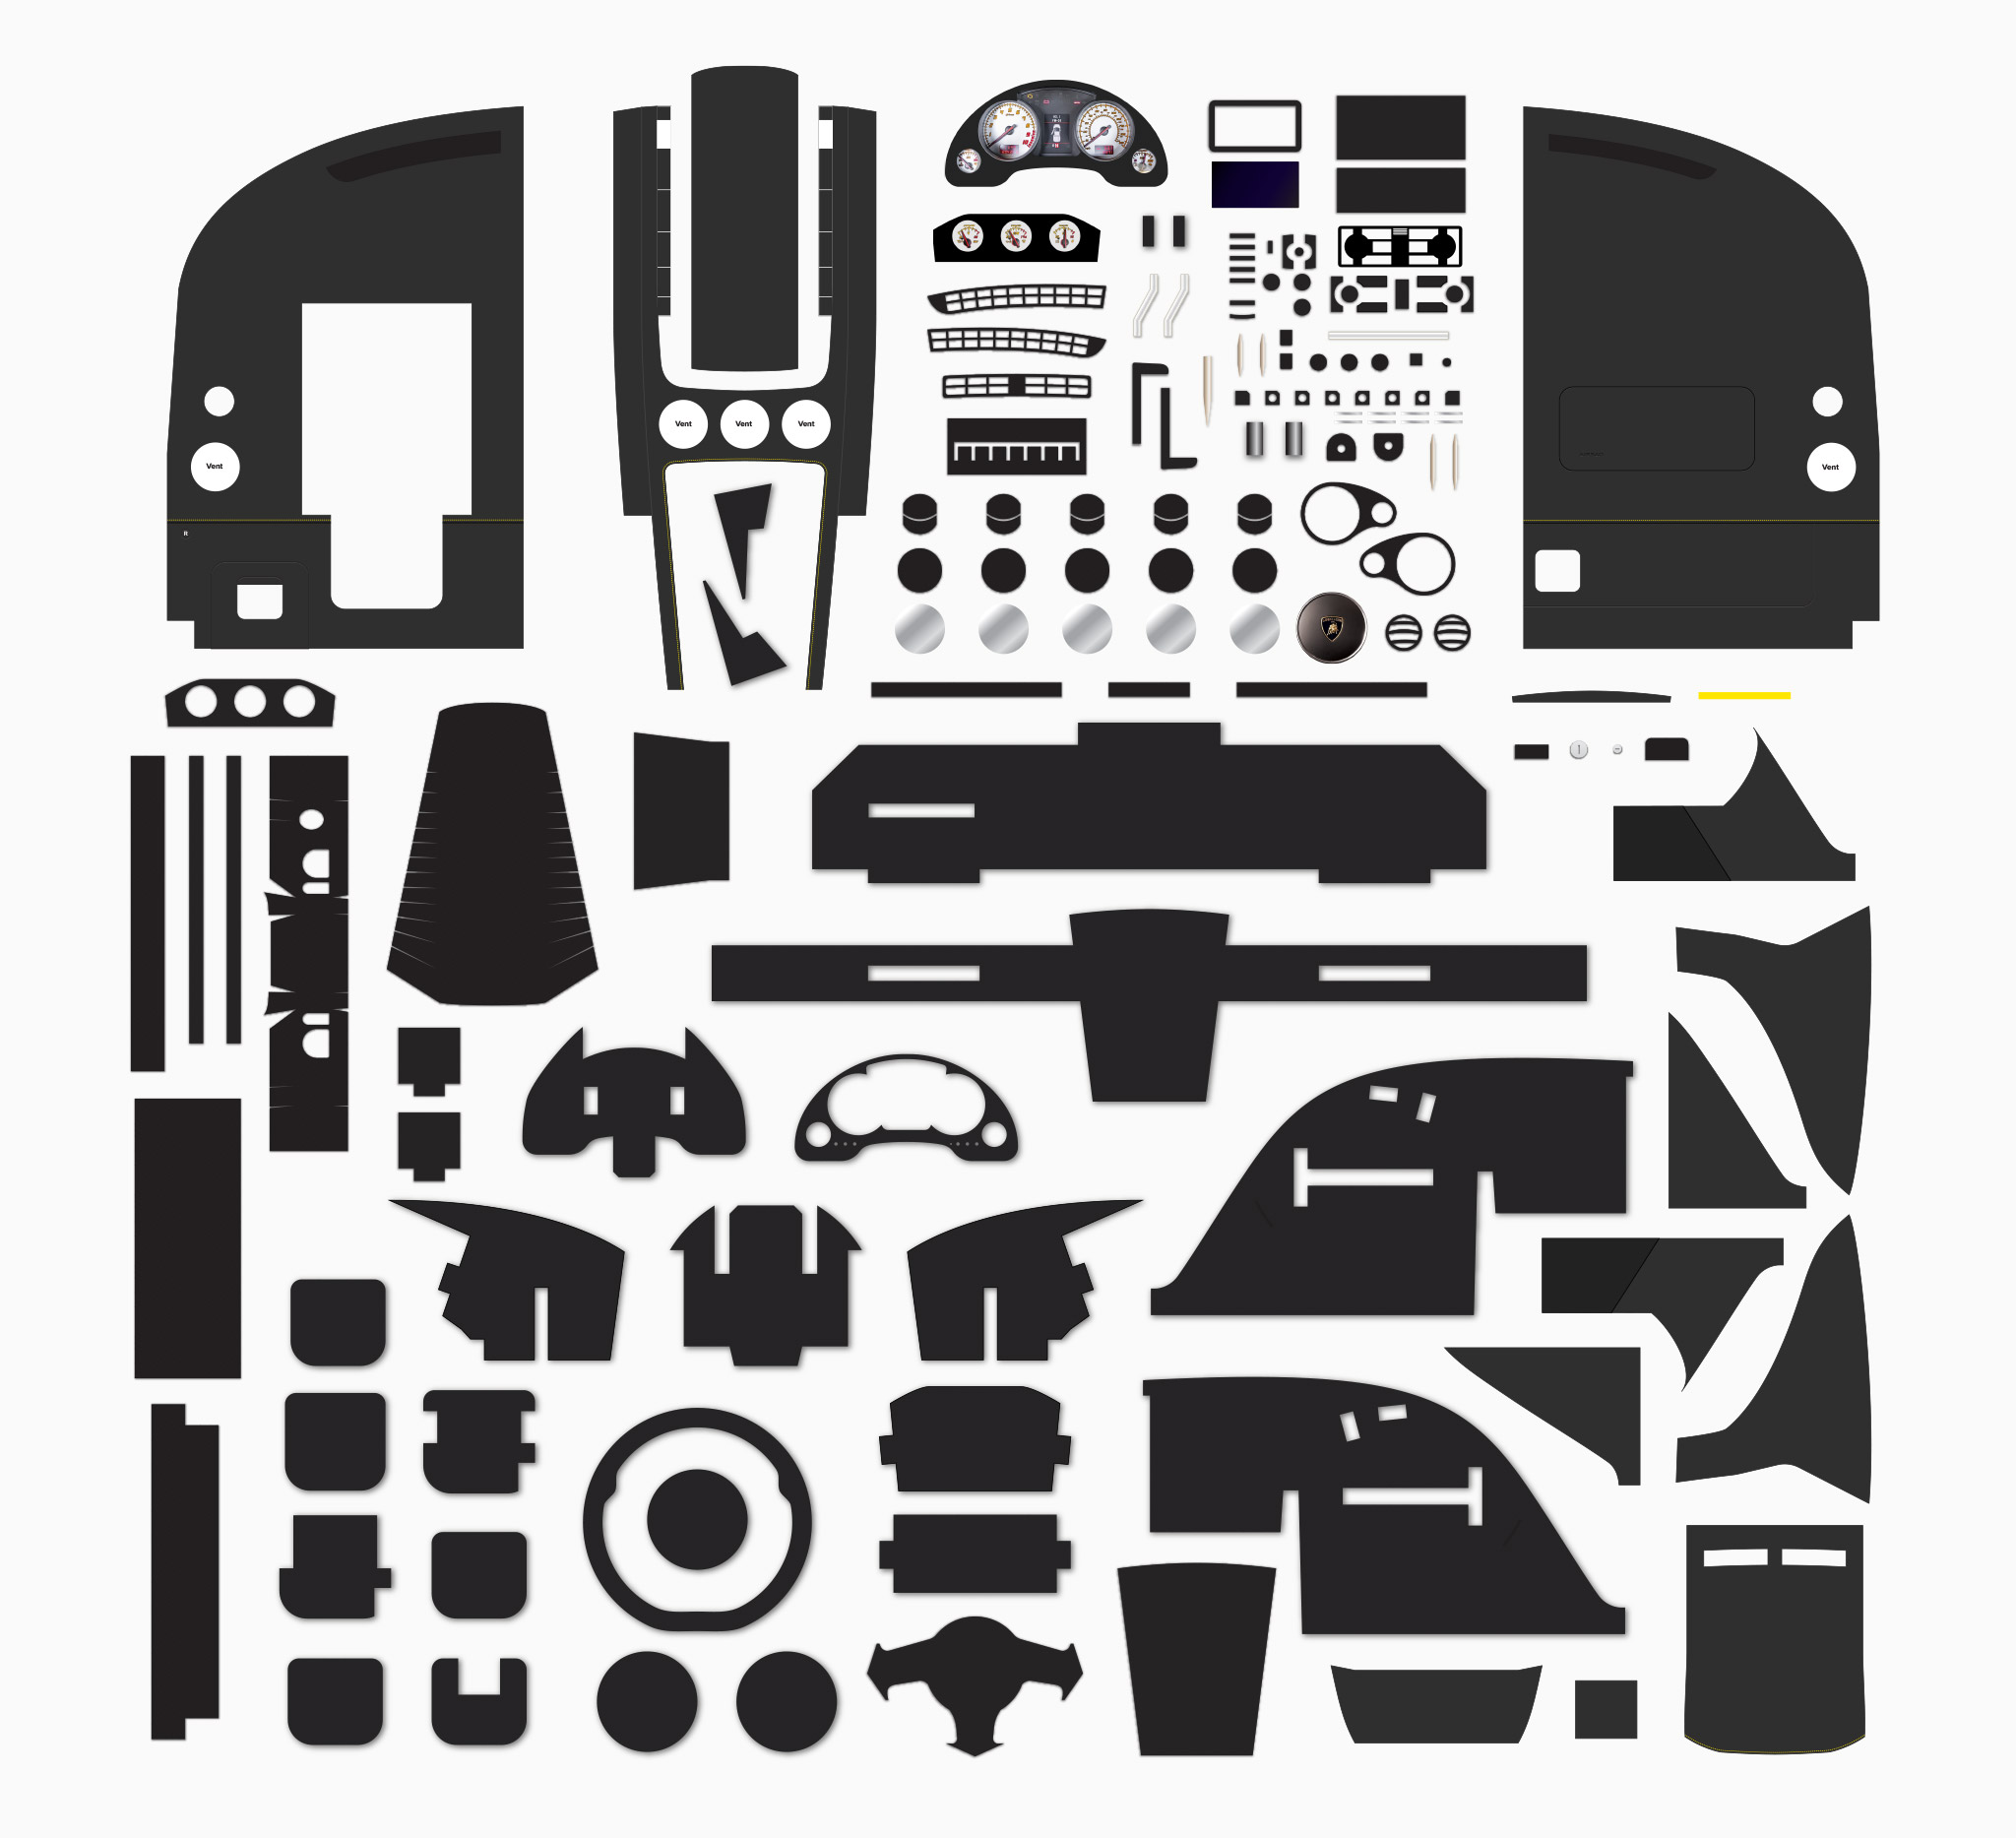
- ‣ Complete-set of parts for the dashboard; instrument cluster; infotainment; and steering column assembly. 98 separate bits all up. It took me a couple of months to design and build all the parts.
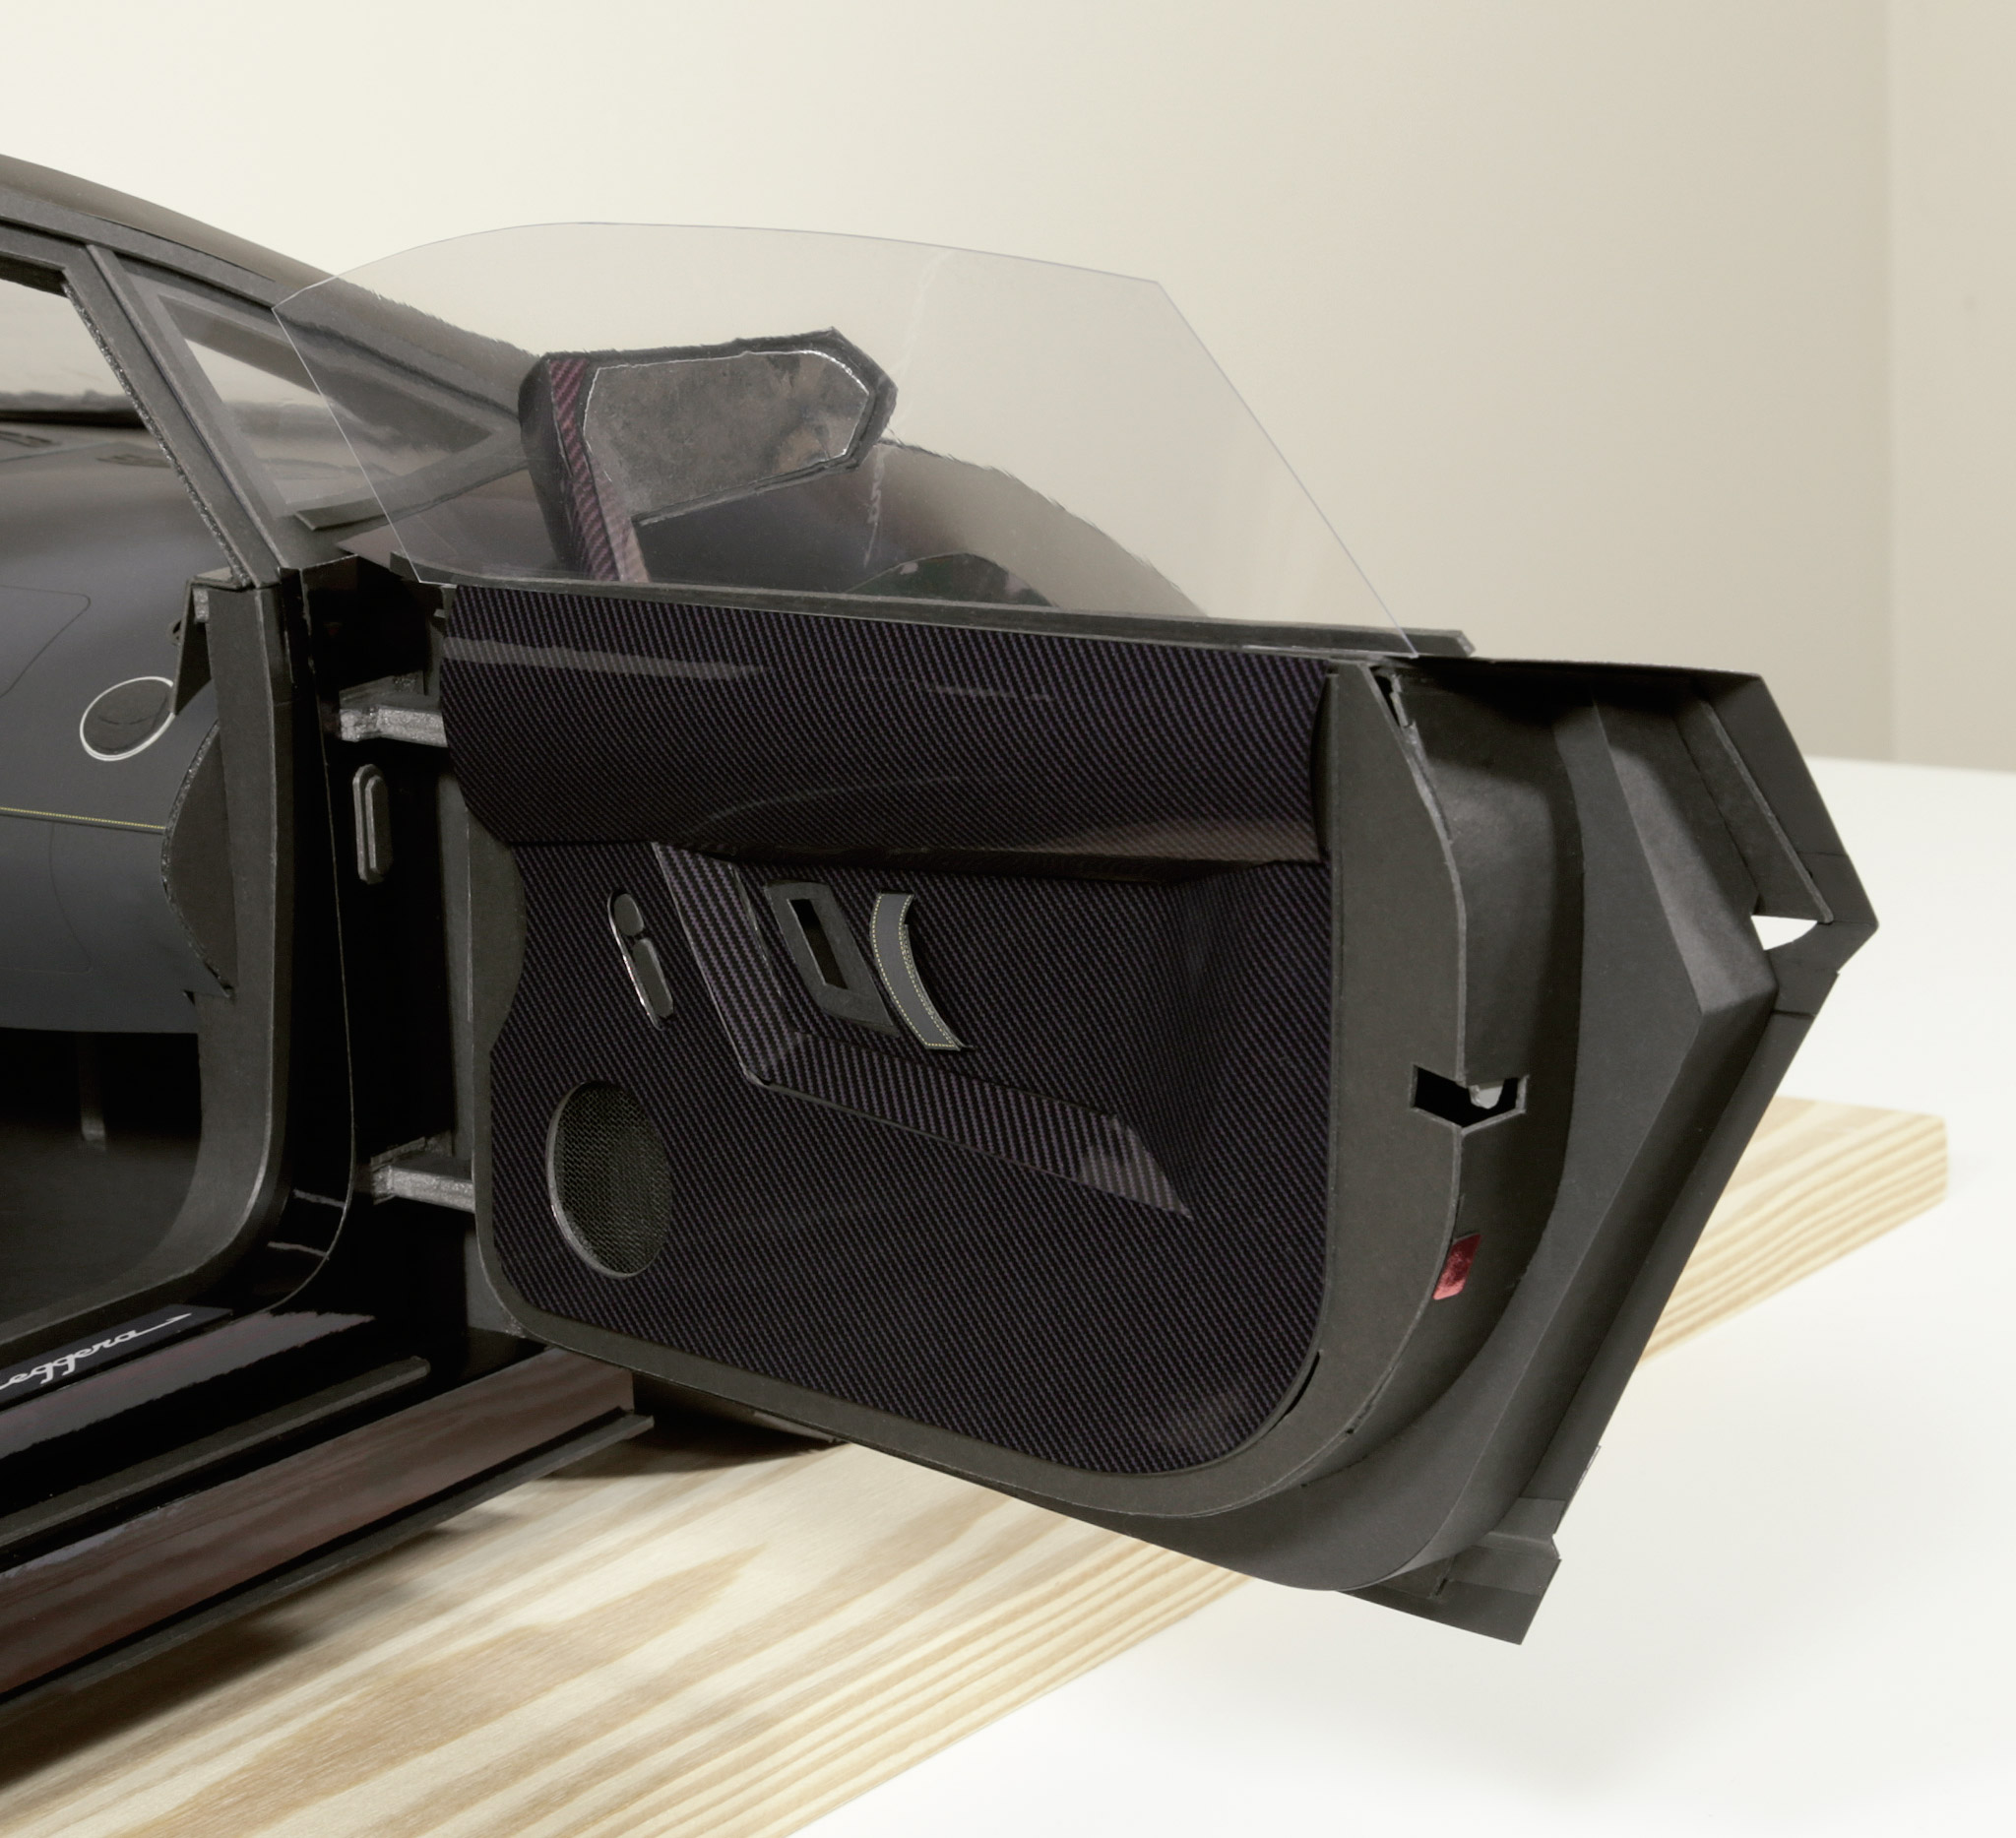
- ‣ One of the carbon fibre-style door panels. Parts are made from photo paper printed with a carbon fibre texture. Details are made from cardboard; fabric is used for the speaker cover; and printed paper details for the door-pull.
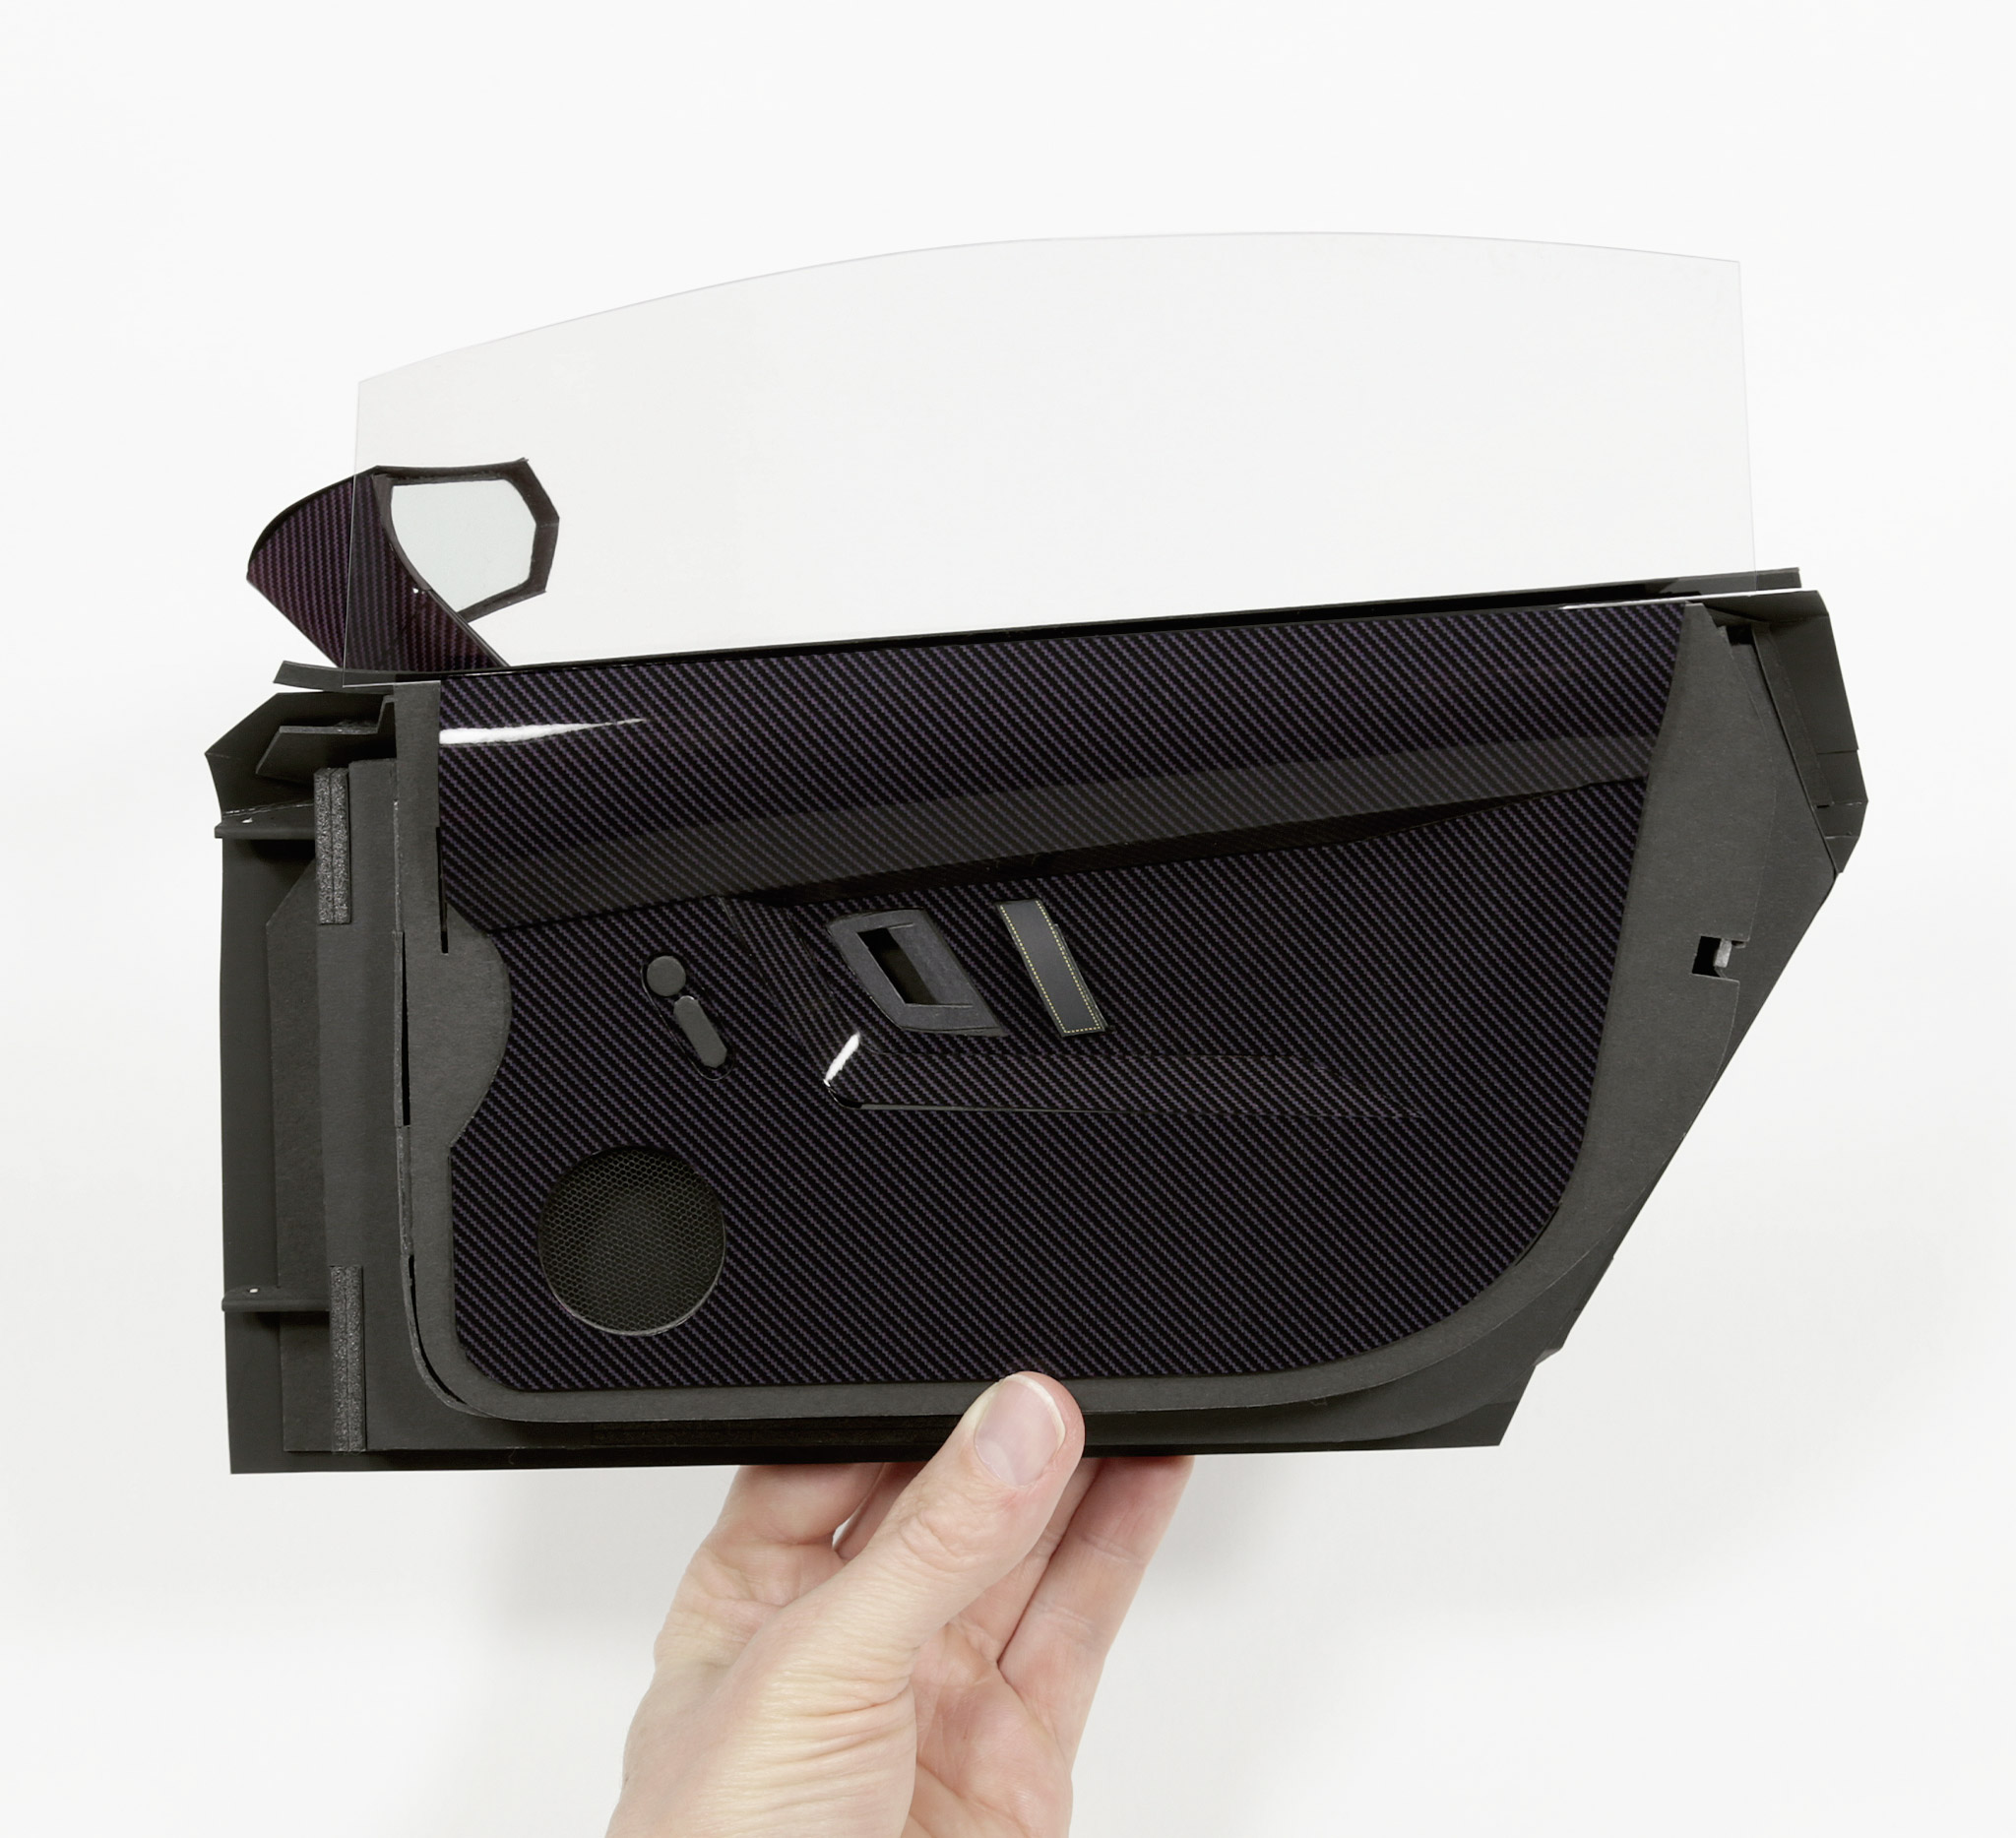
- ‣ Carbon fibre-style door panels. Parts are made from photo paper printed with a carbon fibre texture. Details are made from cardboard; fabric is used for the speaker cover; and printed paper details for the door-pull.
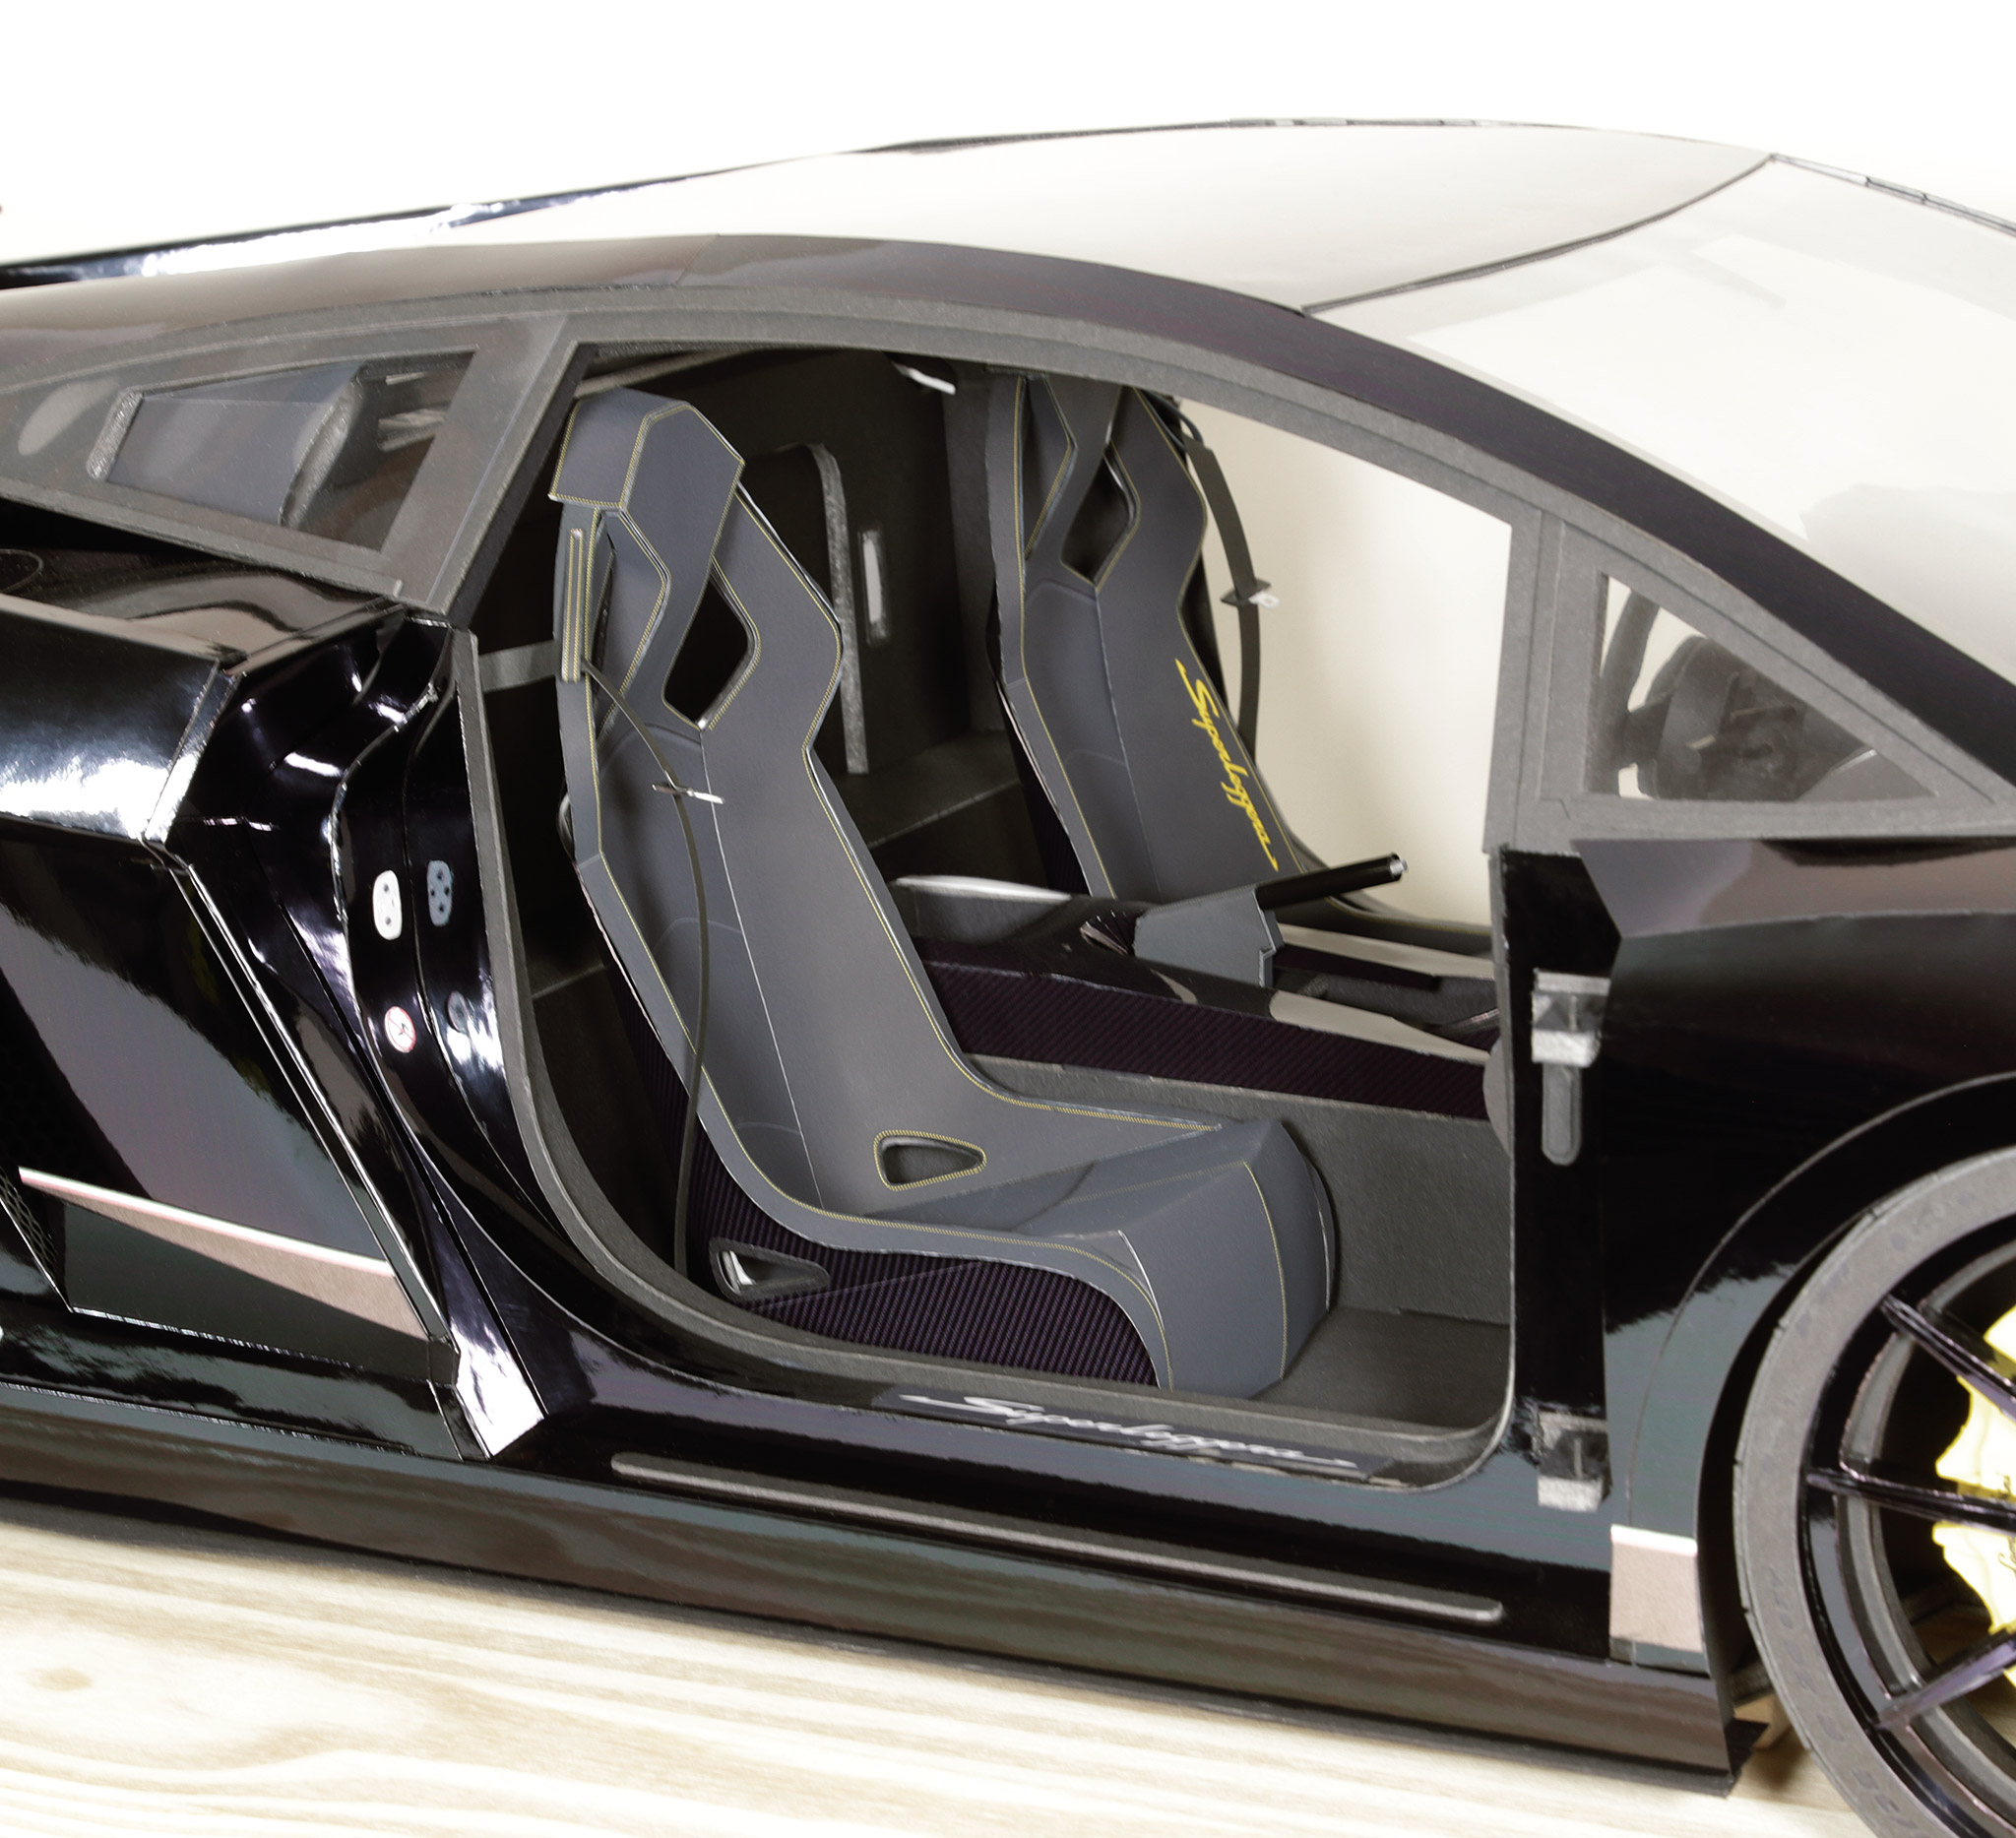
- ‣ Passenger seat, seat belt, and centre console fitted to the car. Turned out pretty good!
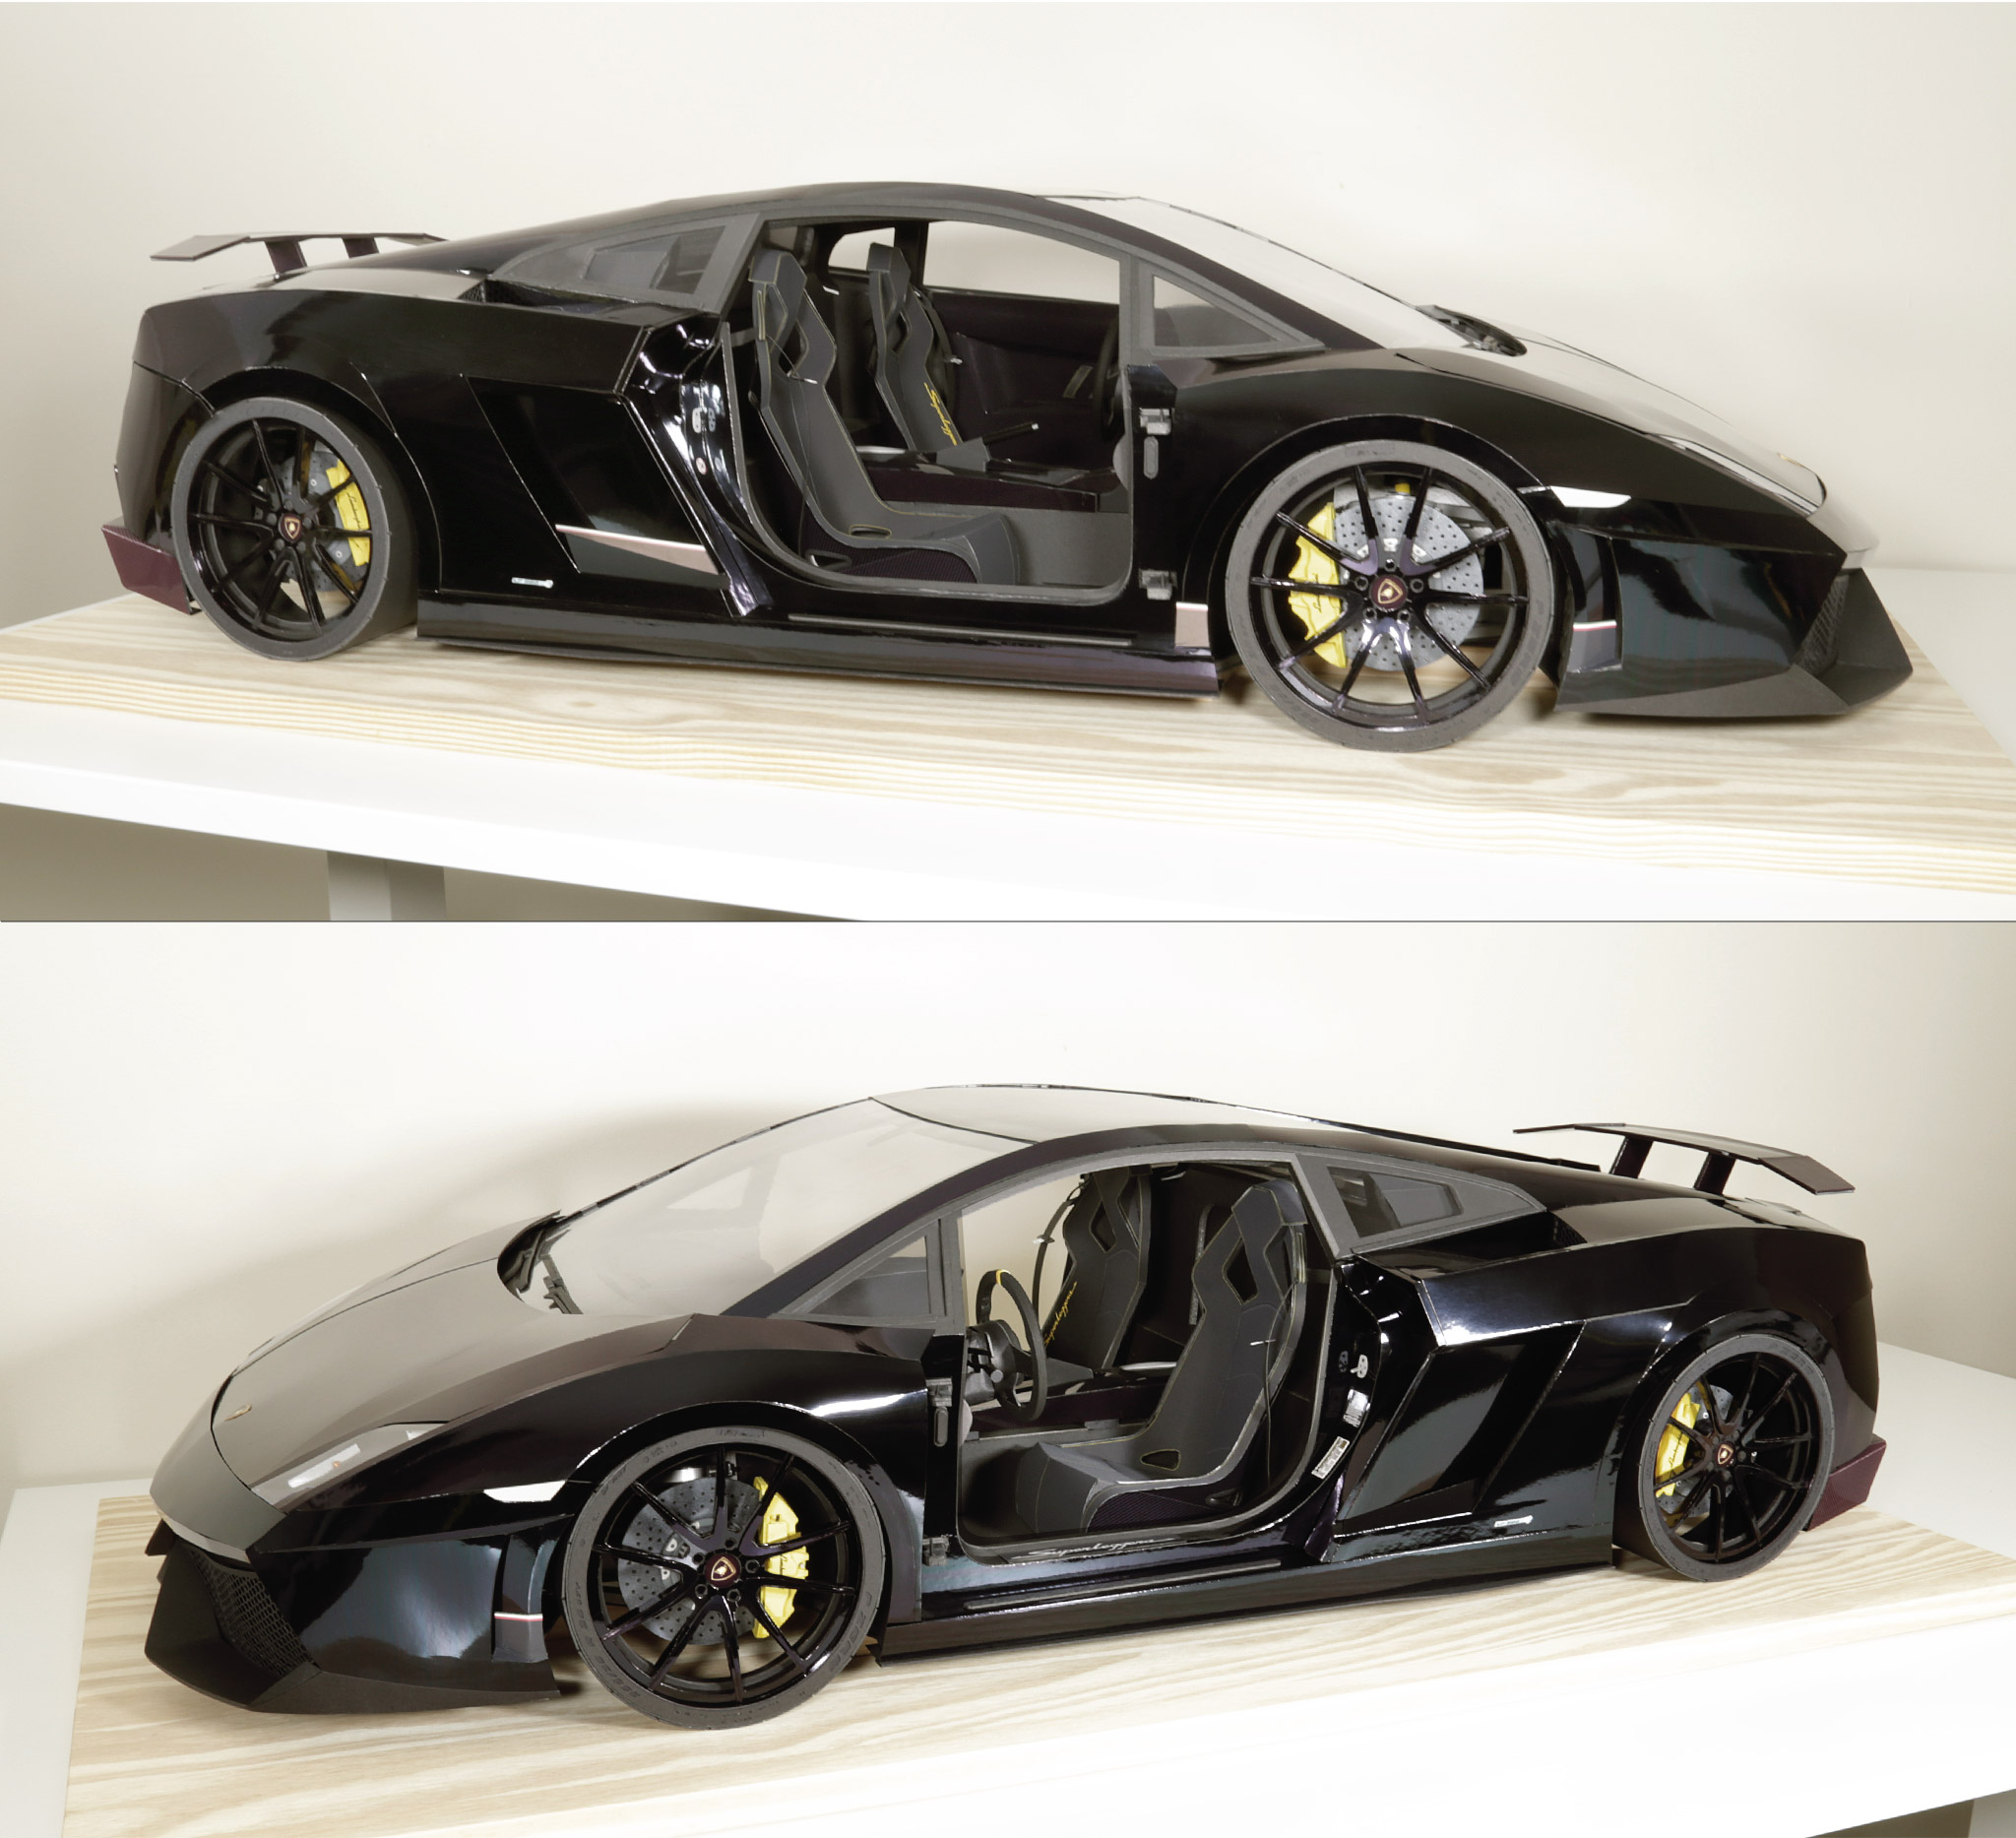
- ‣ View of the interior from both sides of the car. The seats are held in with tabs (on the bottom of the seats) which fit into slots in the floor pan where the seat rails would normally be.
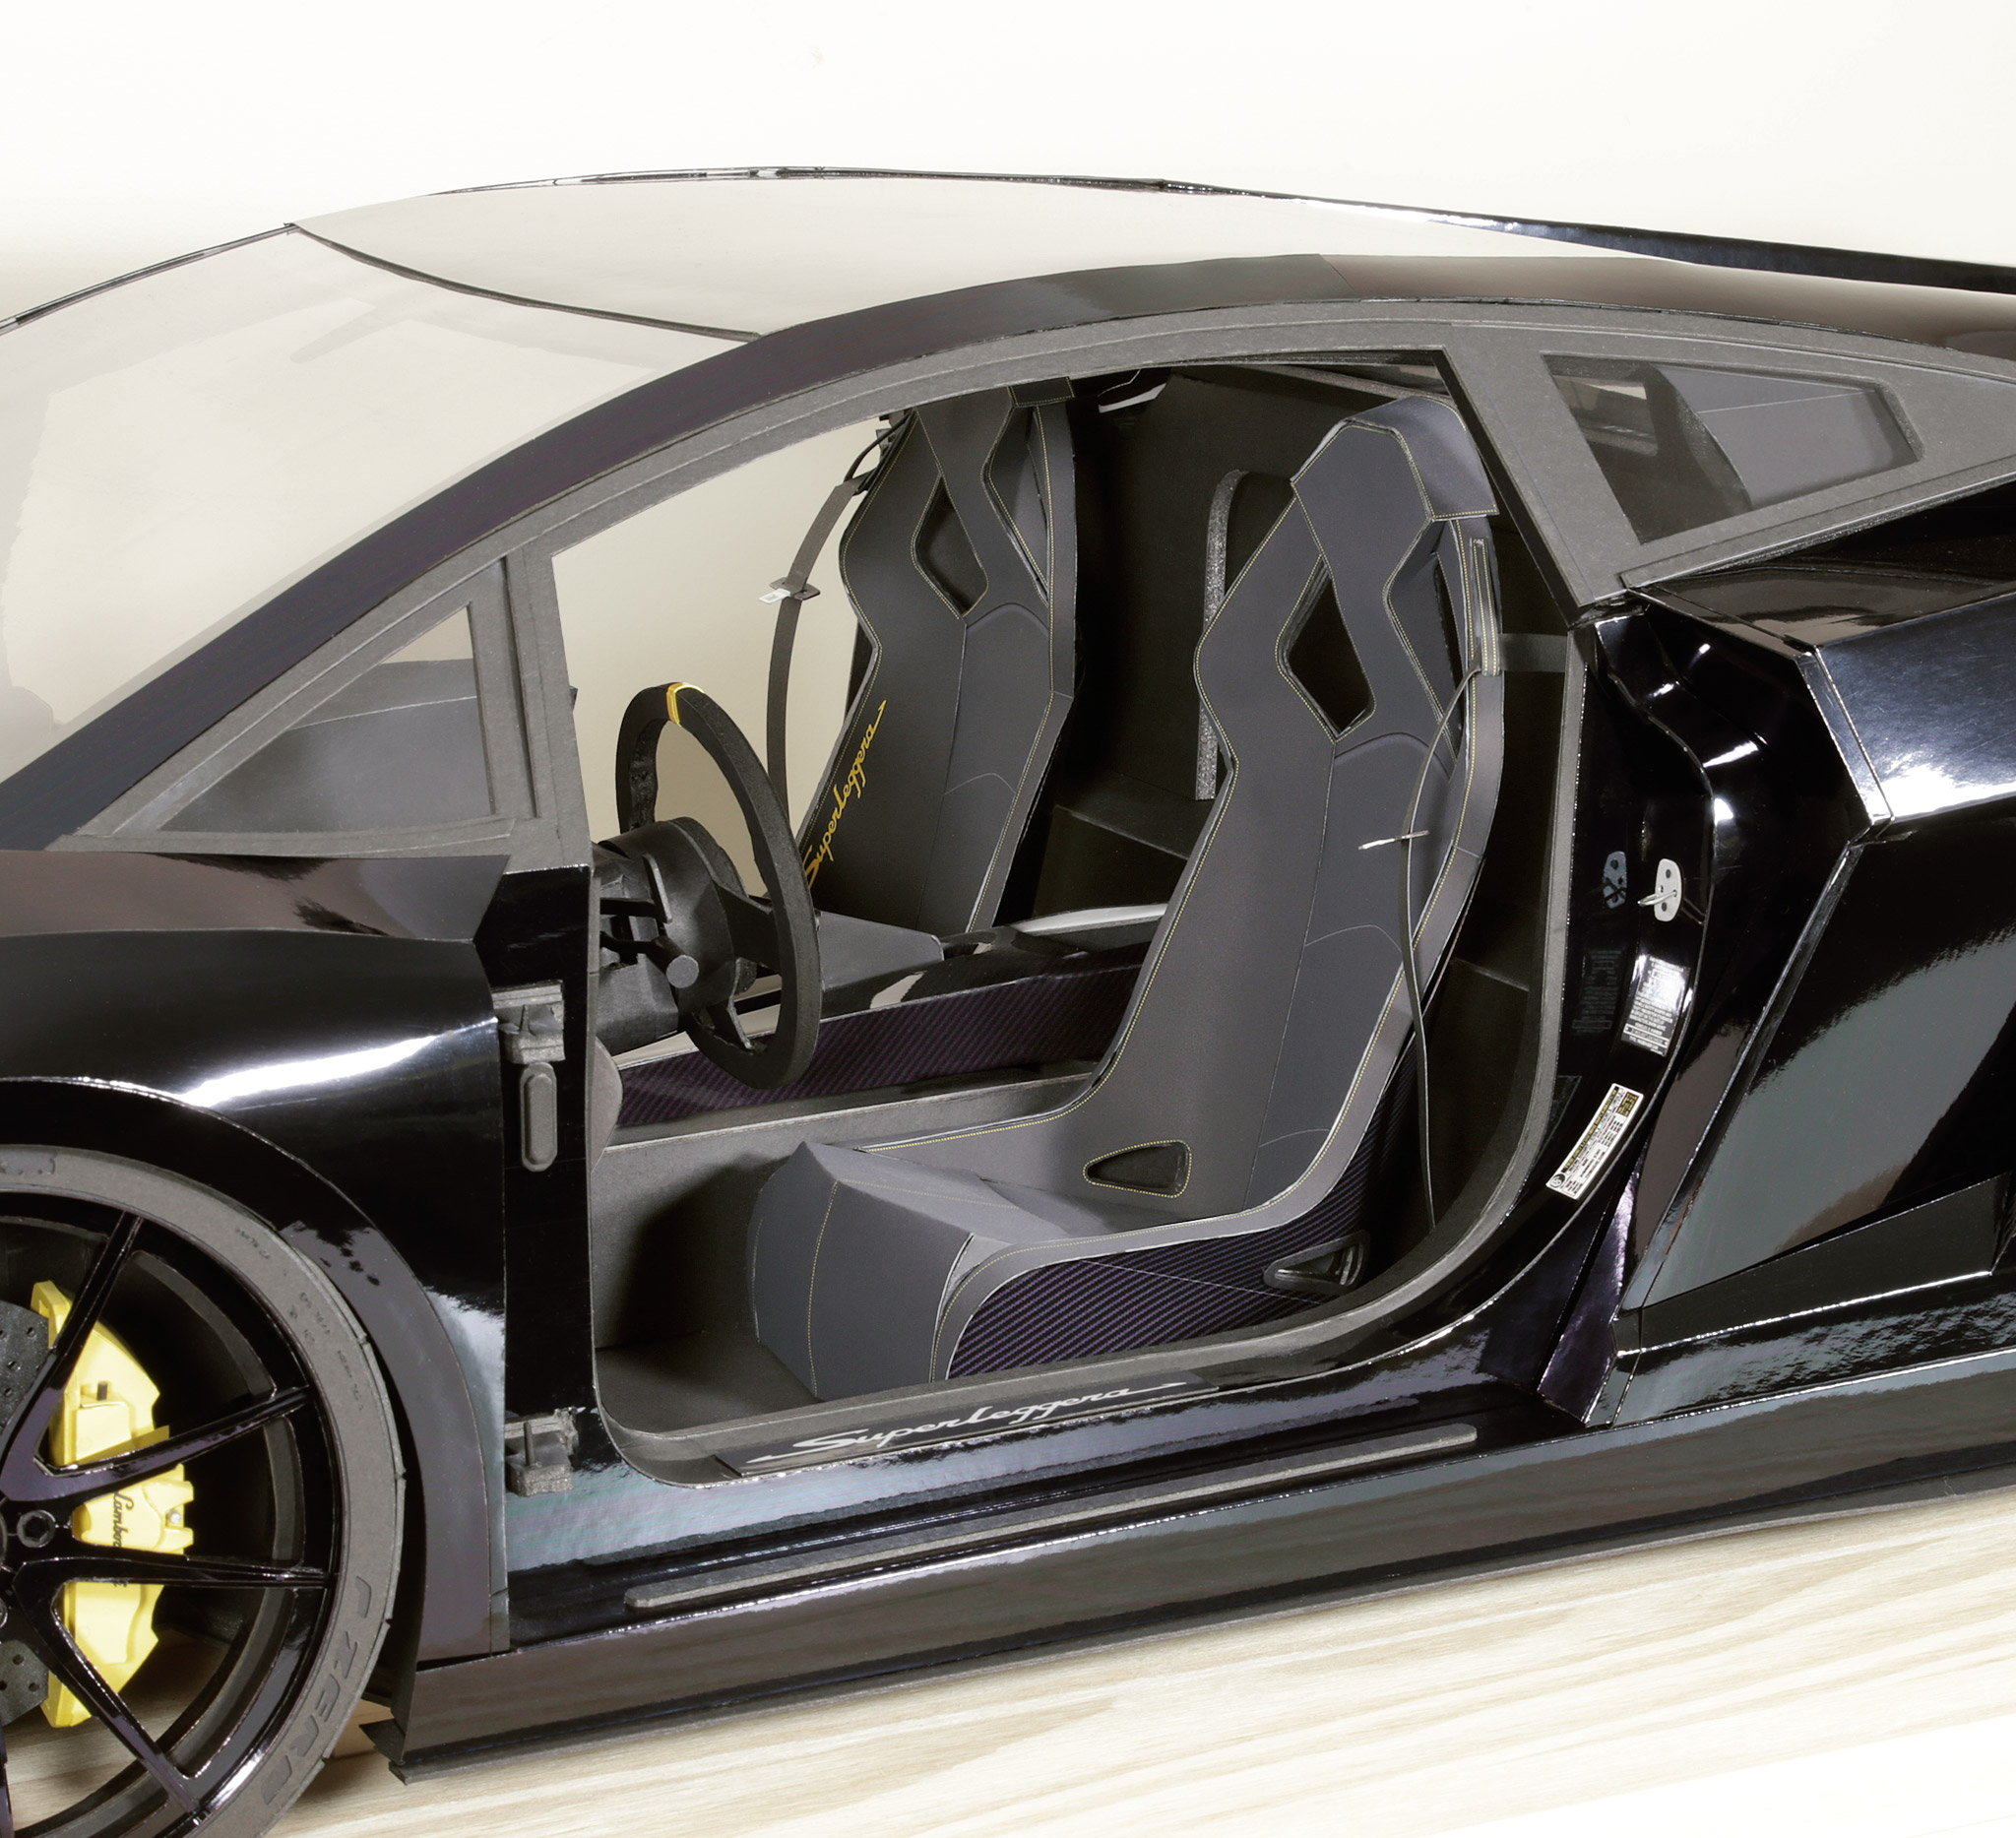
- ‣ Driver seat, seat belt, and centre console fitted to the car. If the car was just a bit bigger (or if I was just a bit smaller) I could almost fit in it.
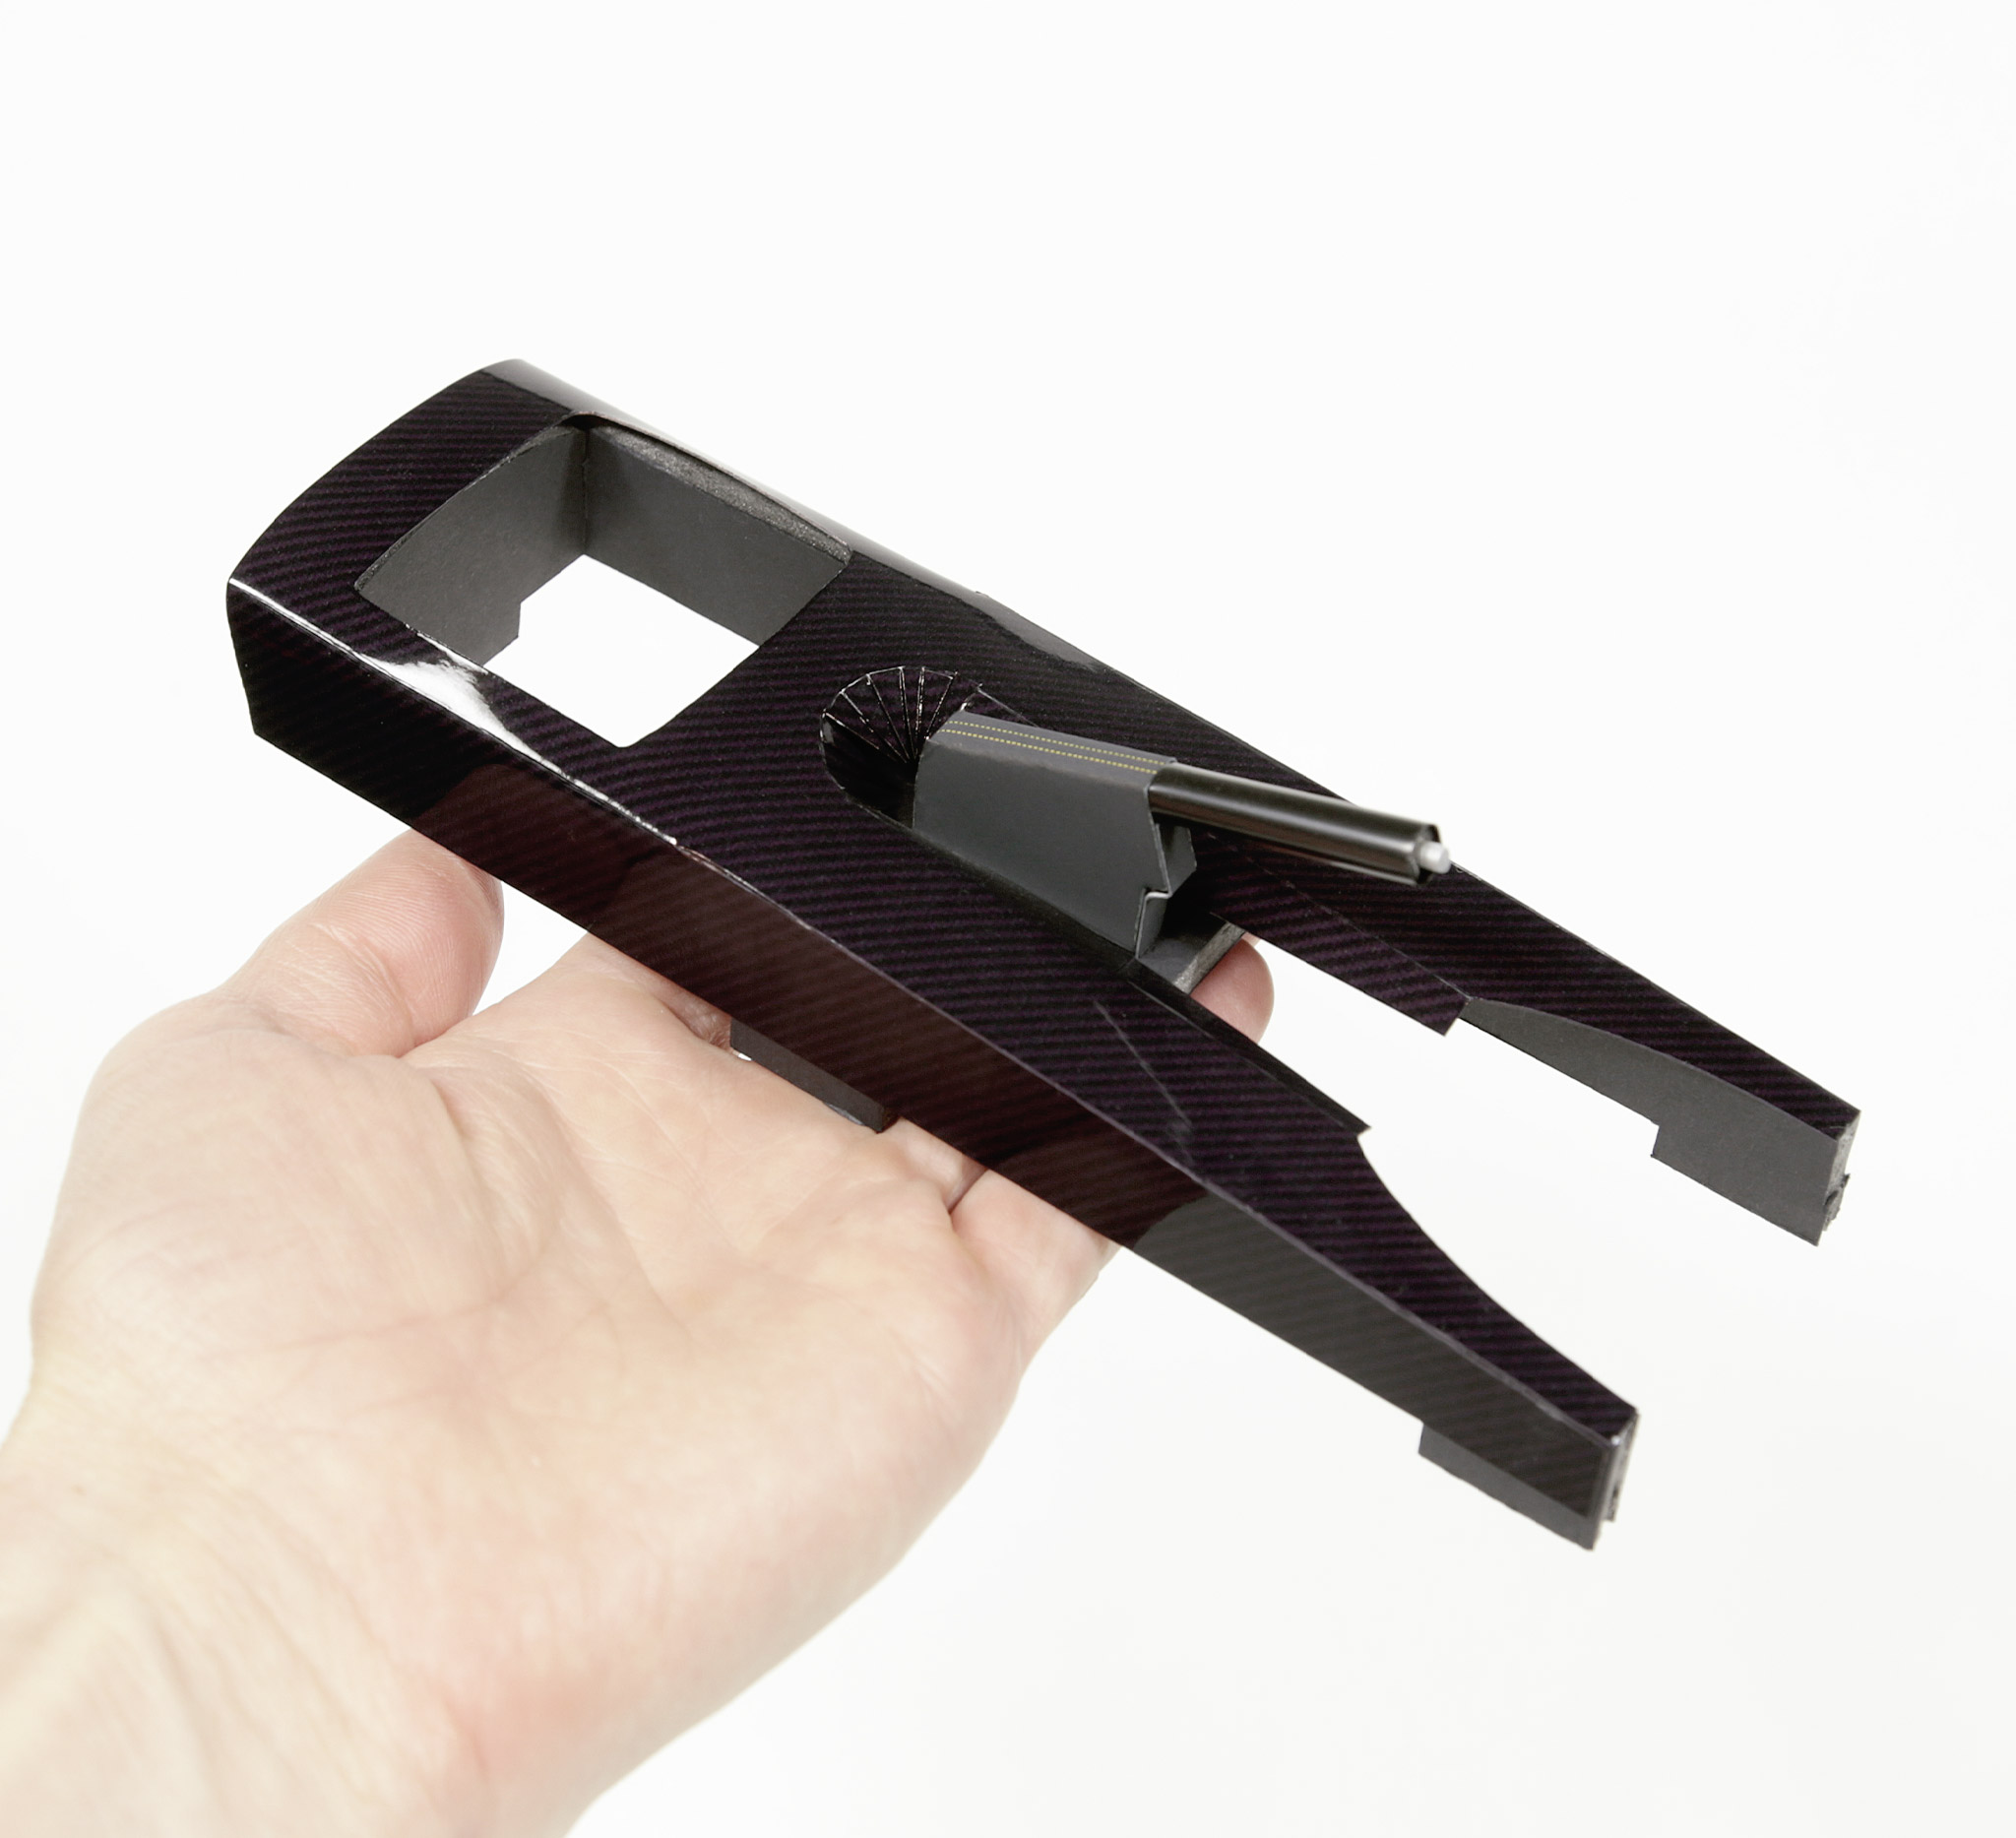
- ‣ Centre console and hand brake assembly. I made all the parts from either foam board, or gloss photo paper (printed with a carbon fibre texture).