Lamborghini Gallardo Page 5
Superleggera LP 570-4
- ‣ Another view of the underlying structure I’d designed for the rear fenders (passenger’s side rear fender in this pic). Next I'll glue on the outer body panels, and the rear fenders will be done.

- ‣ I spent three months designing and perfecting all the individual parts for rear fenders, oil coolers, and tail lights. Here's a screenshot from my Adobe Illustrator plans file for the rear fender.

- ‣ I spent three months designing and perfecting all the individual parts for rear fenders, oil coolers, and tail lights. Here are all the parts for one rear fender. Designed from scratch, plans drawn in Illustrator, printed, then cut by hand.
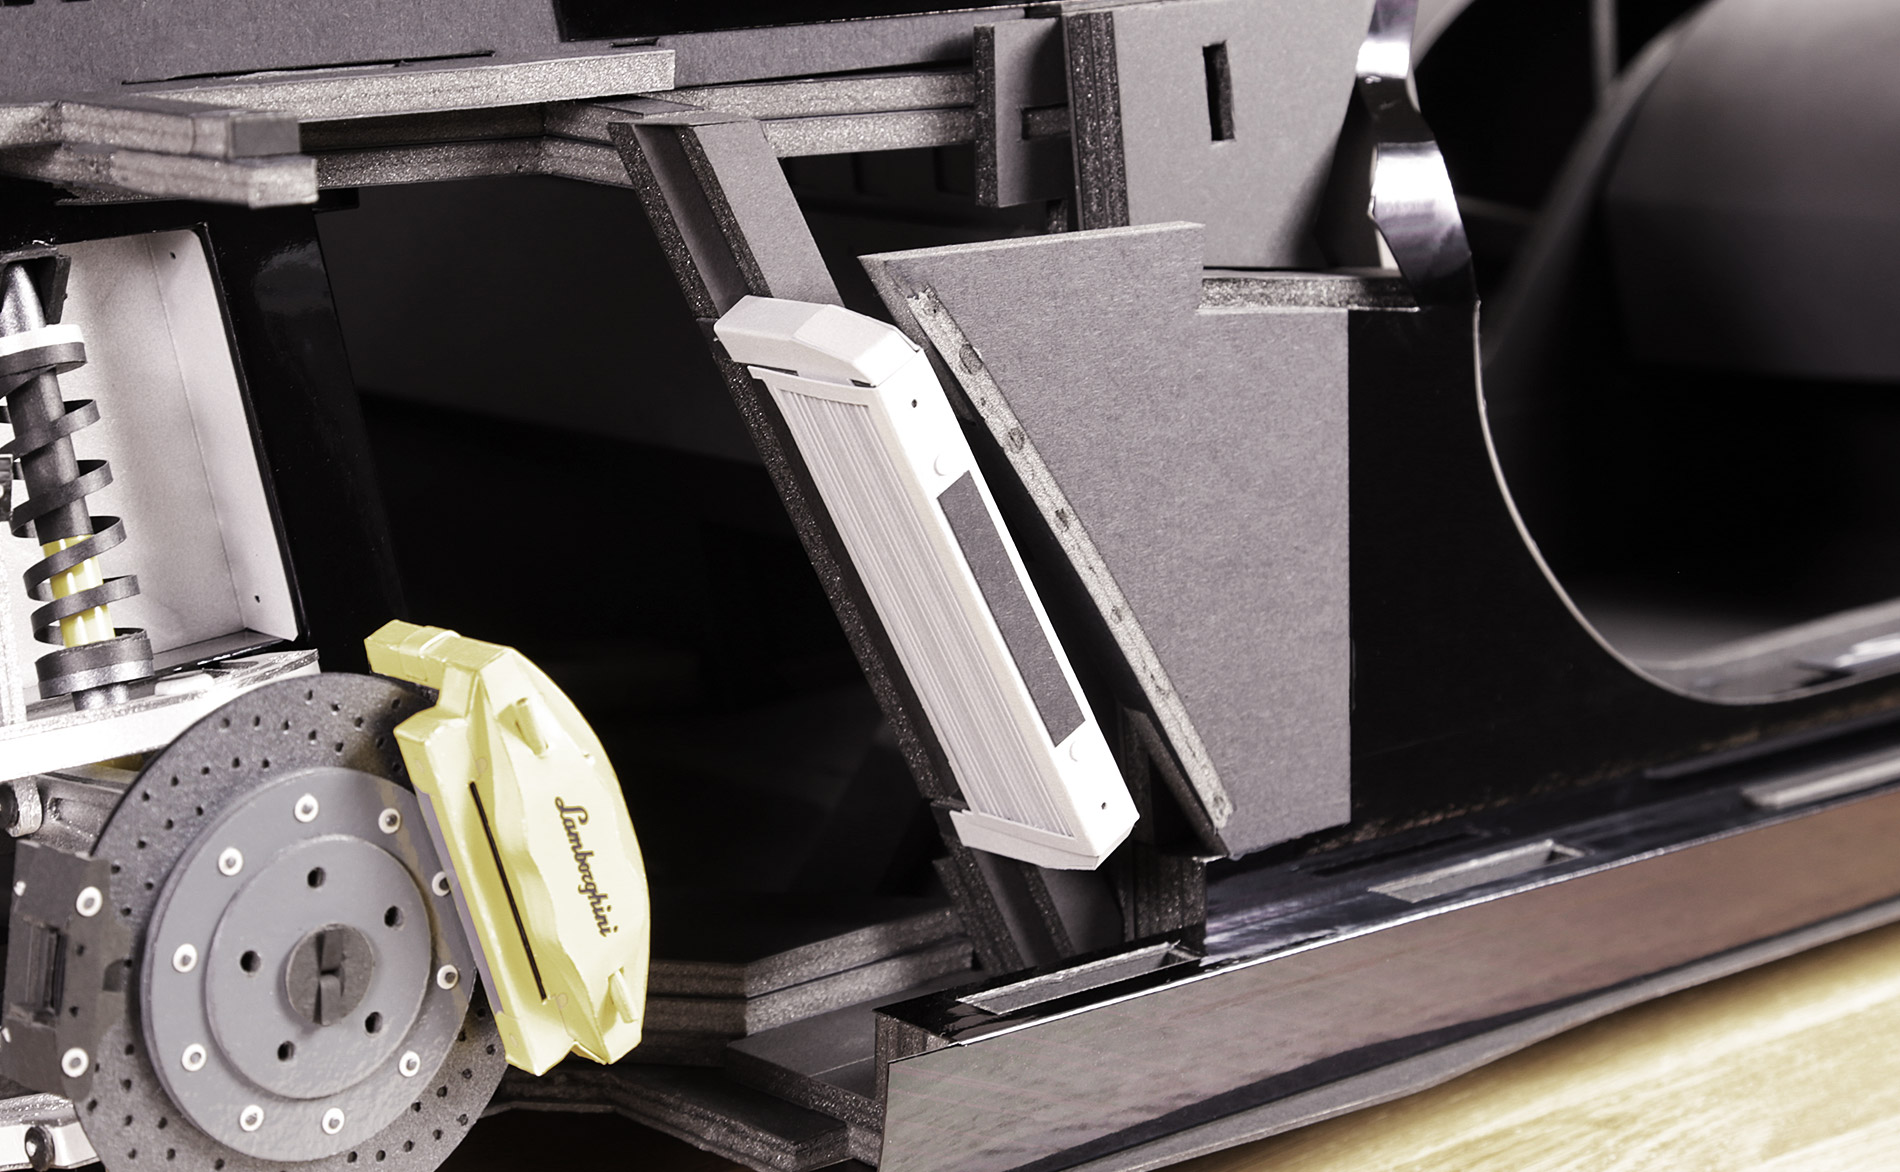
- ‣ Passenger’s side oil cooler mounted to the rear frame.
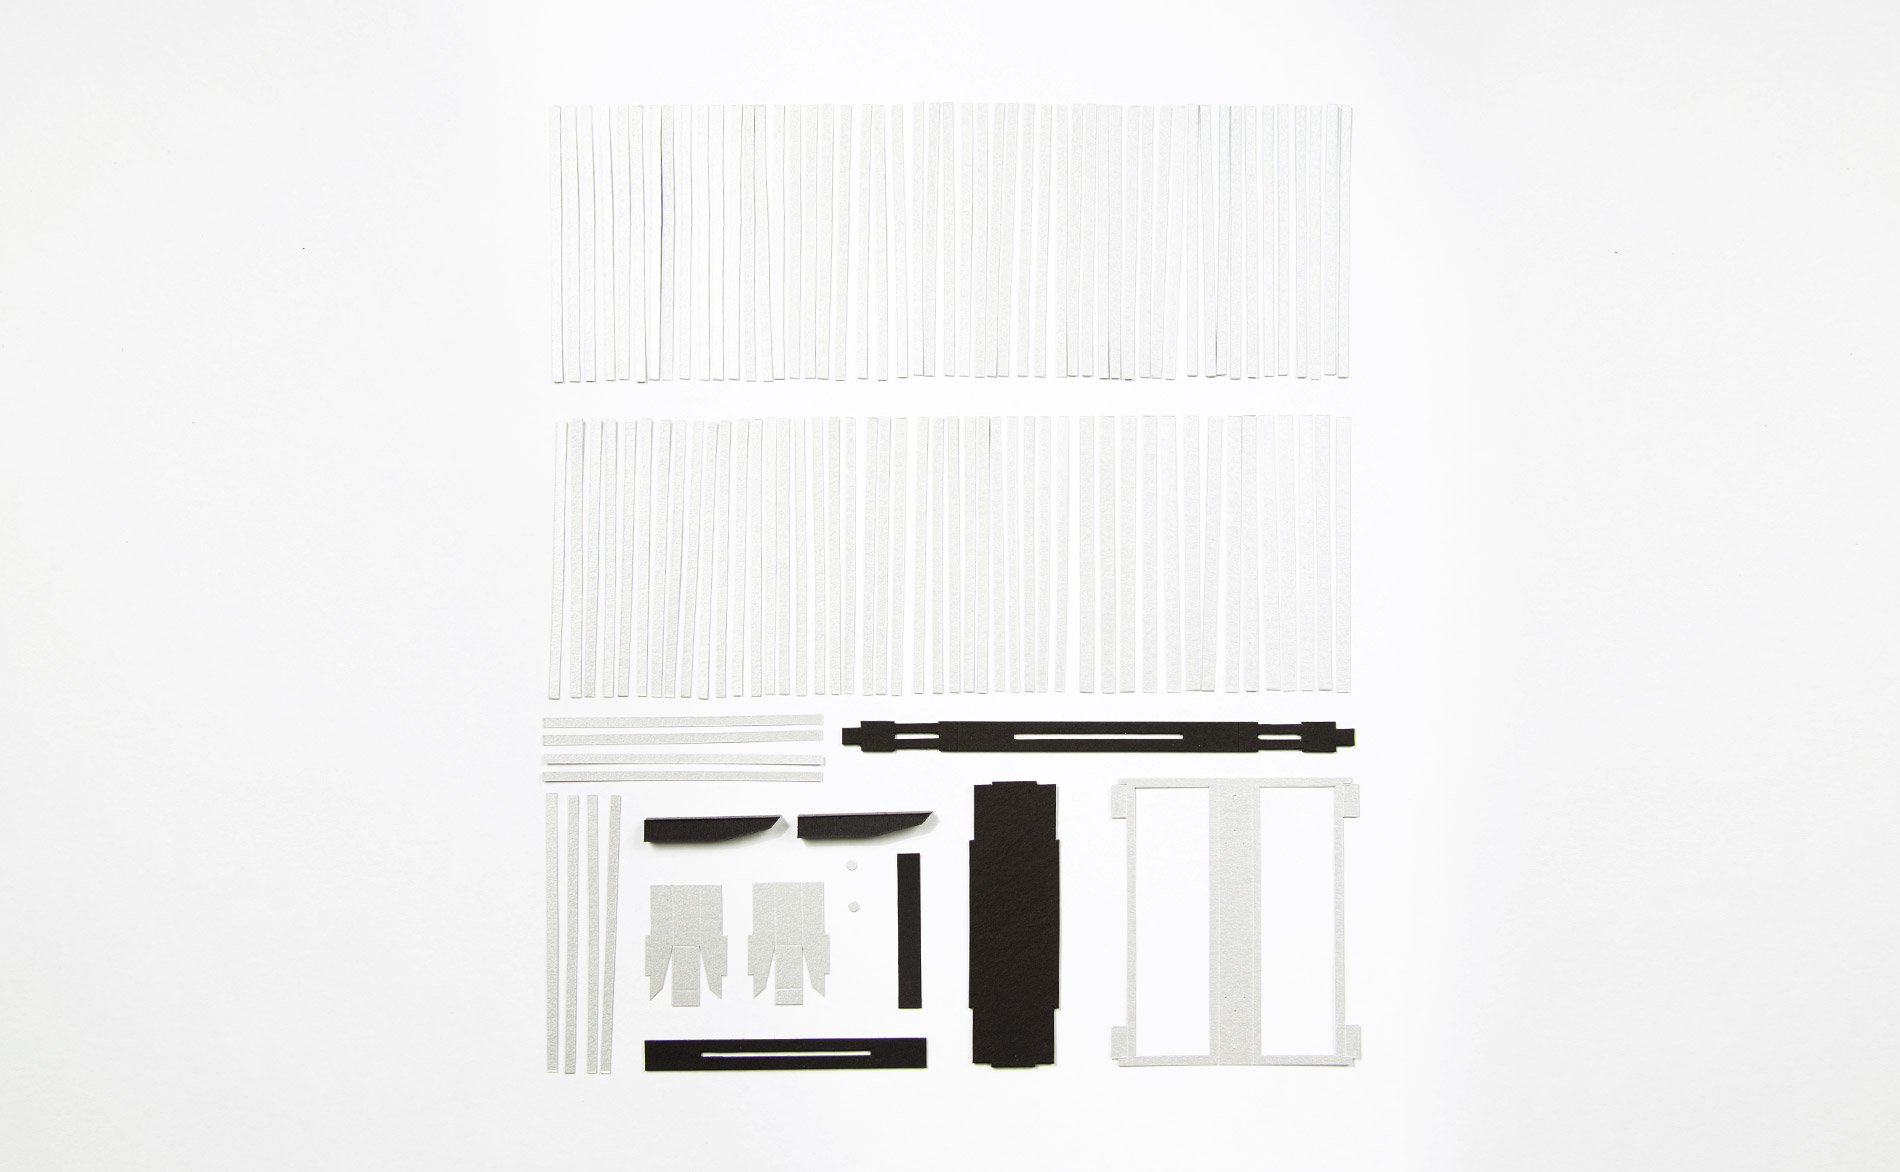
- ‣ All the parts for one oil cooler. Hundreds of separate pieces make up the individual cooling fins.
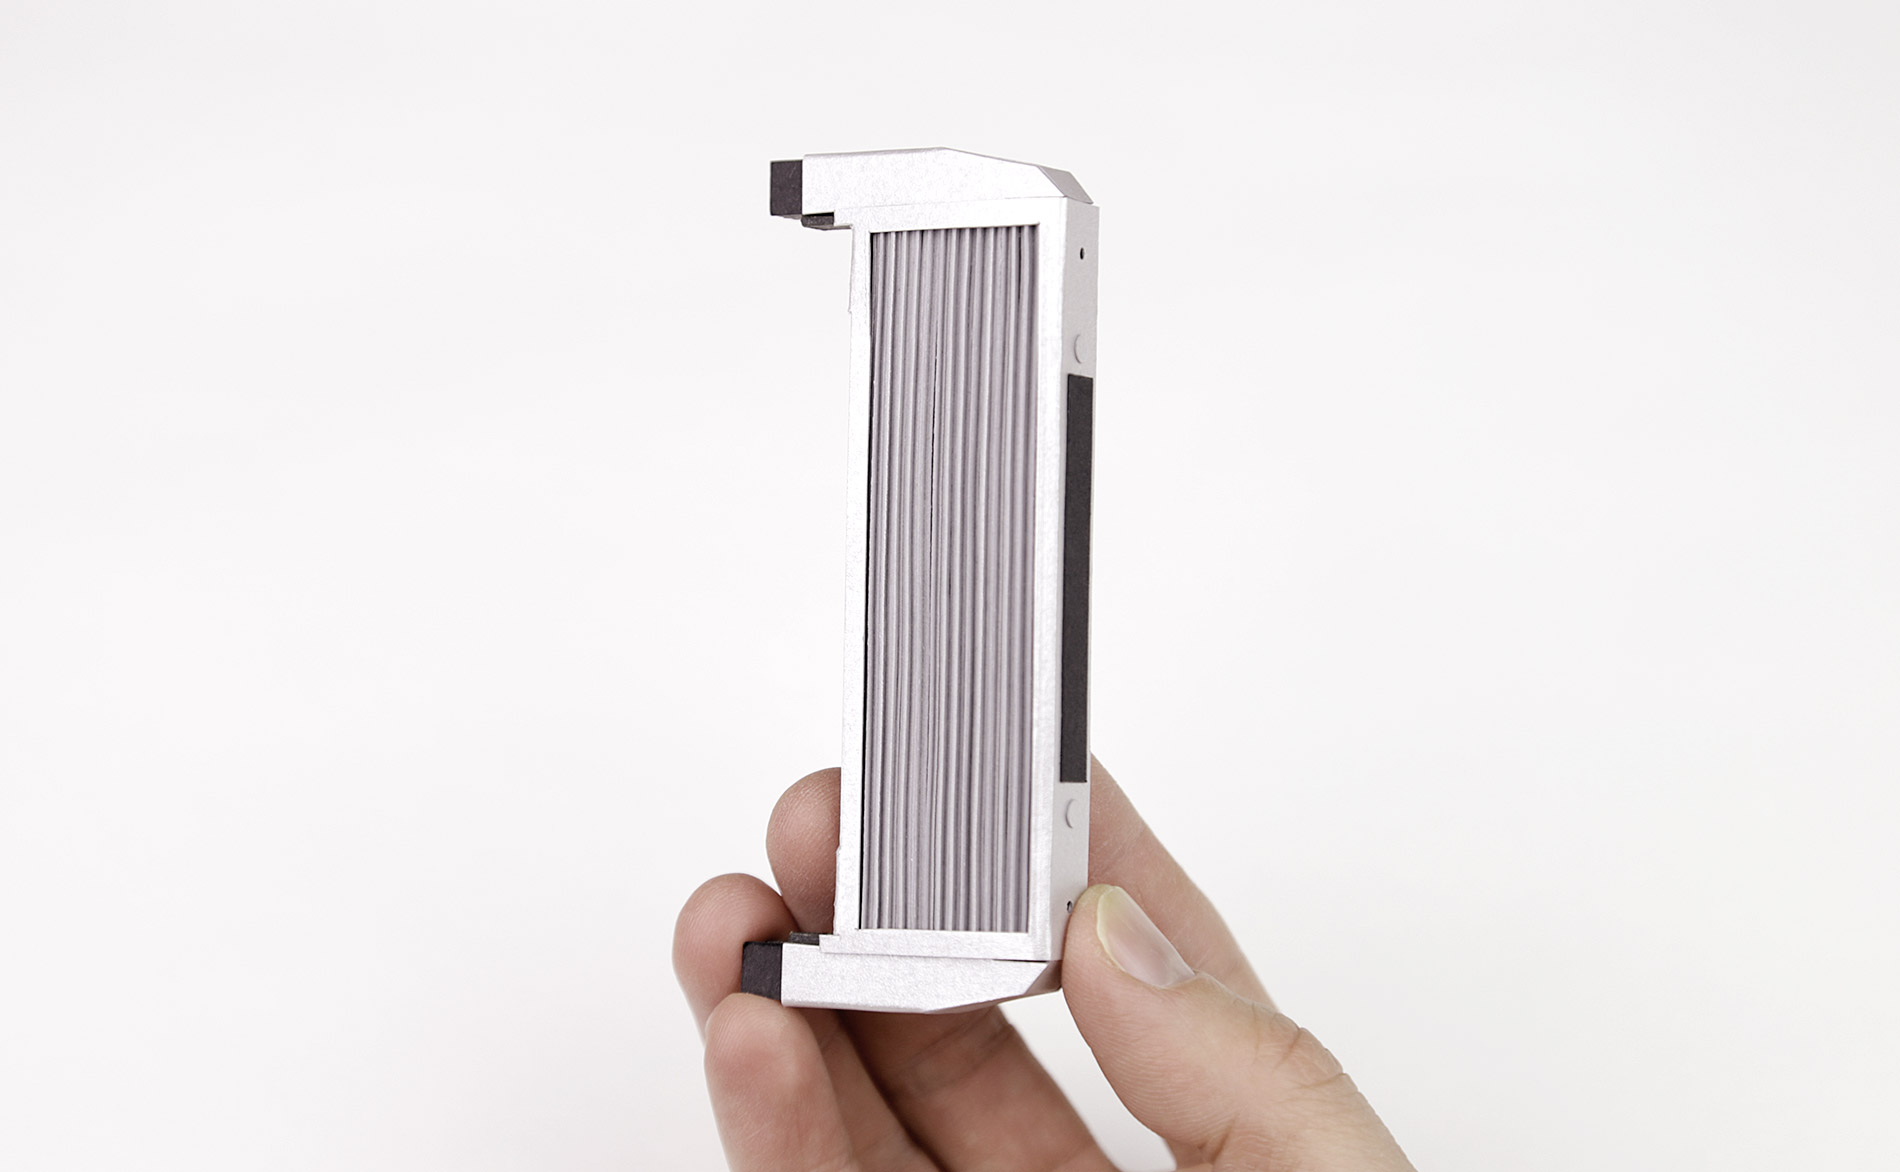
- ‣ Driver’s side oil cooler. The oil coolers mount to the rear frame of the Gallardo, and there’s one on each side.
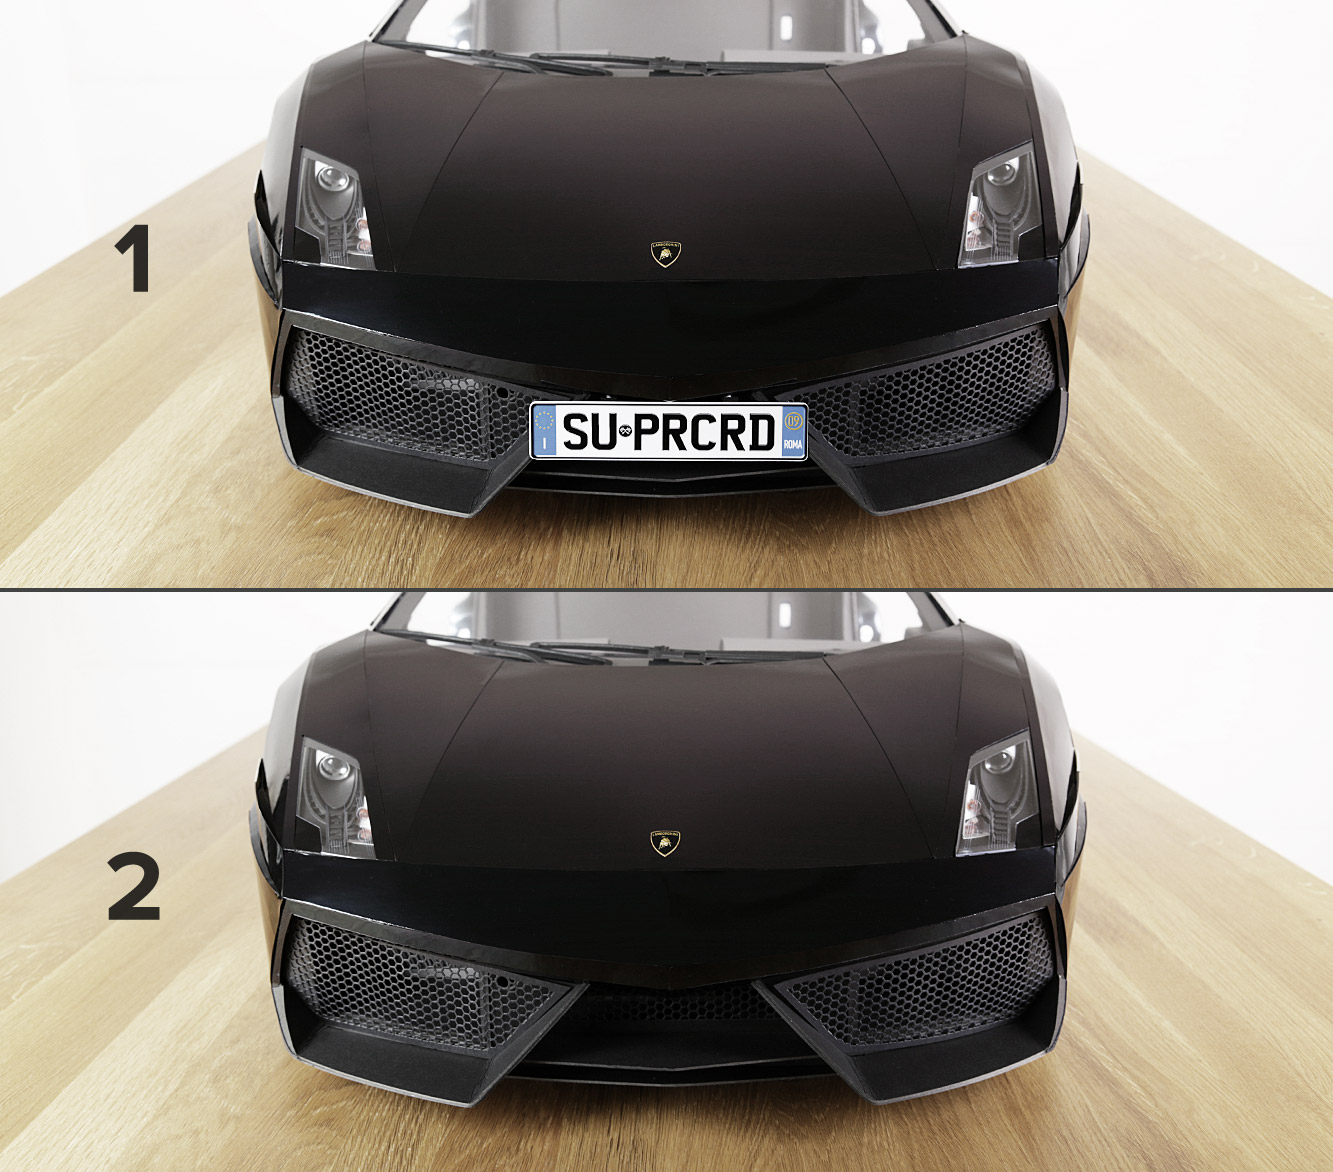
- ‣ I asked my Instagram followers if they preferred with (top) or without (bottom) a number plate. Answers were mixed, but the majority preferred without.

- ‣ After I designed a custom number plate using Photoshop, I printed it on glossy photo paper, cut it out, then glued to a backing of cardboard. Italian plates for an Italian car.
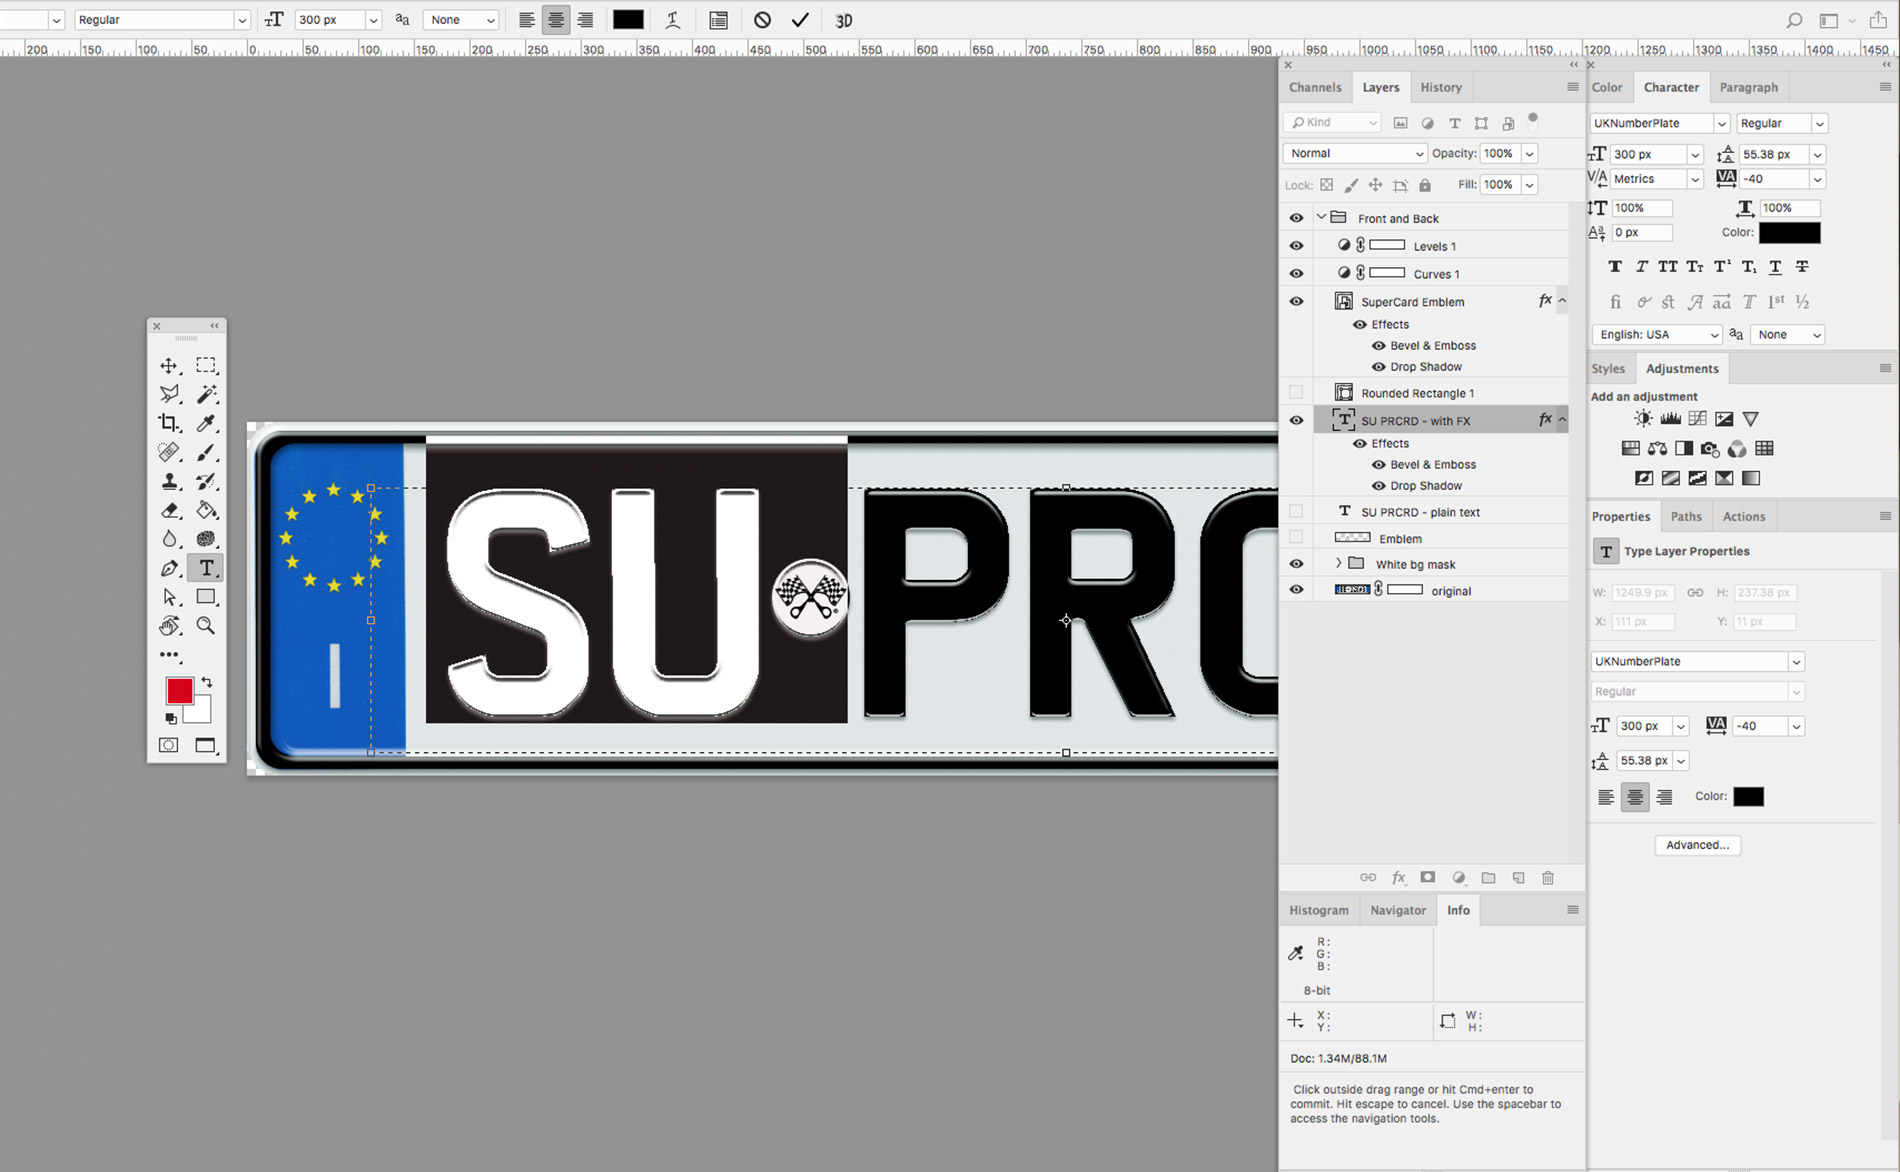
- ‣ I designed a custom number plate using Photoshop. Then printed it on photo paper.
- ‣ A short video showing how I open the front trunk lid. When the trunk lid is closed, it sits flush with the rest of the body, and there’s no easy way to open it. So I designed a simple lift mechanism: just reach under the front of the car, push the lever up, and the trunk lid raises enough to get fingers underneath. Voila.
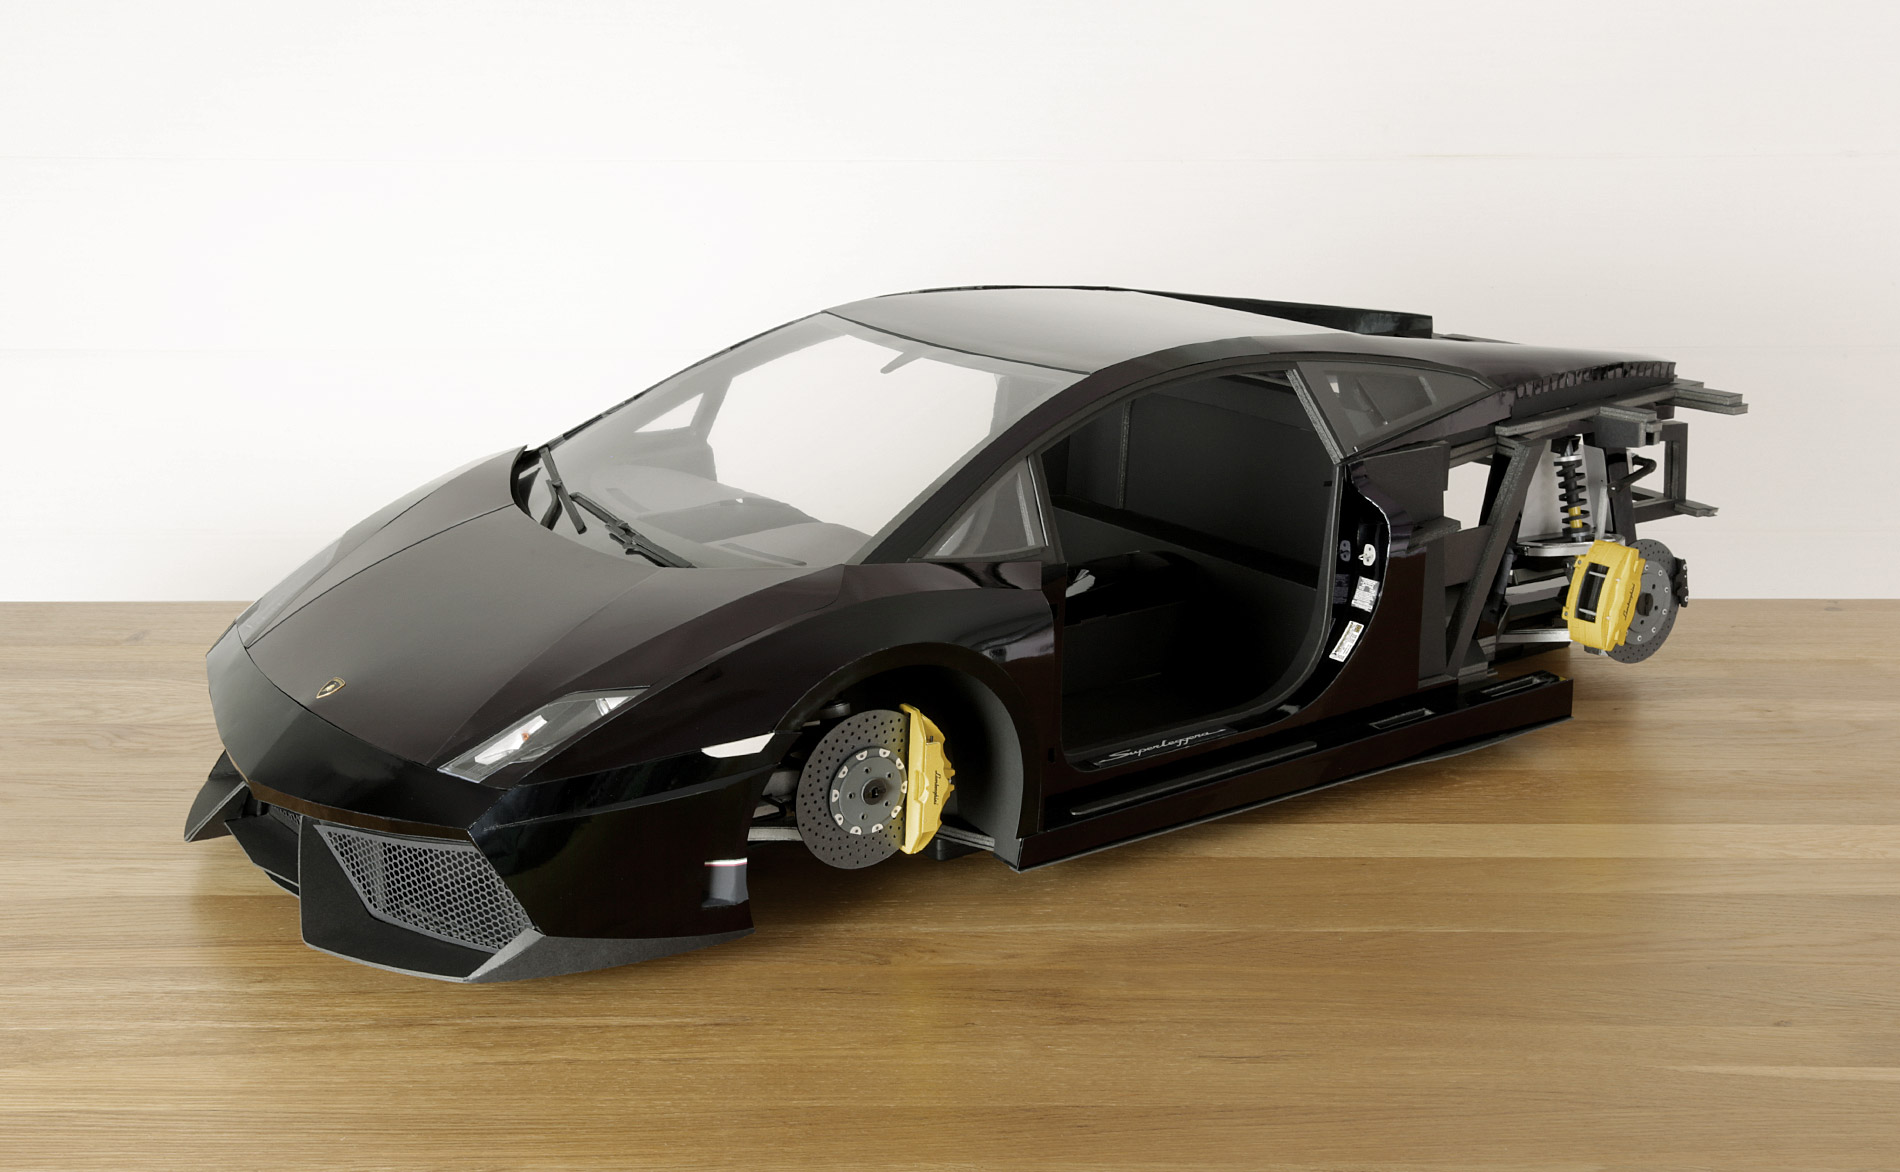
- ‣ The newly finished front end, with the front trunk lid fitted.
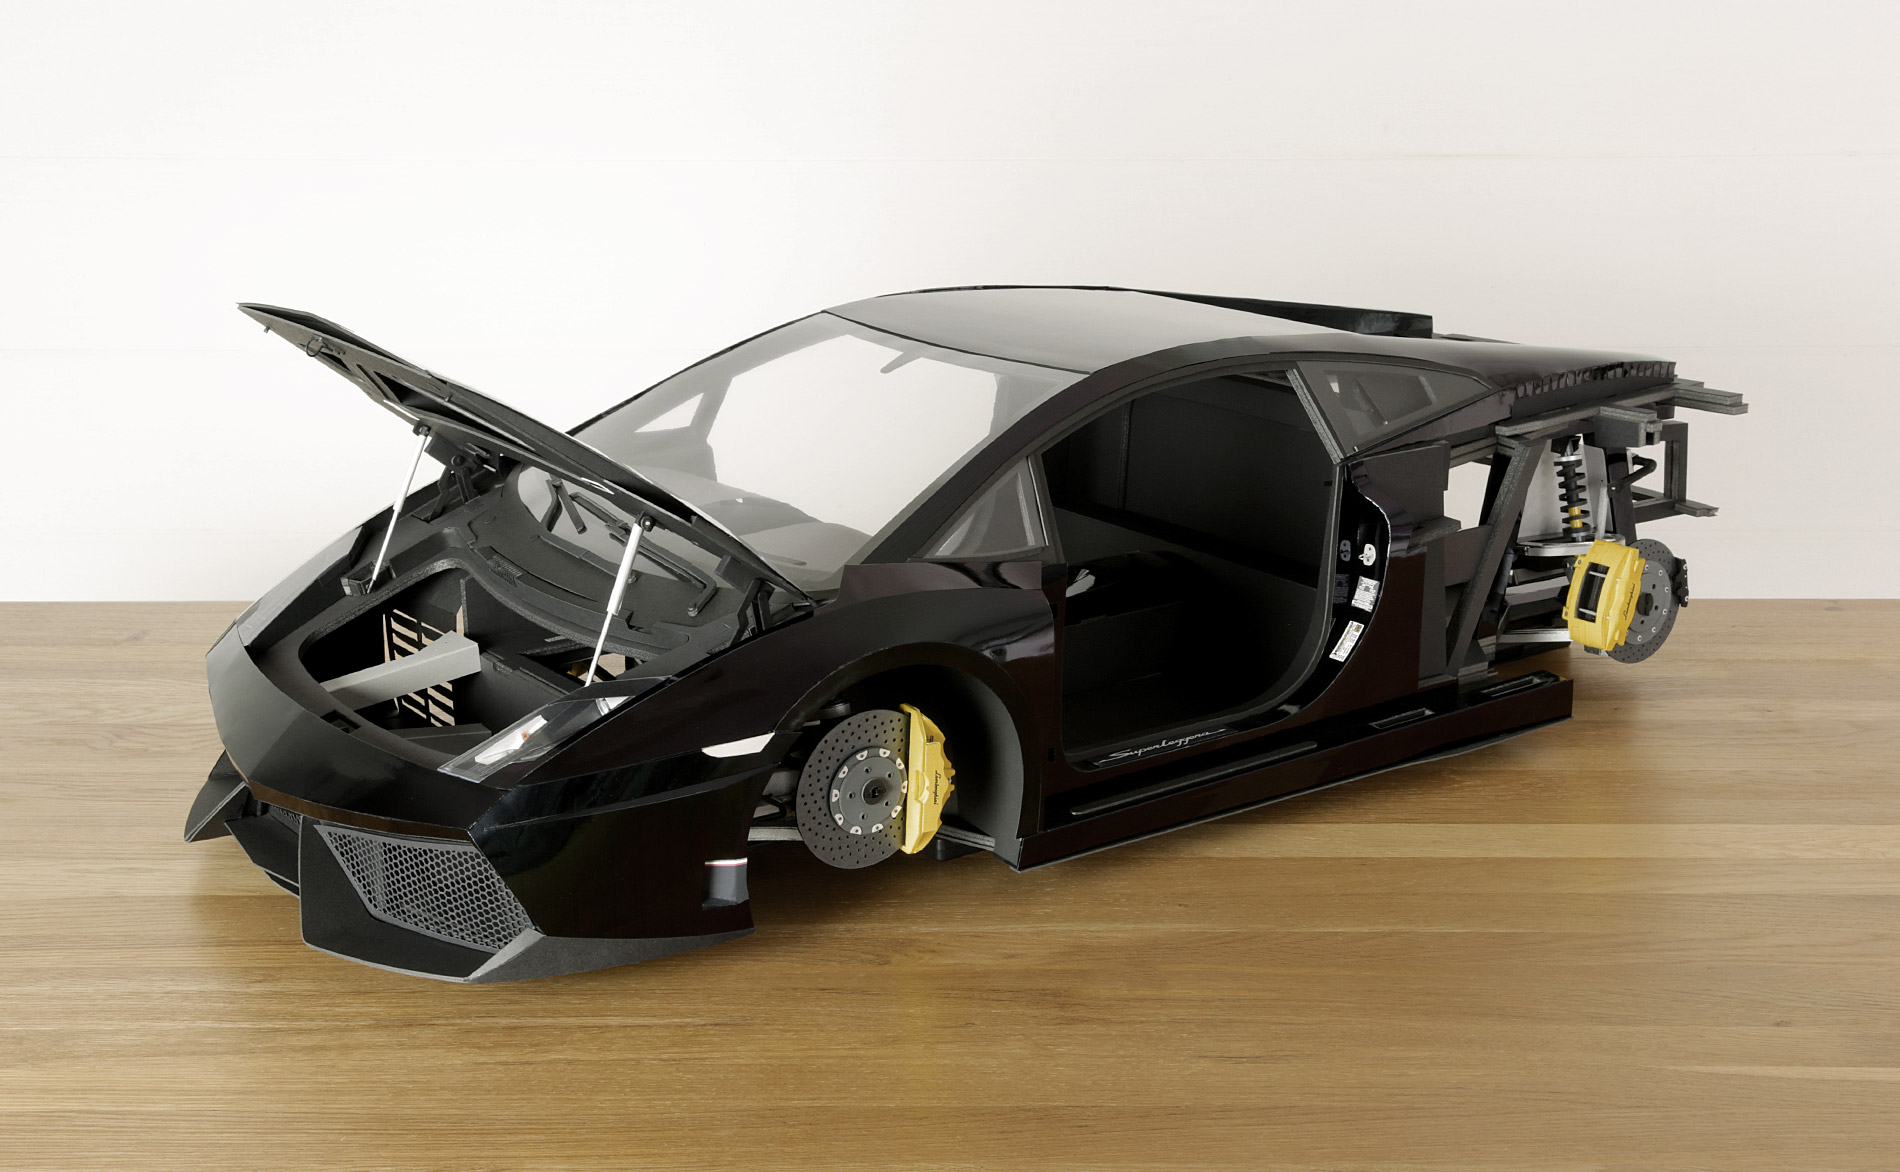
- ‣ The newly finished front end, with the front trunk lid open. I hand made the little support struts and hinges using craft materials.
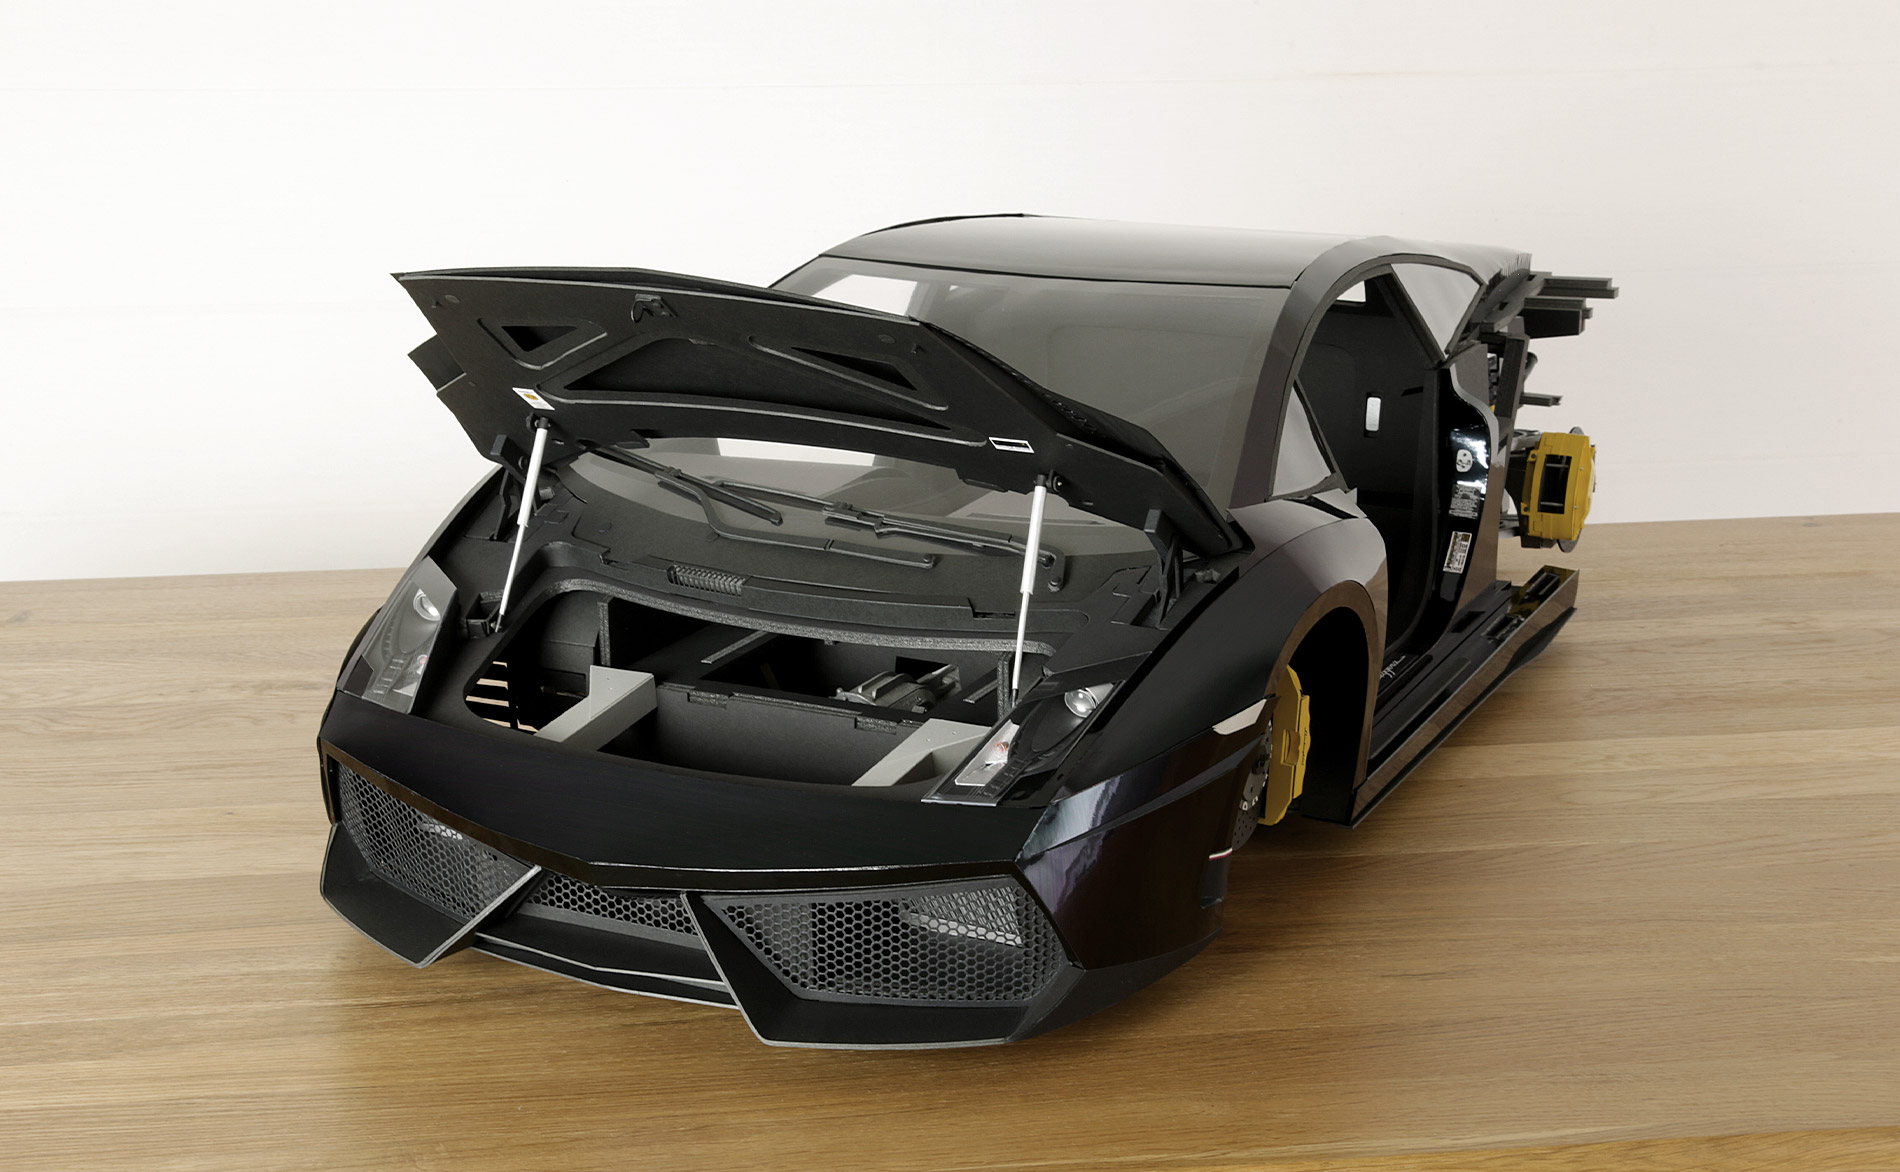
- ‣ Another pic showing the newly finished front end, with the front trunk lid open.
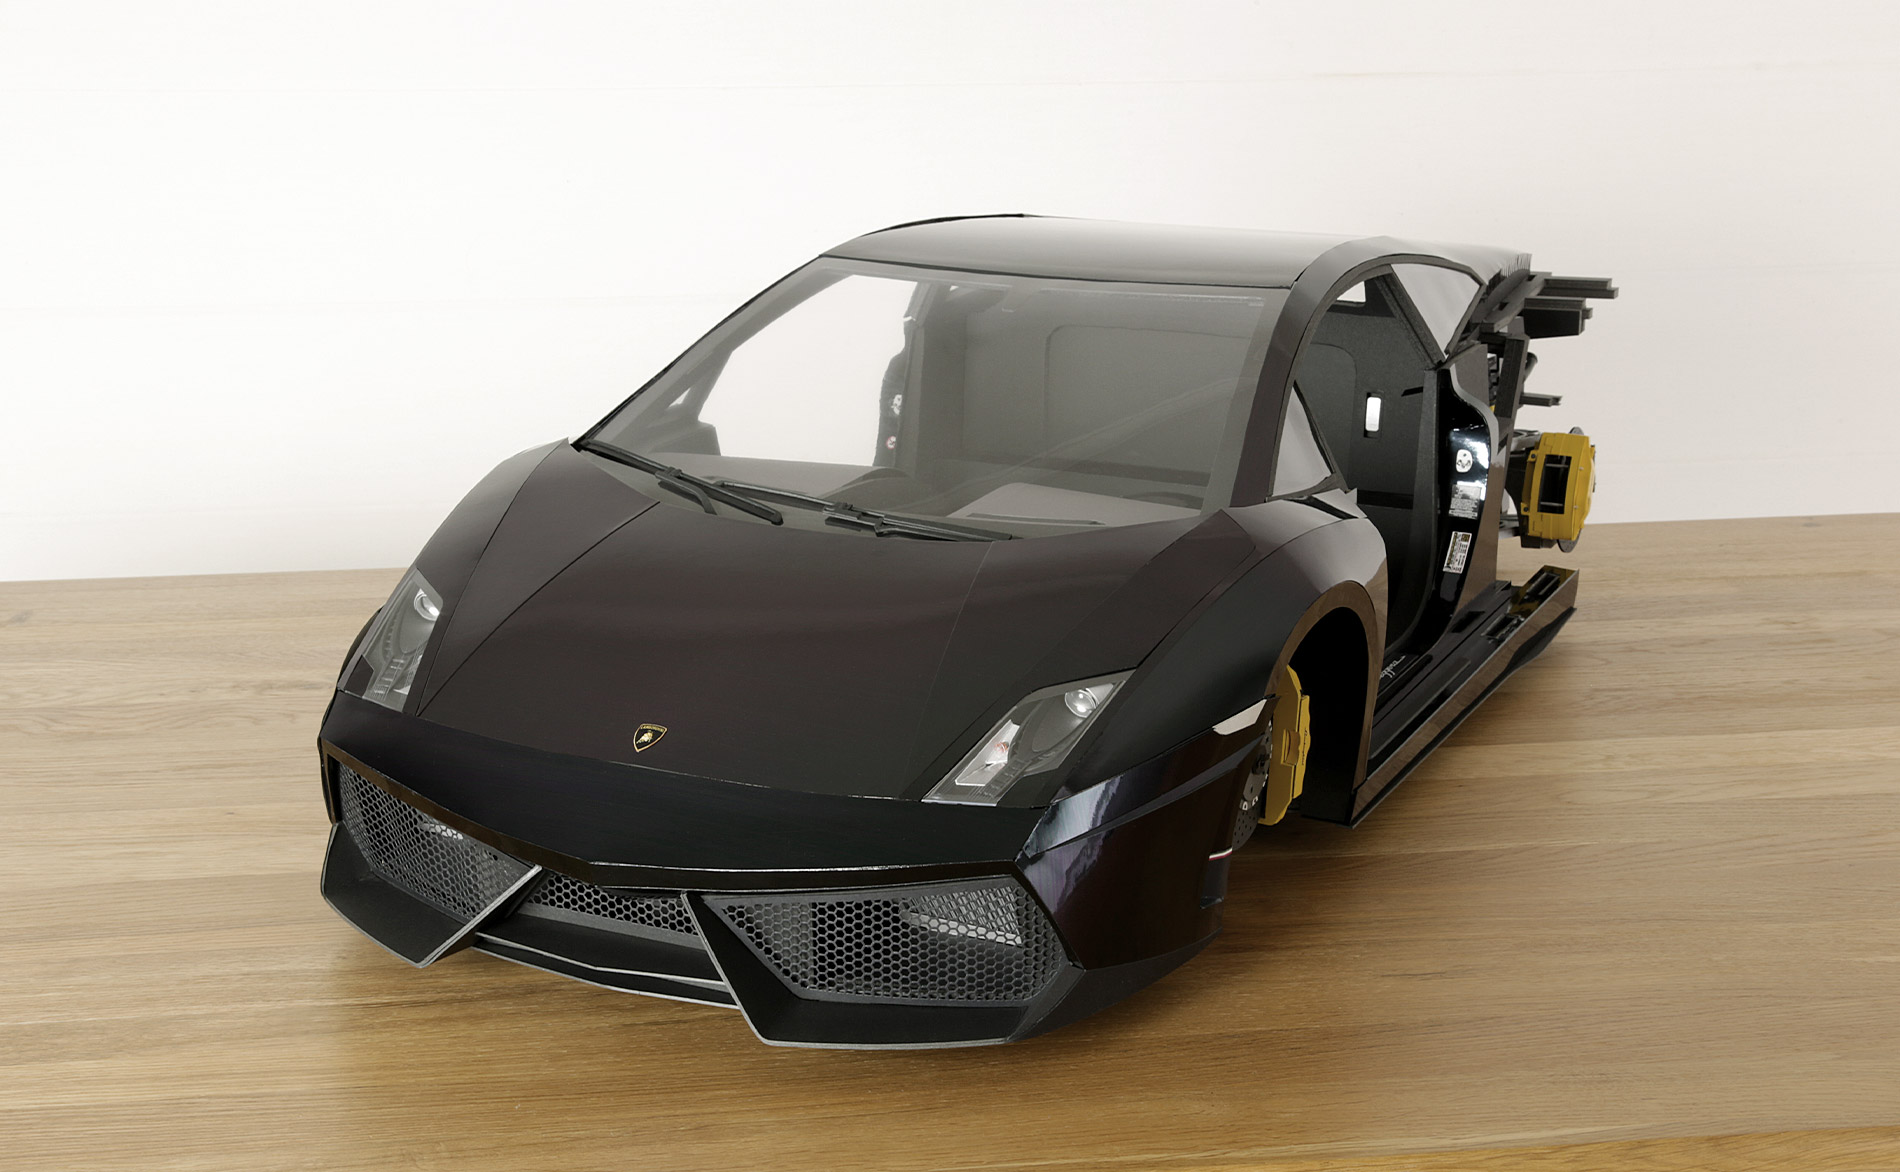
- ‣ Another pic showing the newly finished front end, with the front trunk lid fitted.
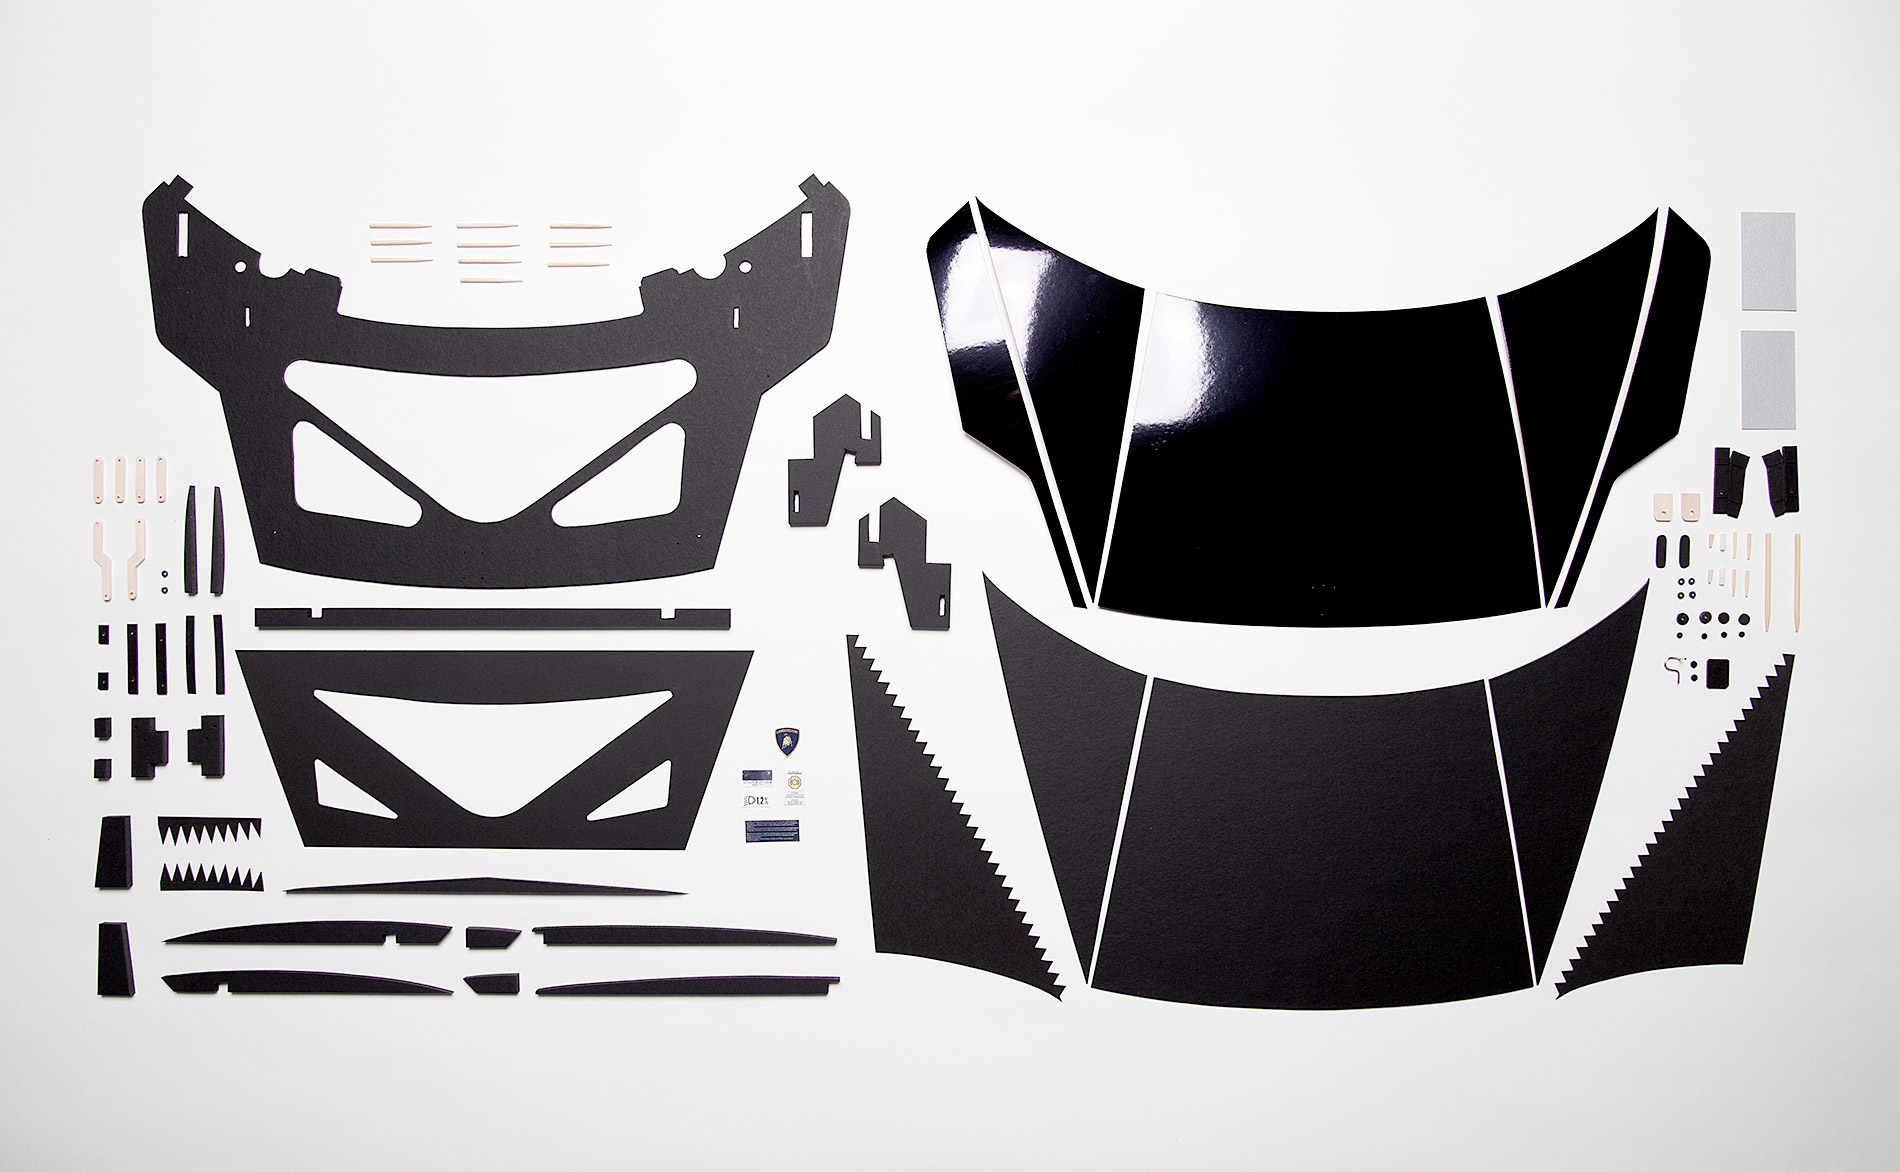
- ‣ Front trunk lid parts– about 98 in total, including little wooden hinges and card gas struts. All designed from scratch and hand cut.

- ‣ Underside details of the front trunk lid.
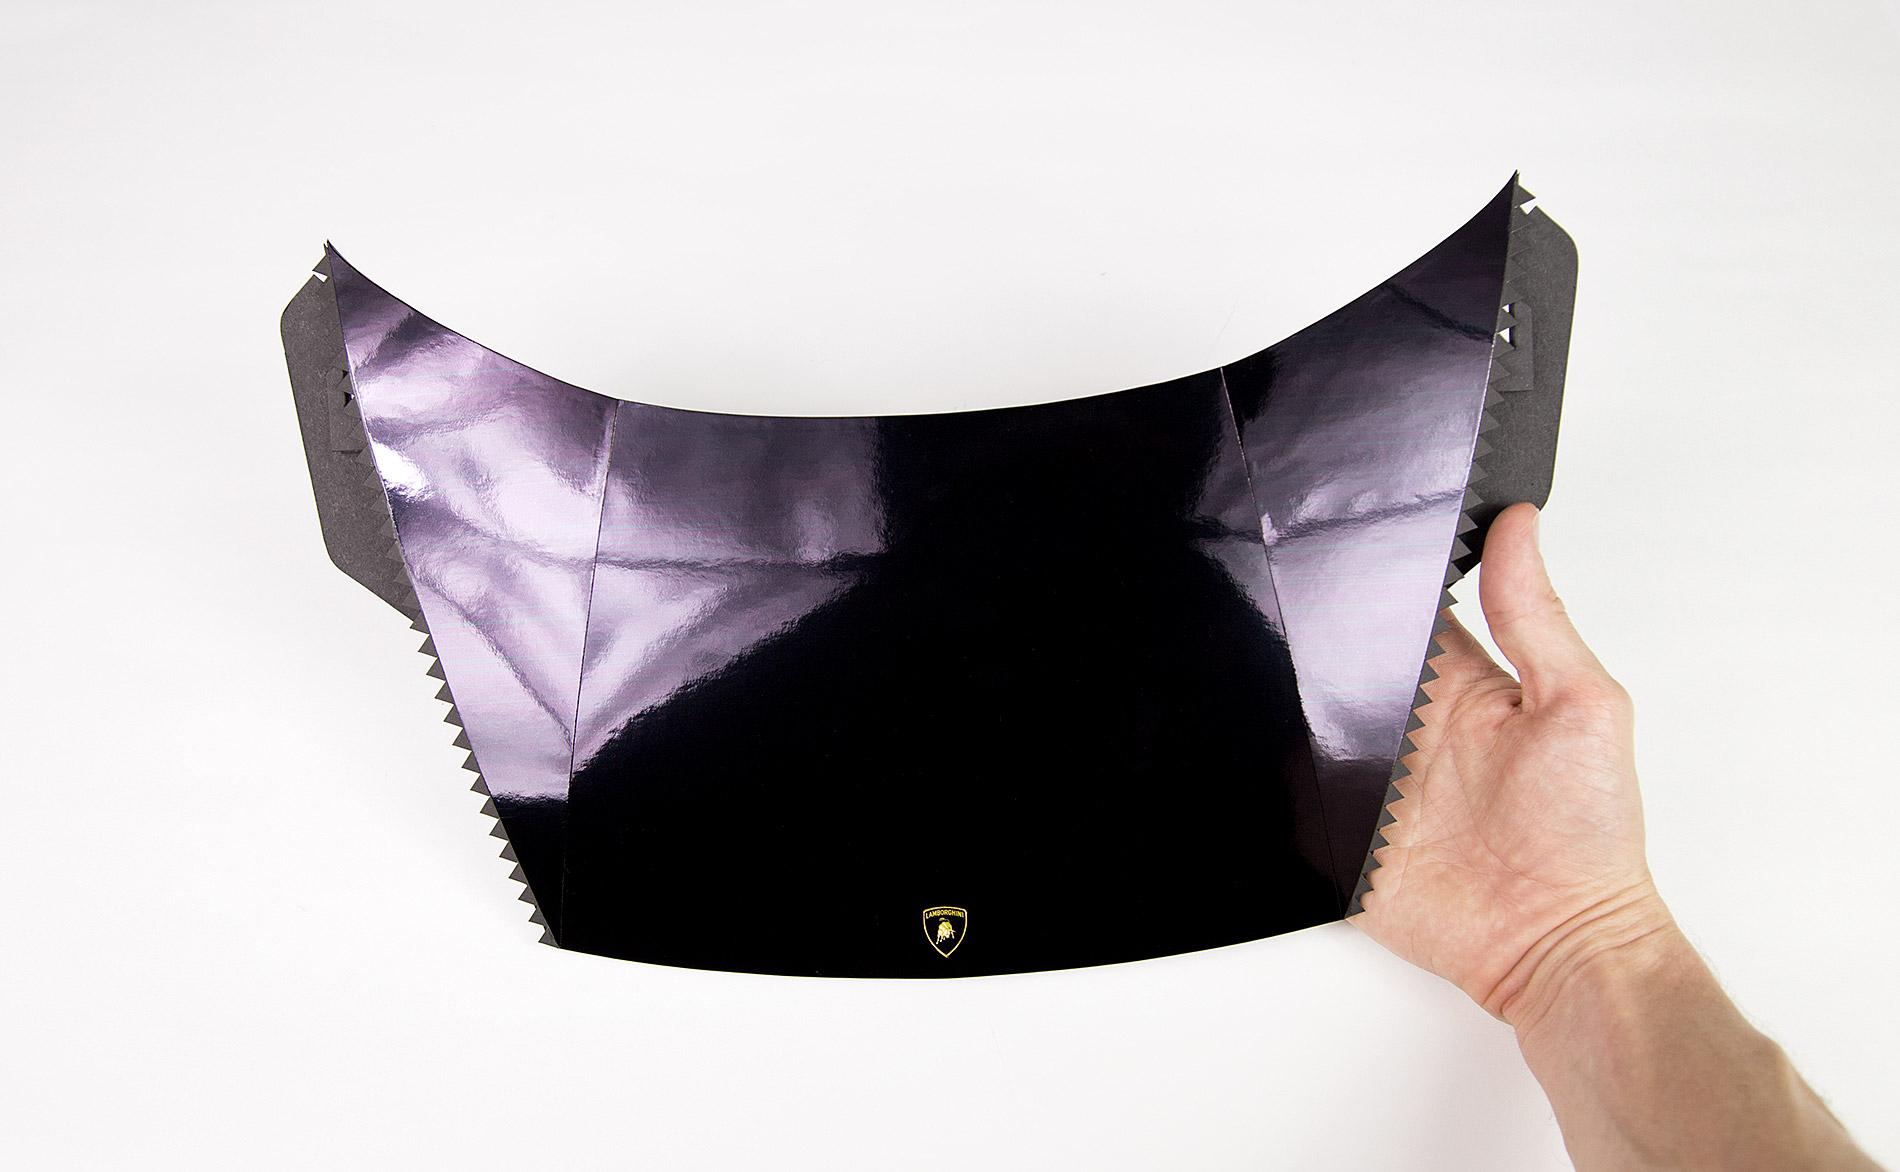
- ‣ Complete front trunk lid. It turned out great. It took quite a few weeks to design all the various parts so that once assembled, the contours all look like a real Gallardo, and fits the model just right.

- ‣ Hand-cut mesh inserts all fitted to the front bumper.

- ‣ Screenshot from my Illustrator file, showing the front bumper grill inserts, and some bumper parts.
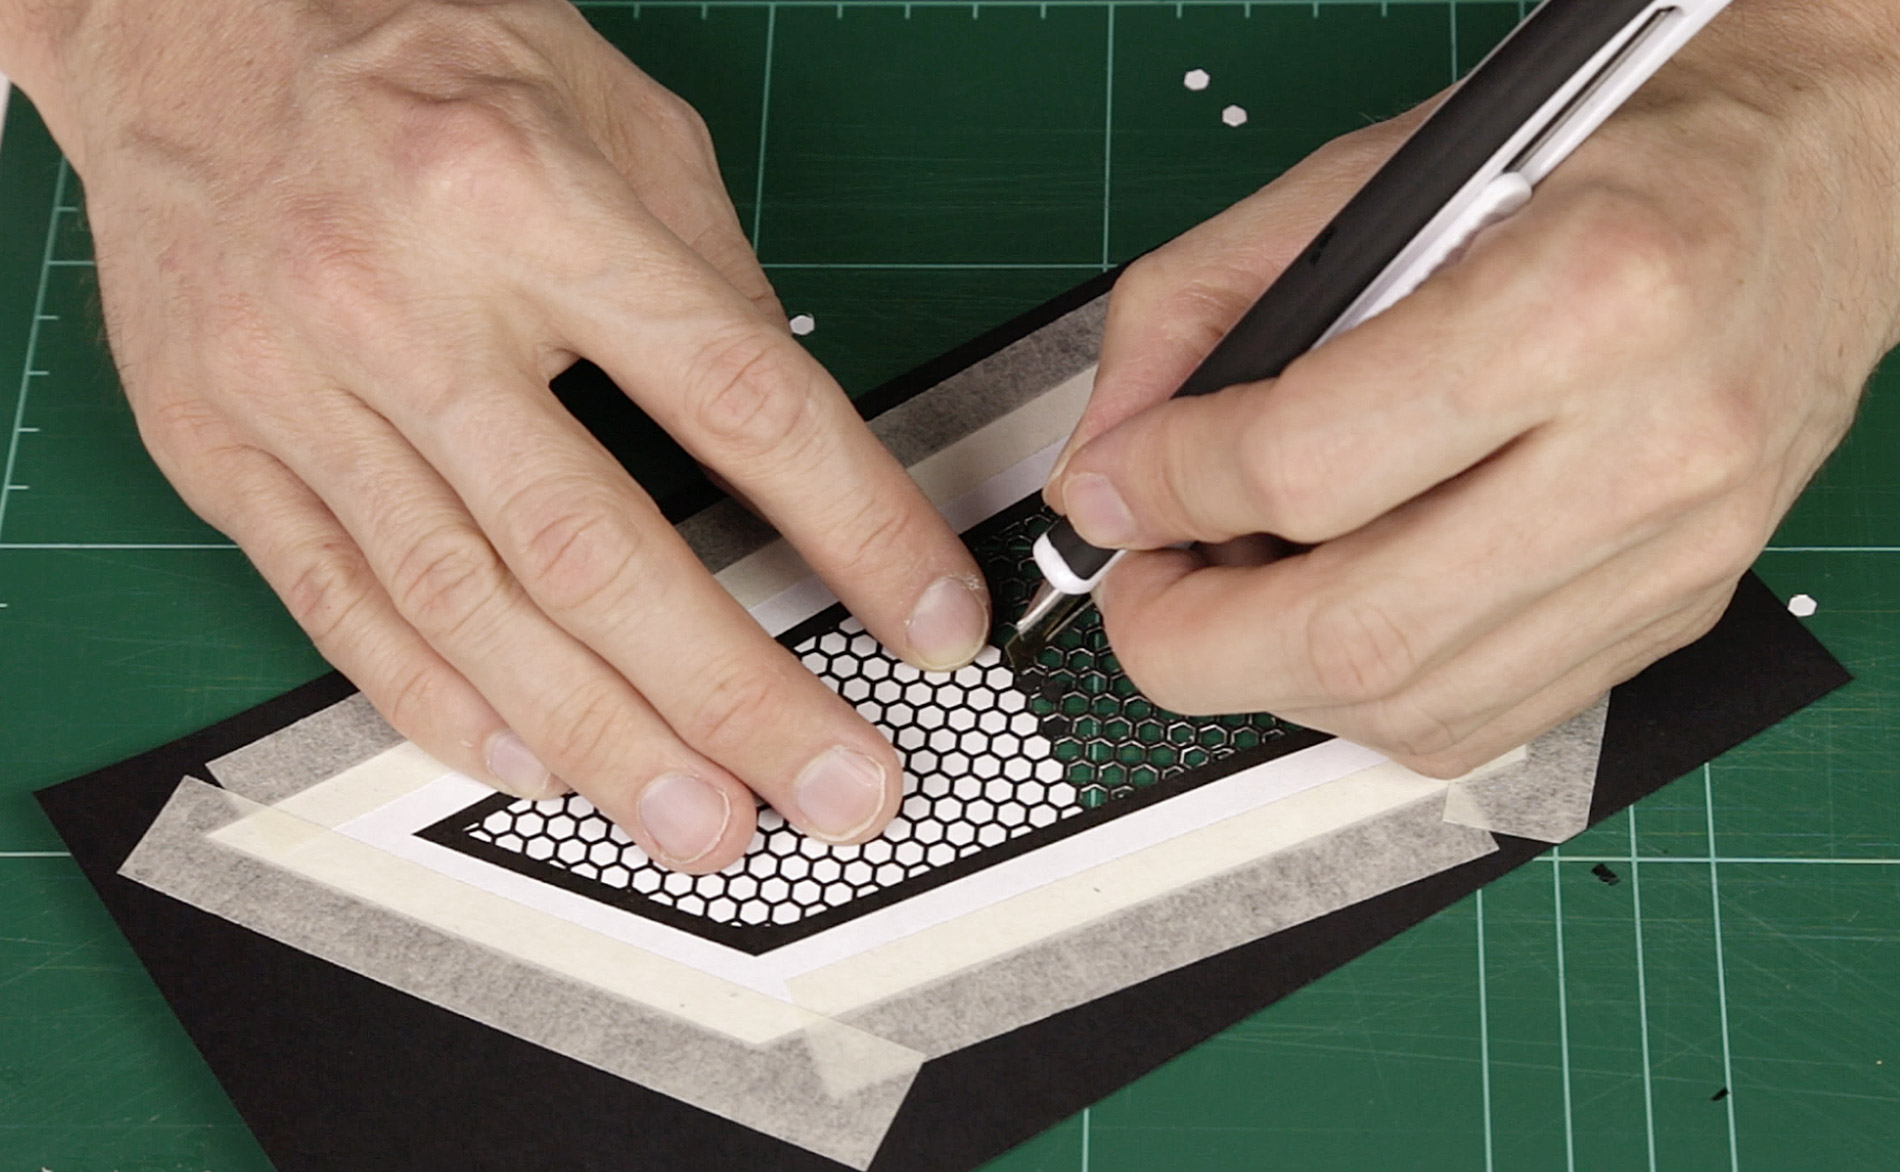
- ‣ I cut every hexagon by hand… and there are two of these! Kind of crazy but I wanted the profile to be exactly like the real car, so there’s no other way really.
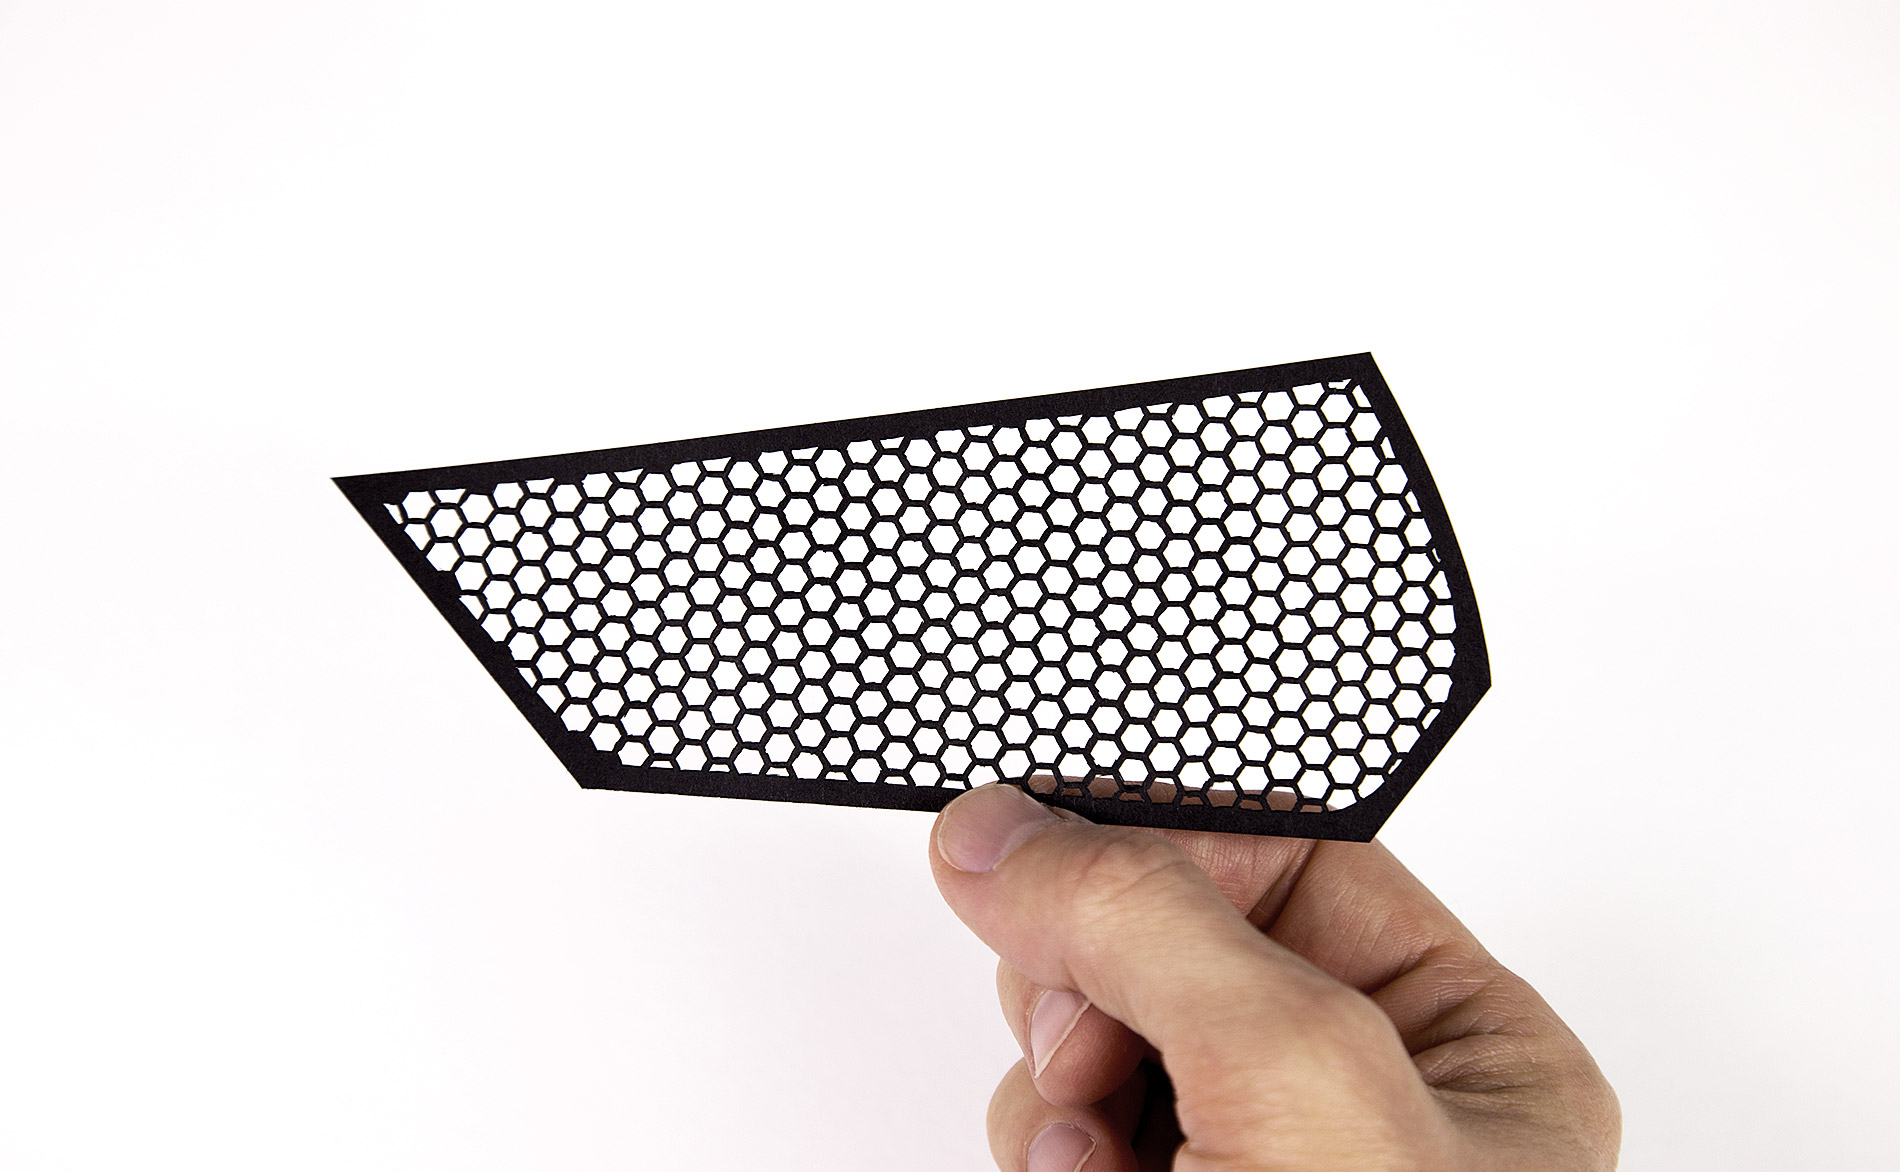
- ‣ One of the front bumper grill inserts. I cut every hexagon by hand with a craft knife.

- ‣ Front end almost finished. Just needs front trunk lid and bumper to be fitted.
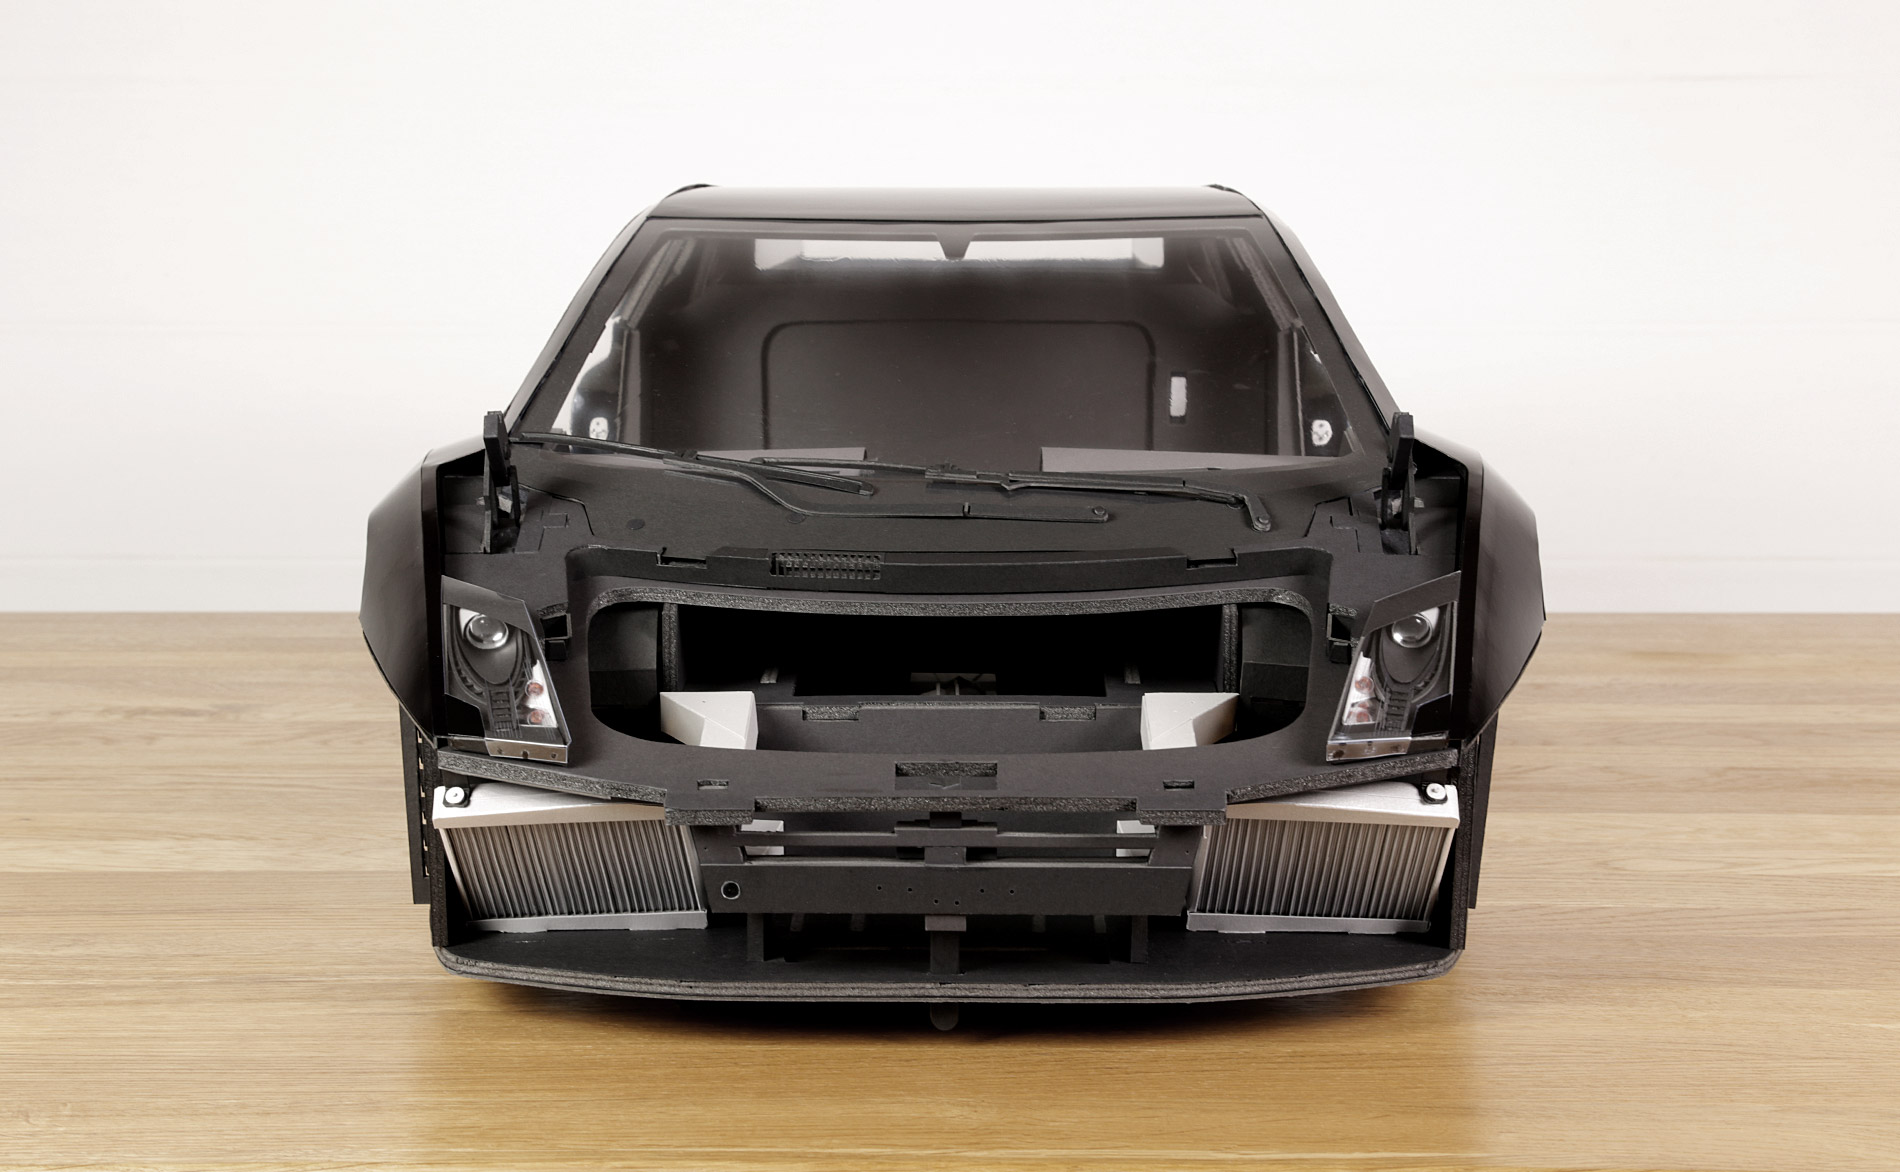
- ‣ Front end almost finished.